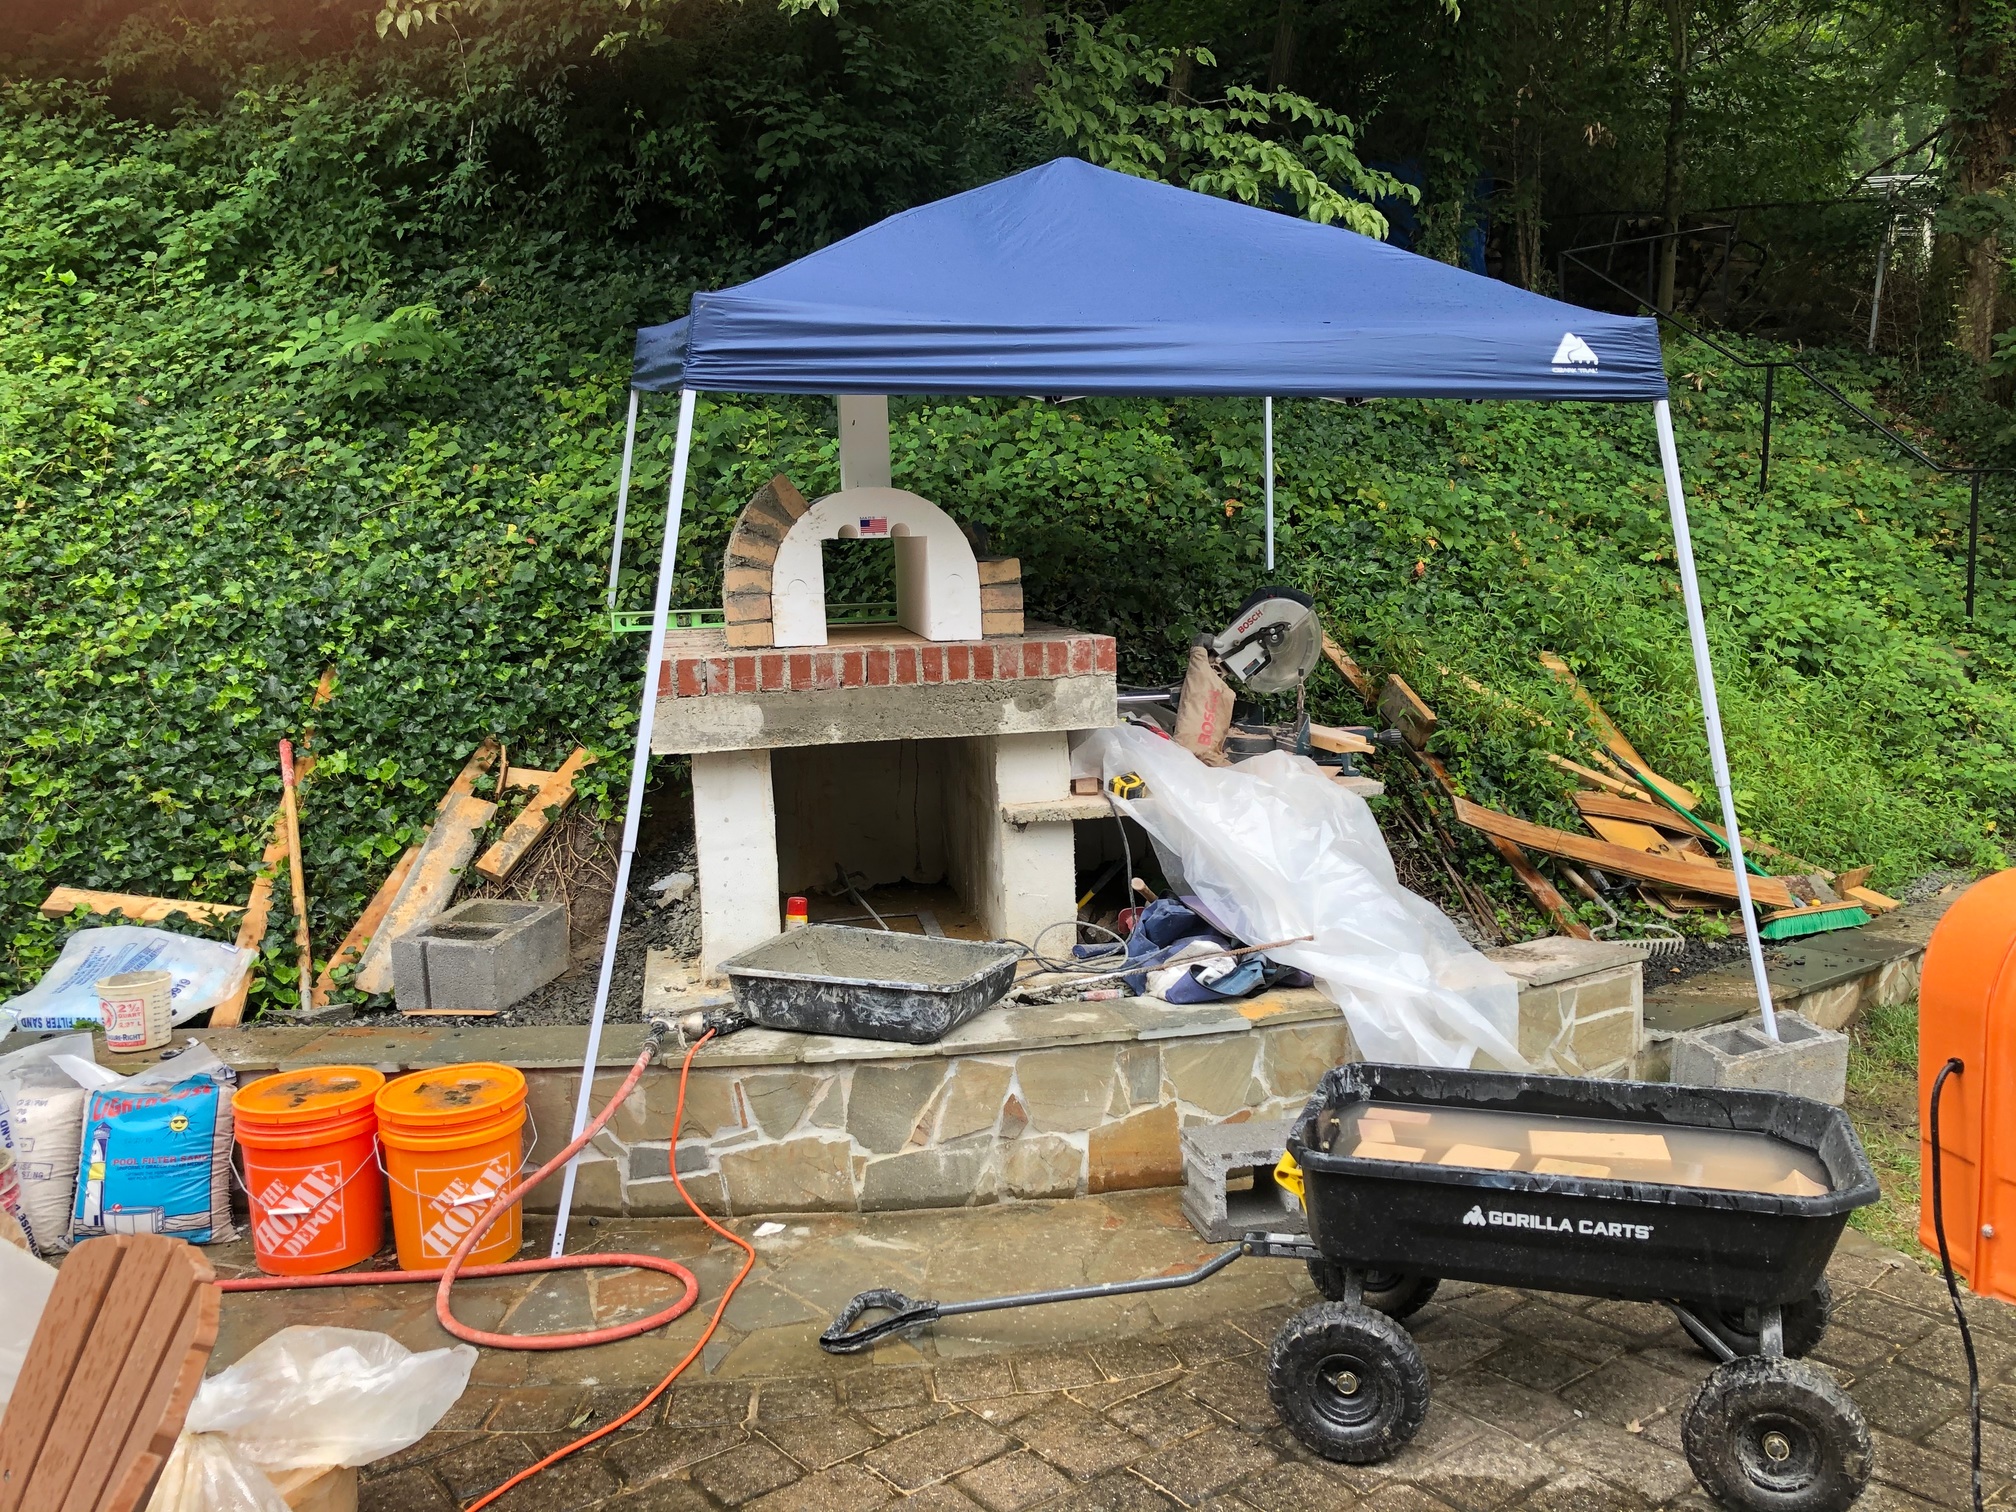
I’m about to start on the actual brick work for the oven, but here are some pictures of the work so far
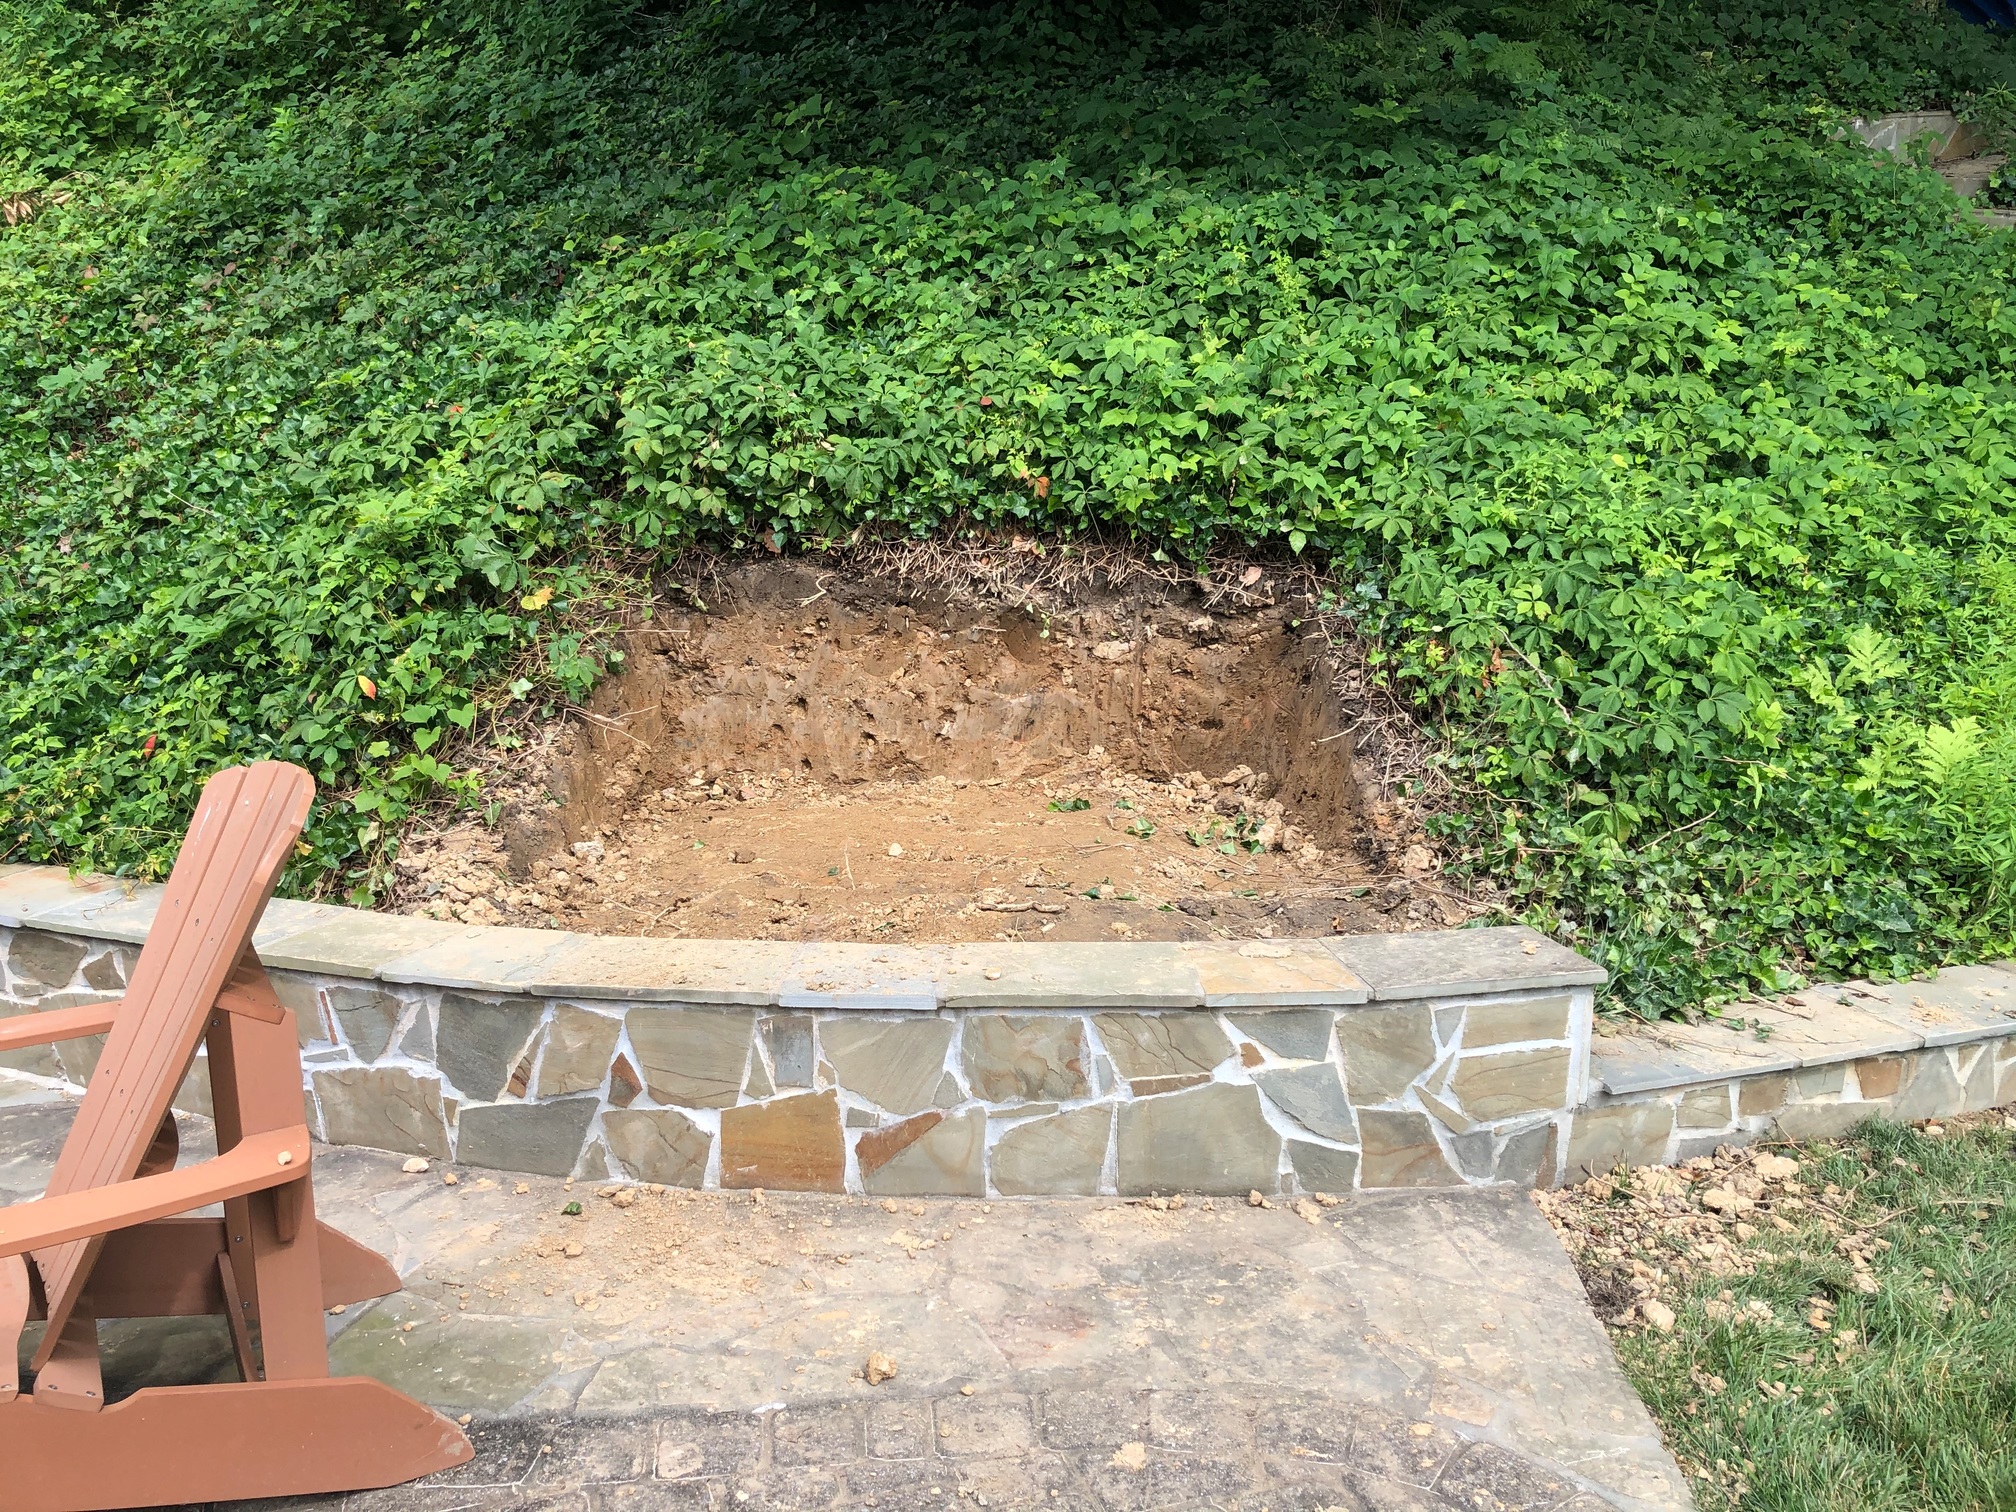
The site prep - dug into our hillside above the knee-high retaining wall
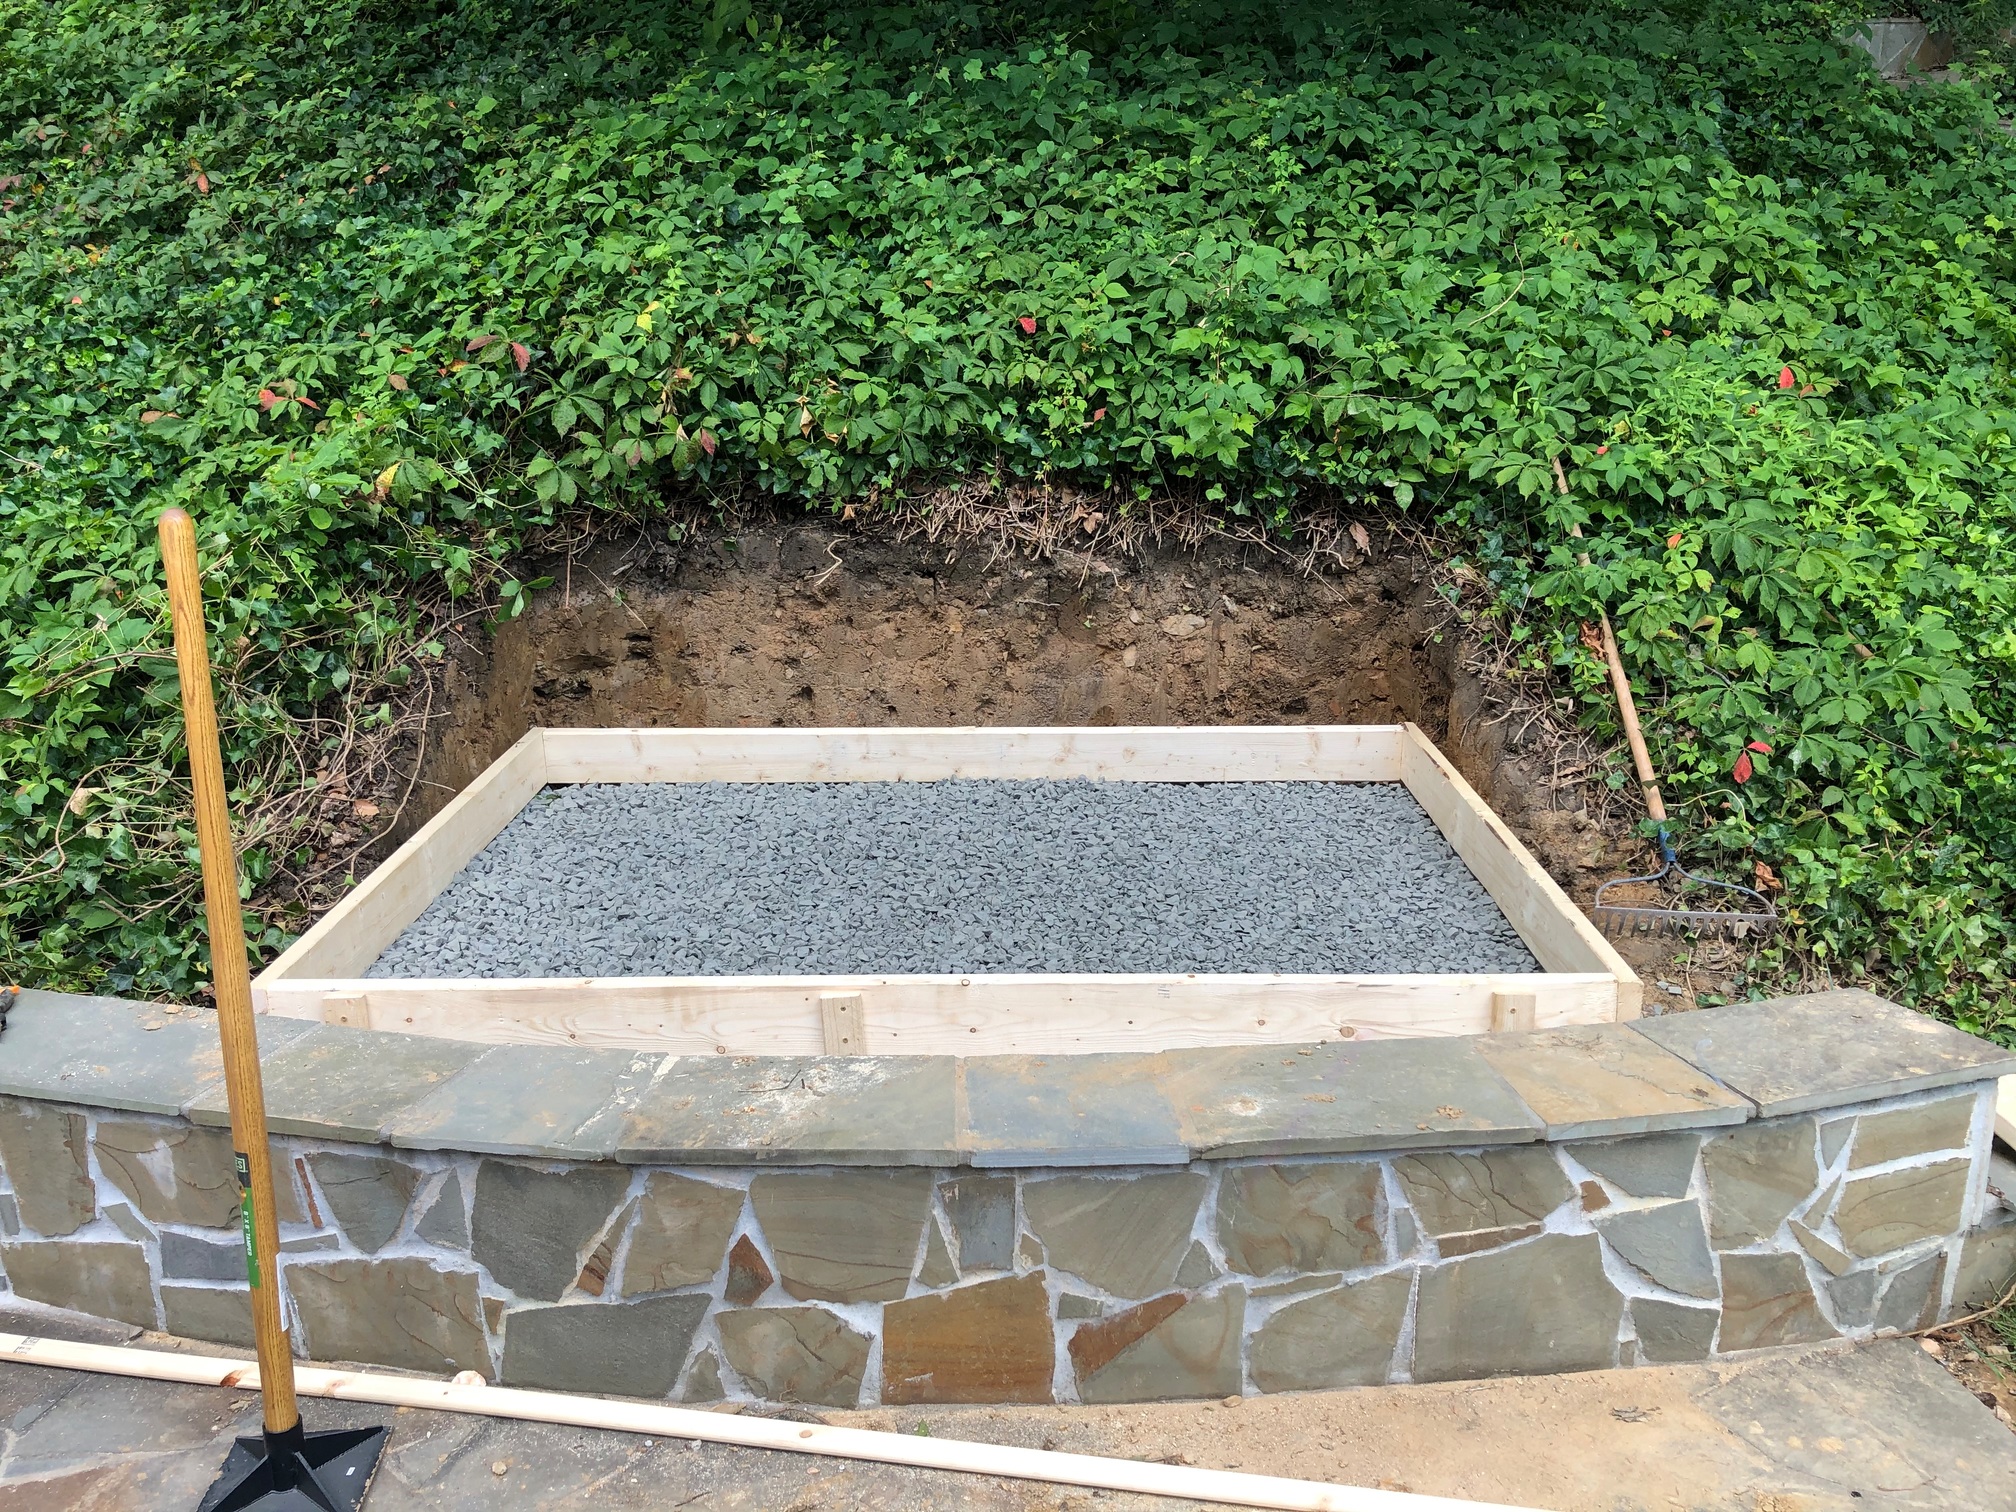
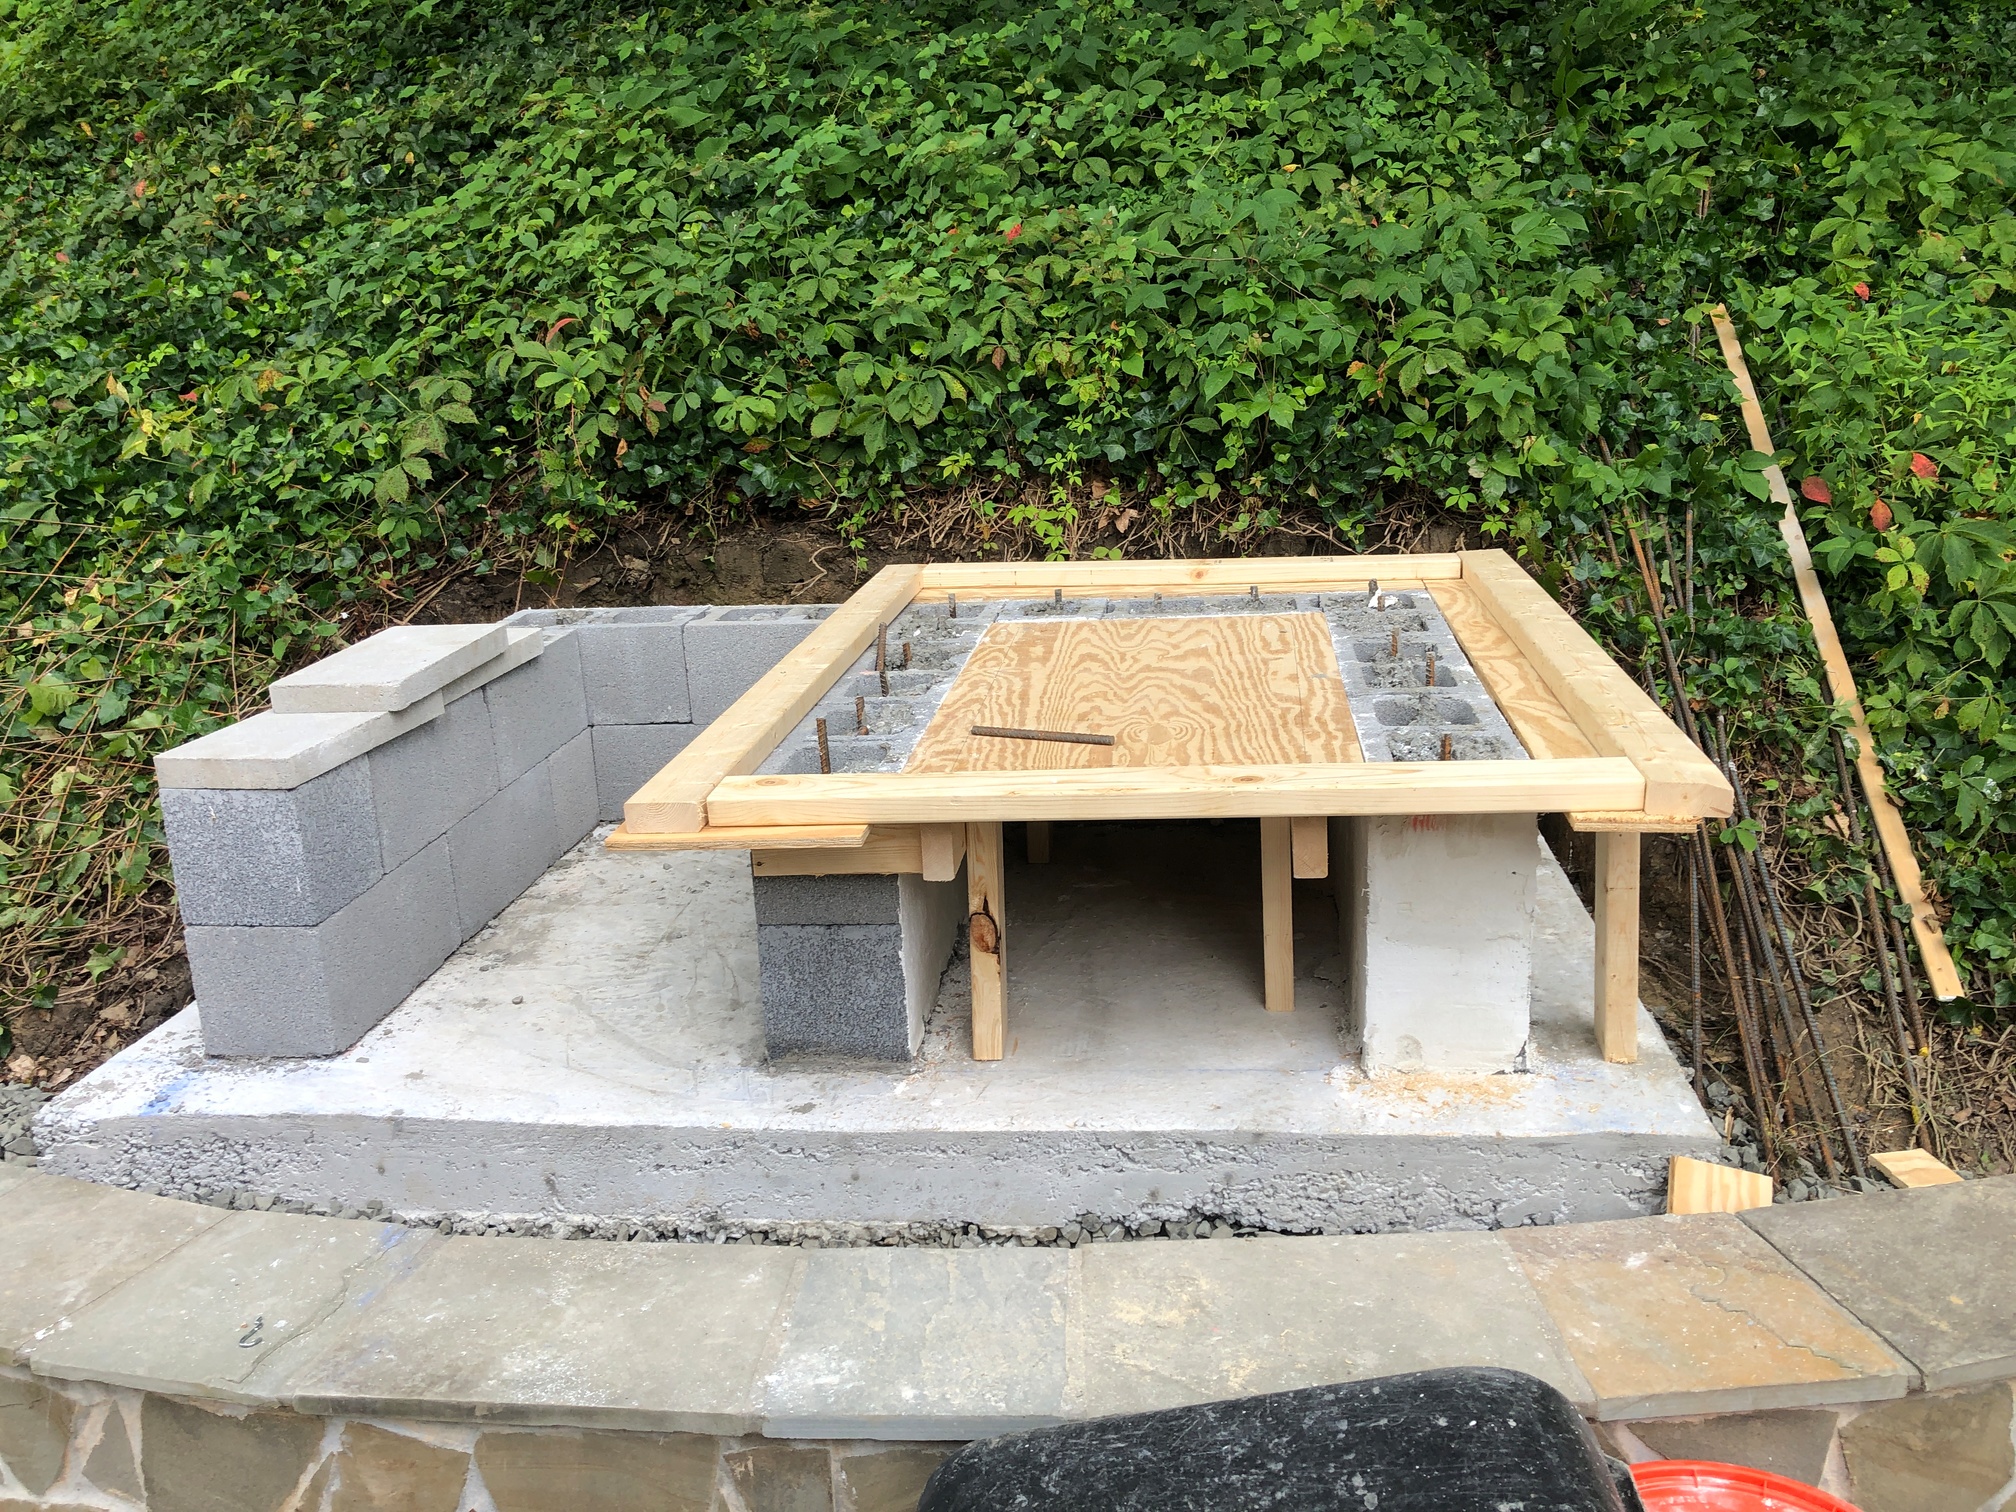
The first form
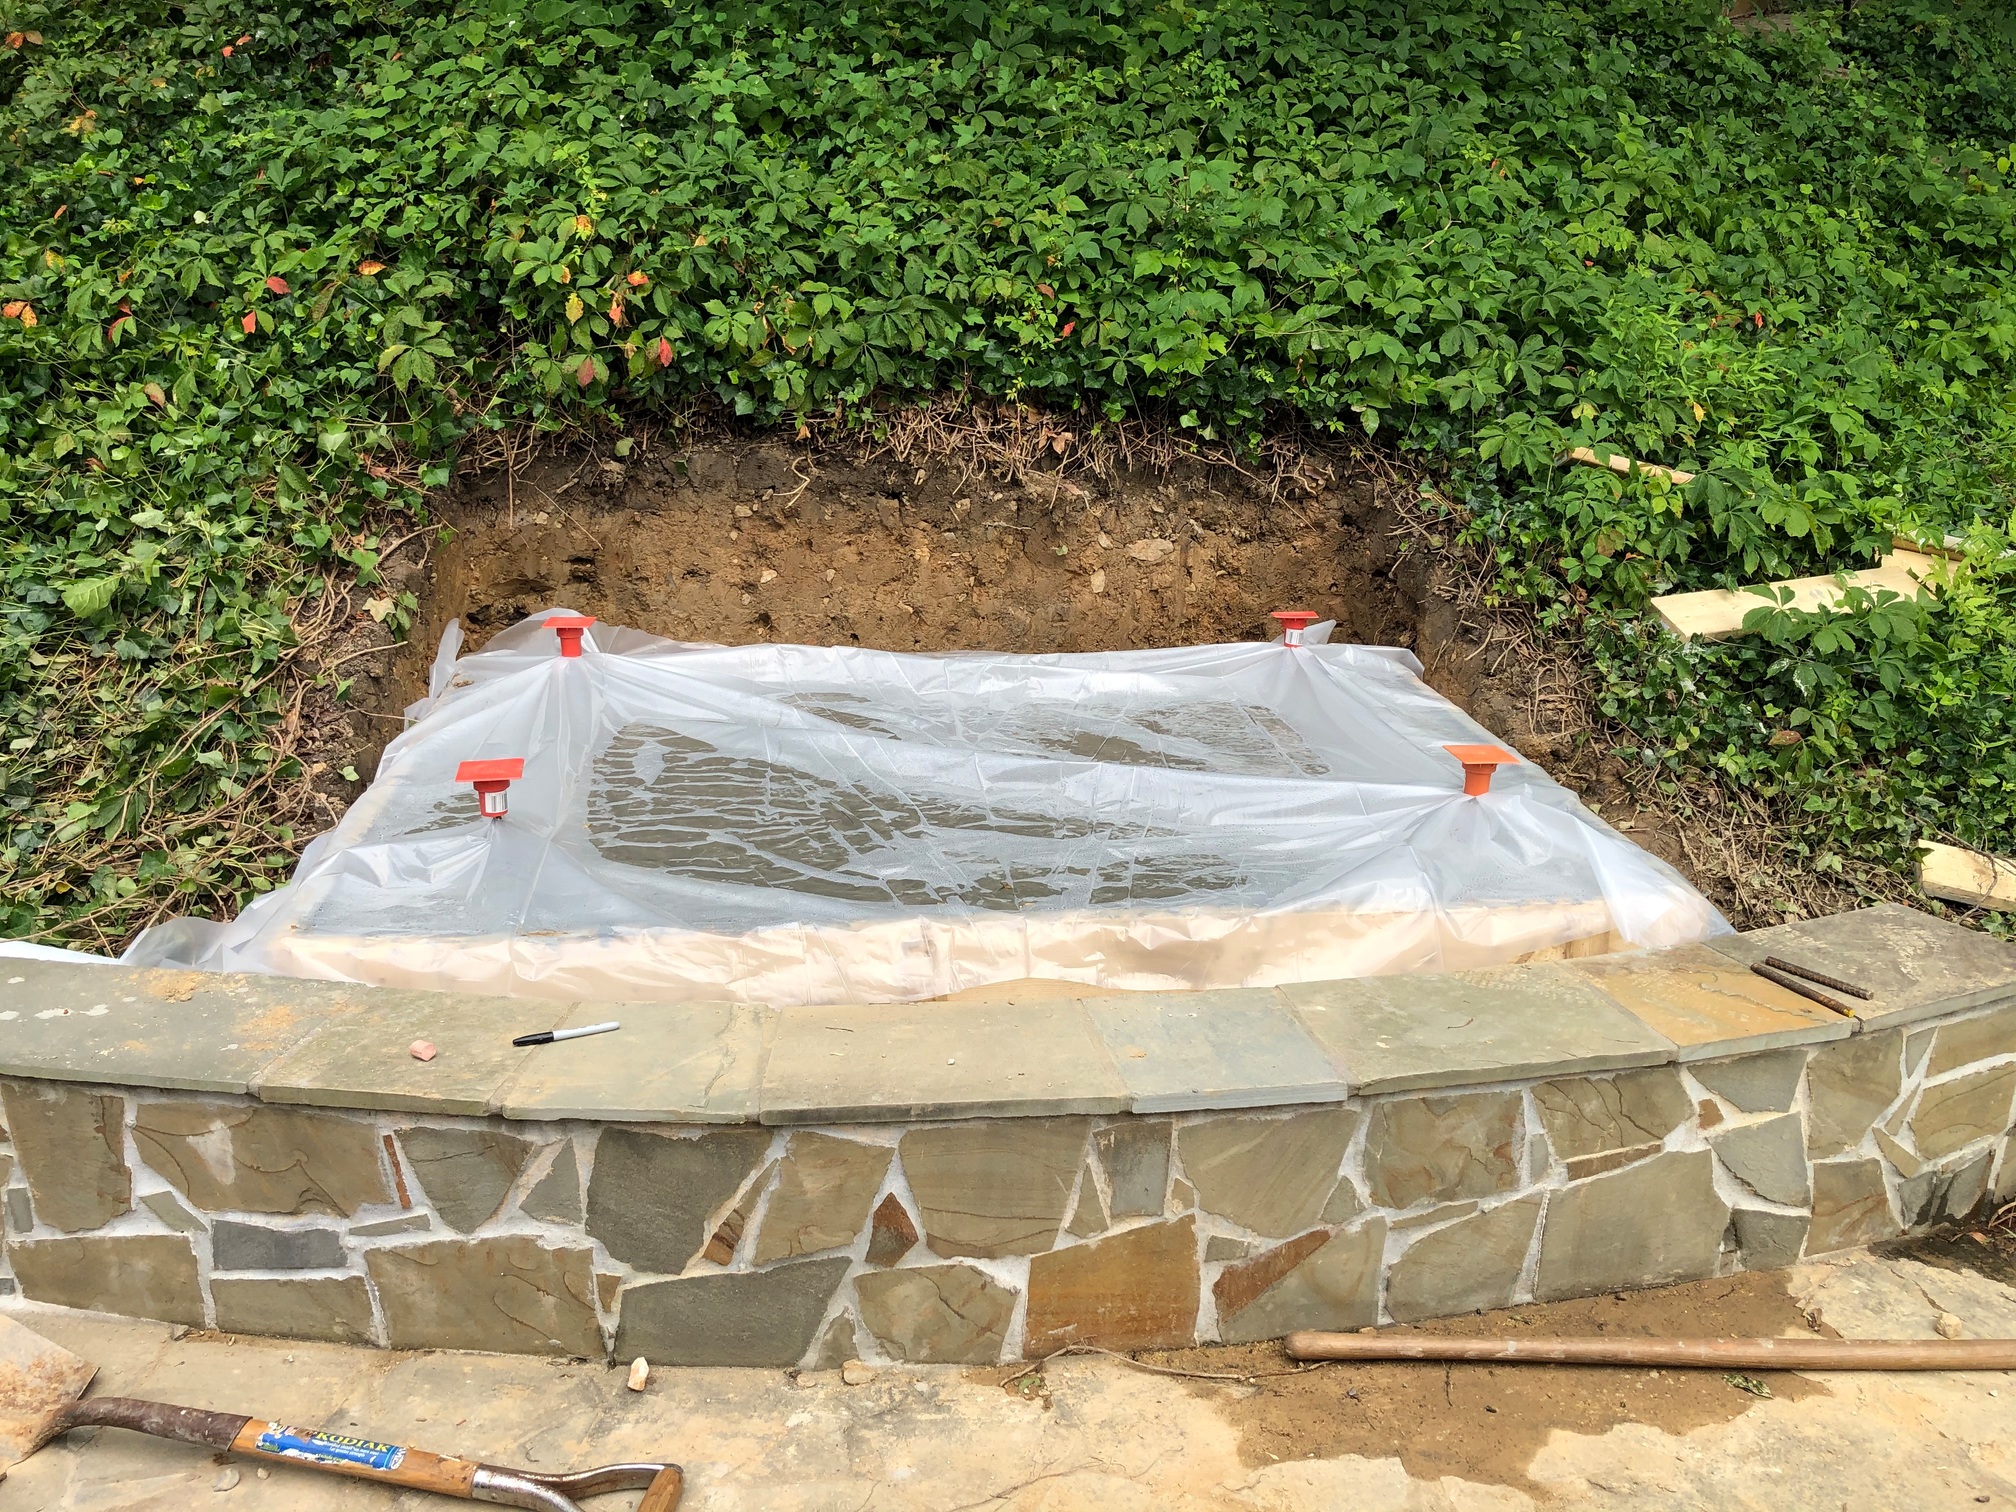
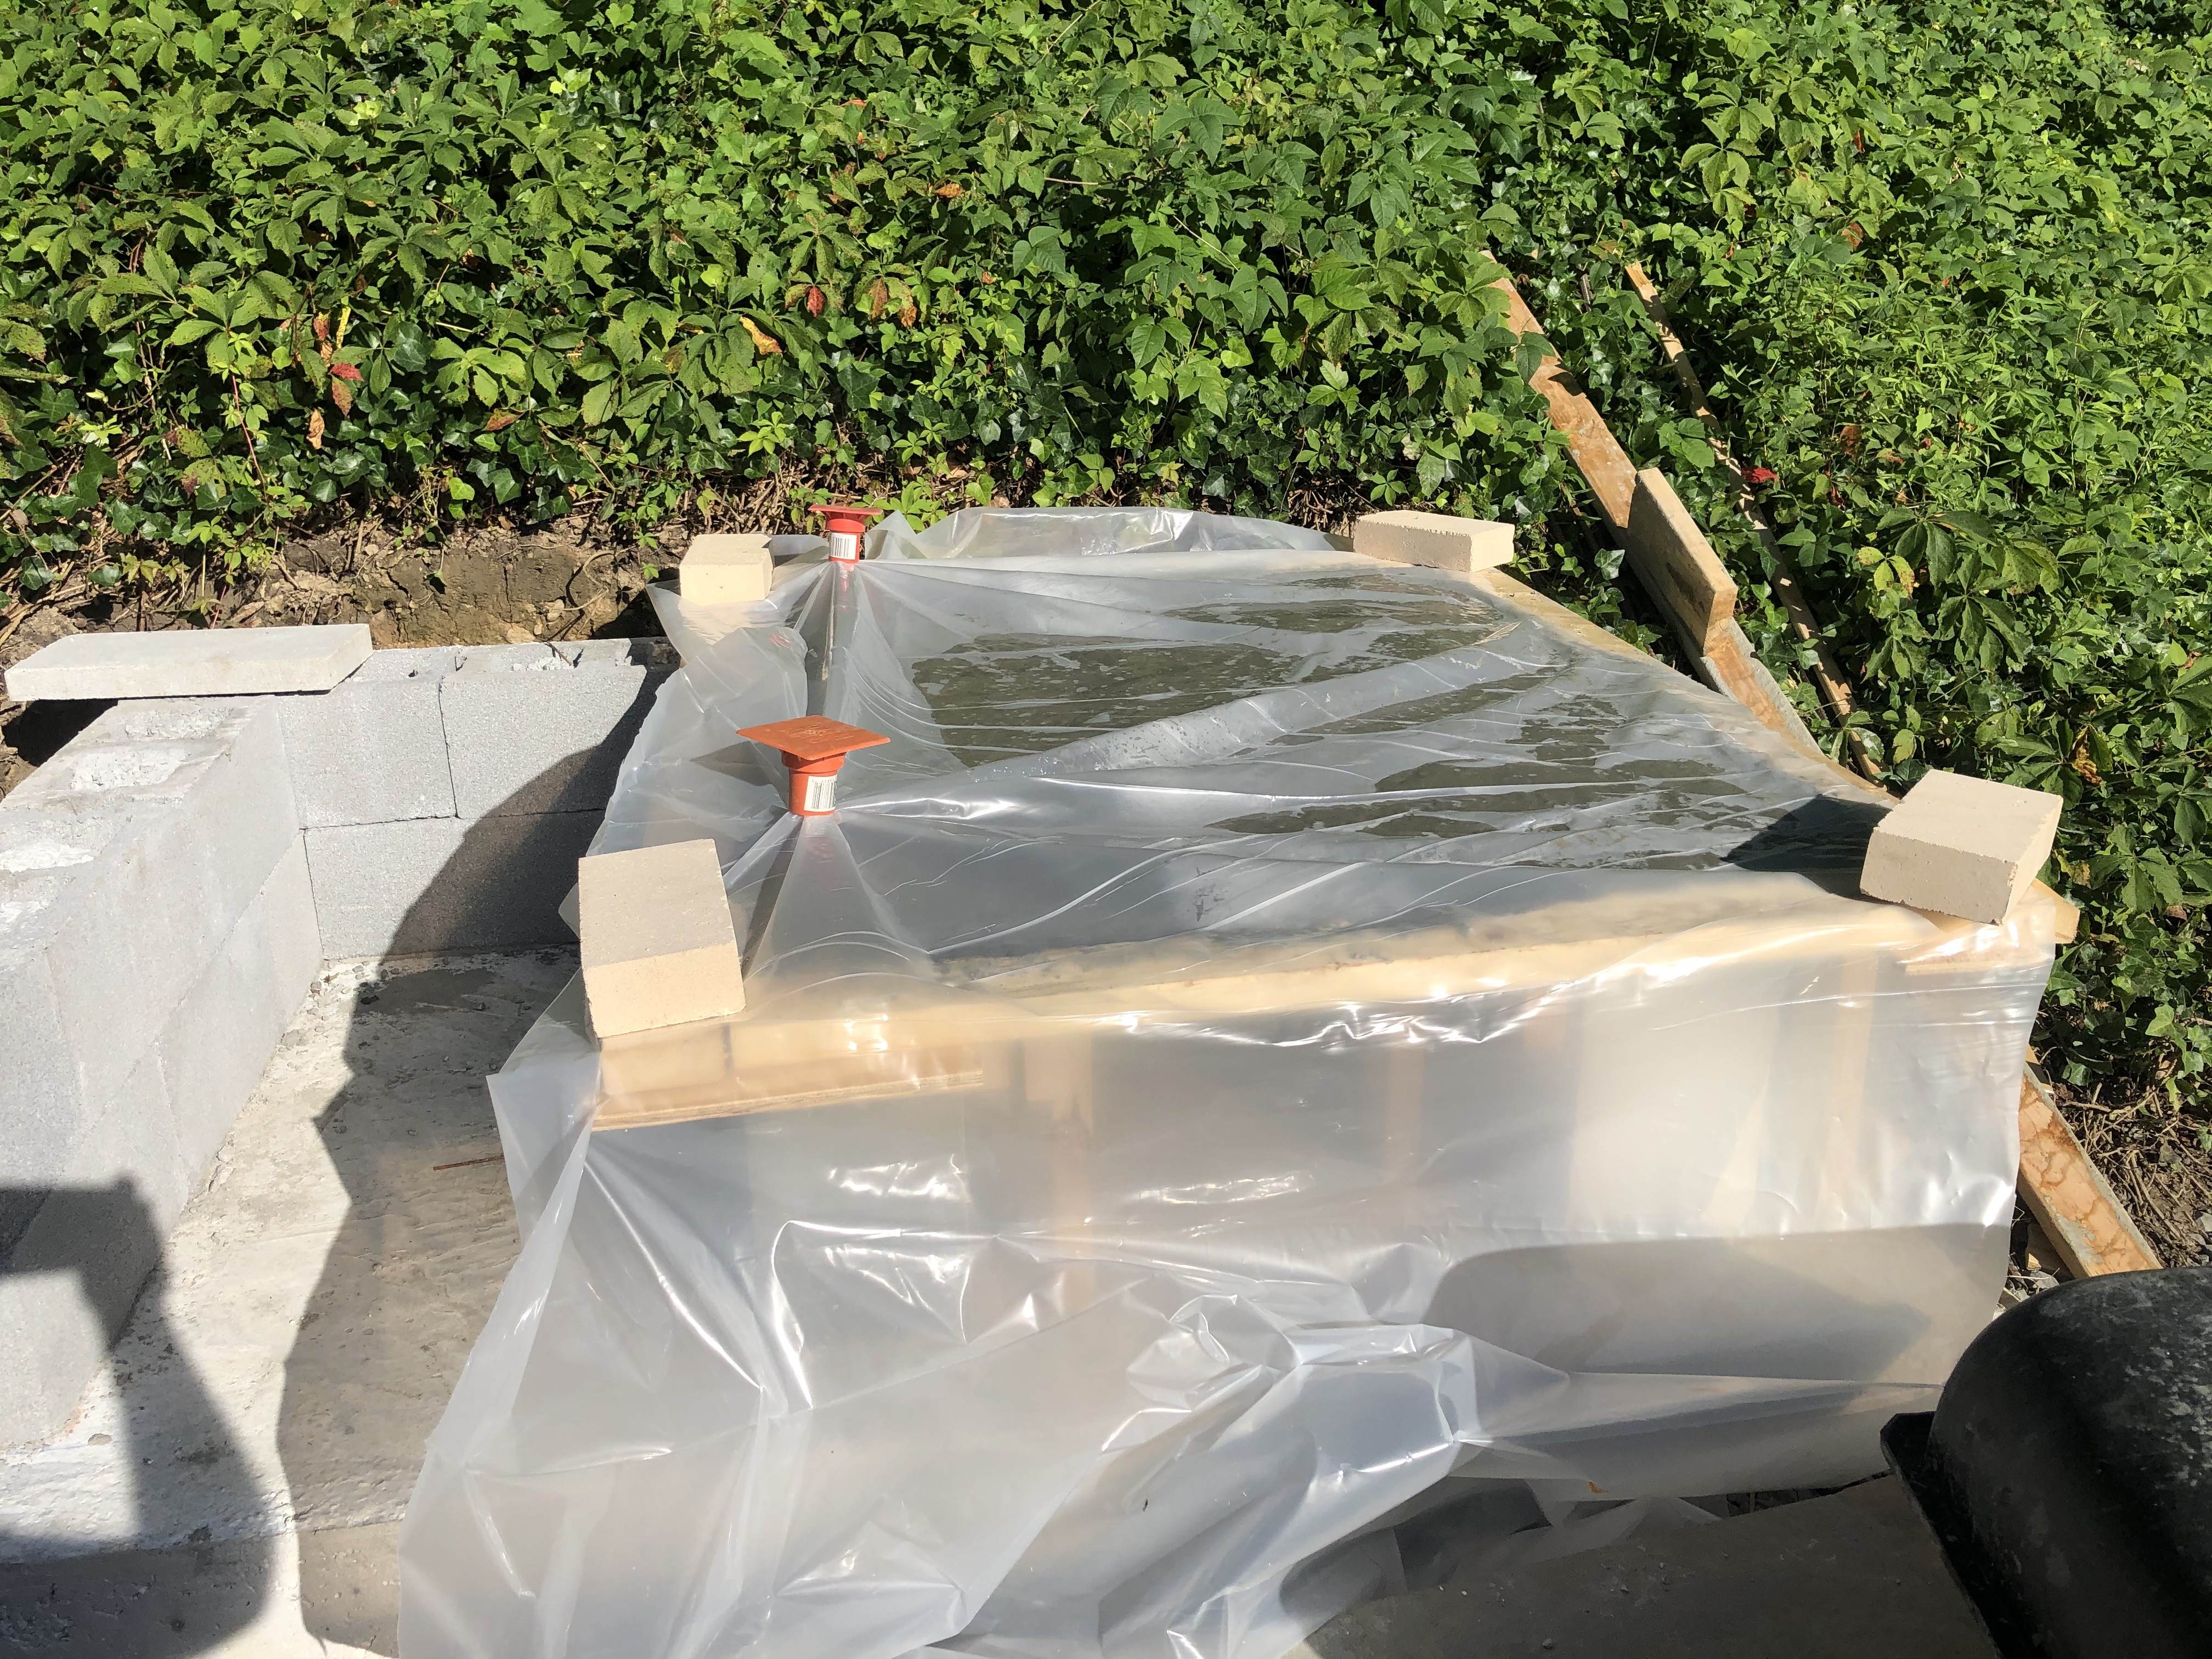
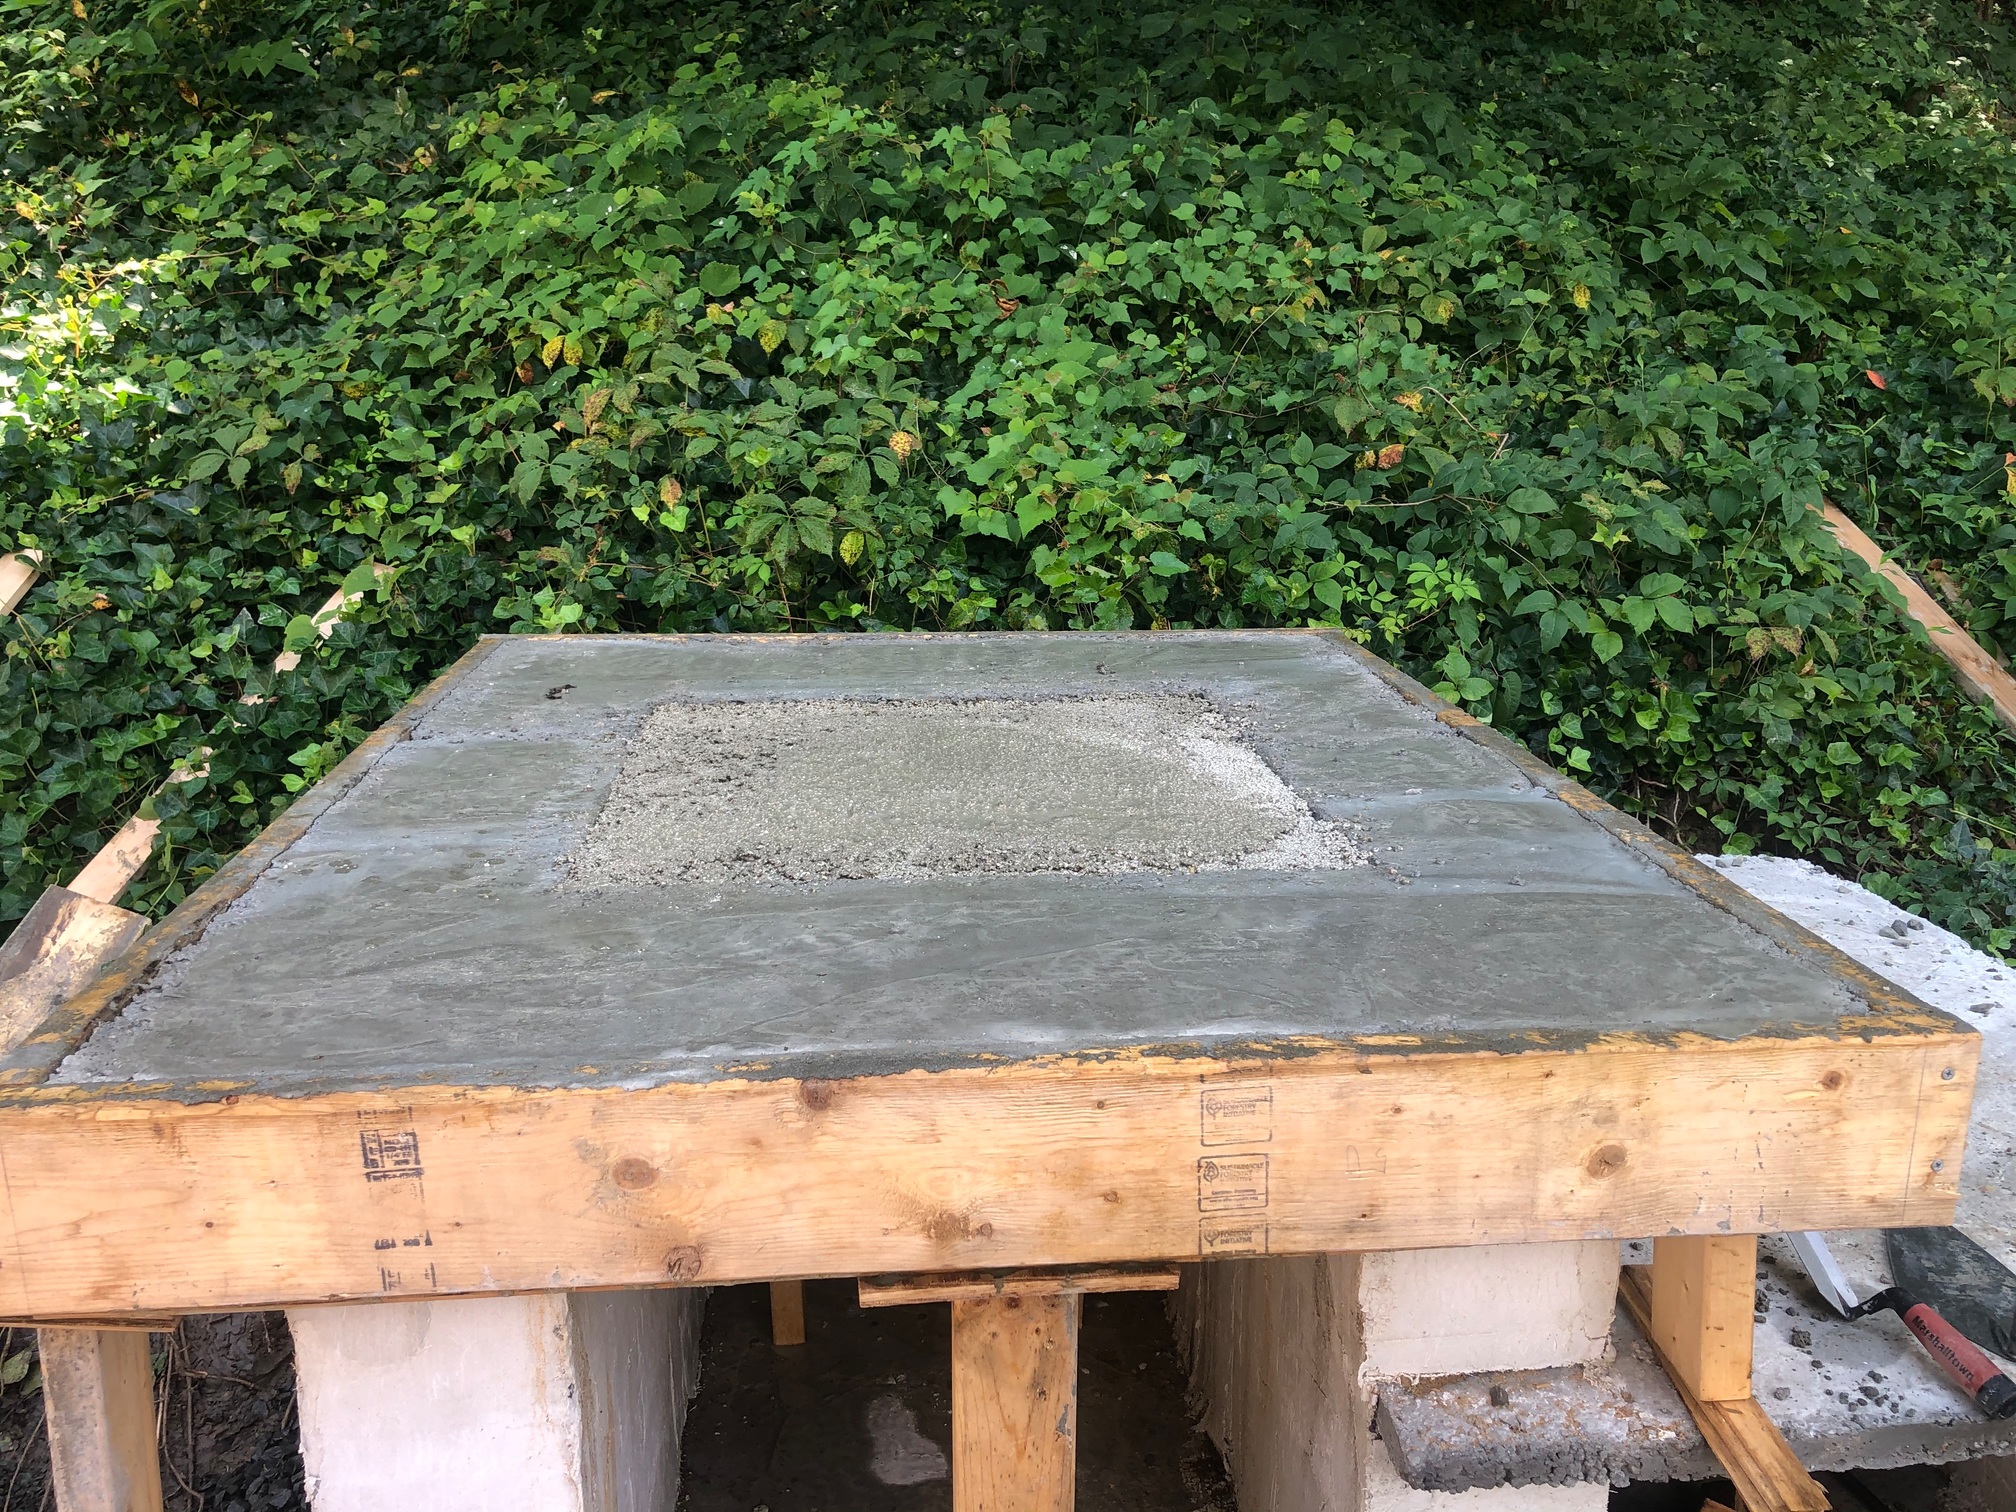
Curing the base slab
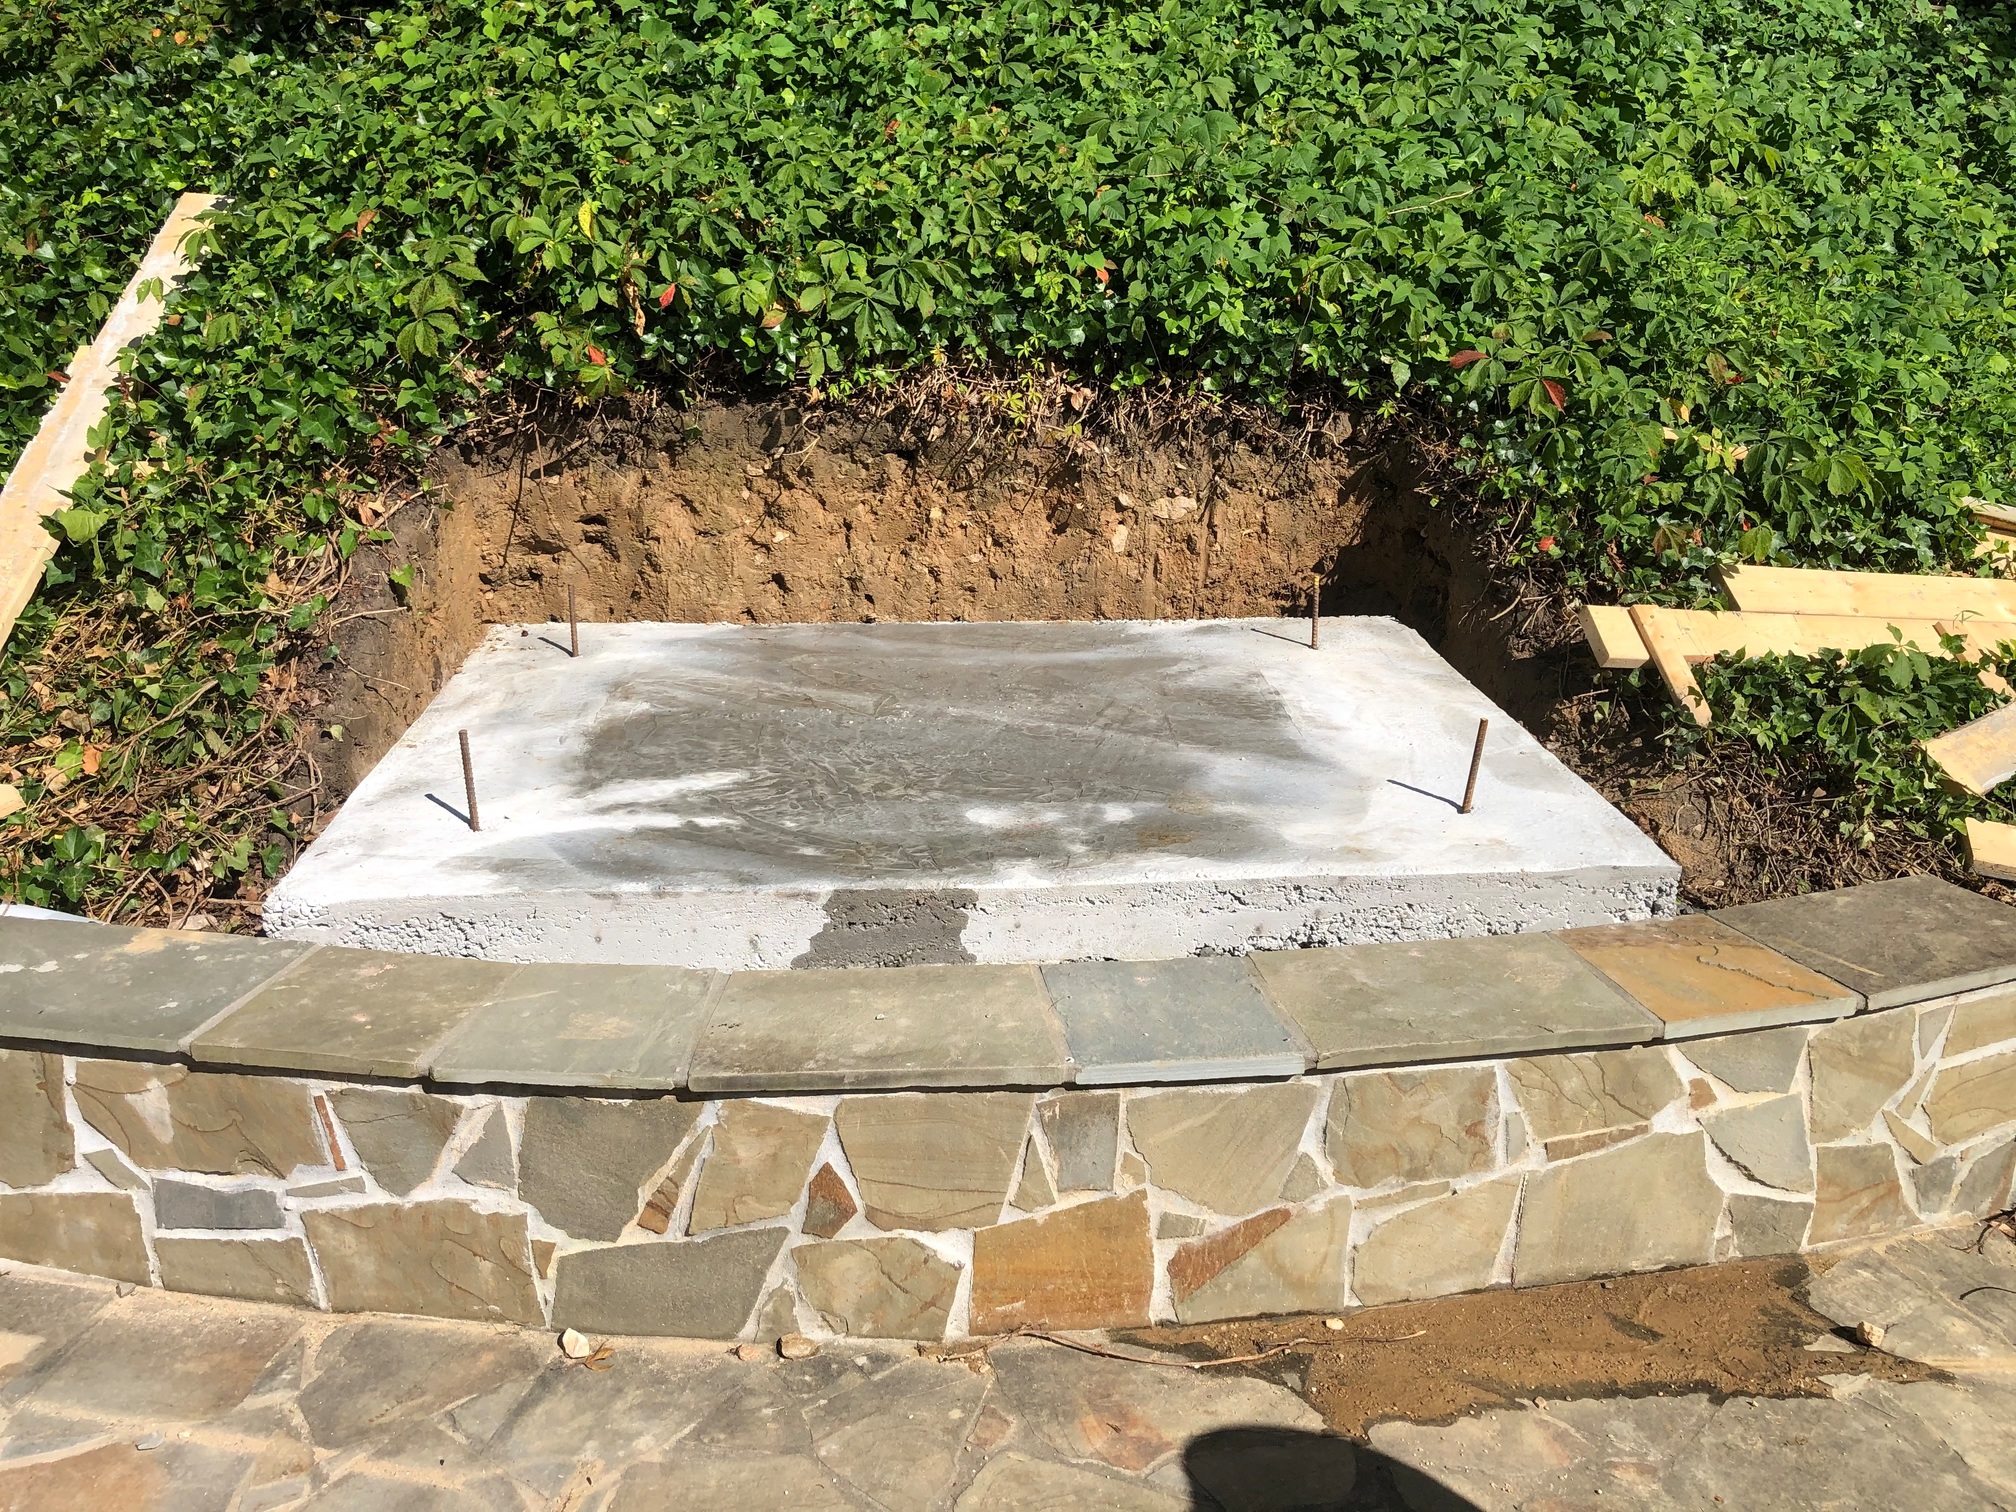
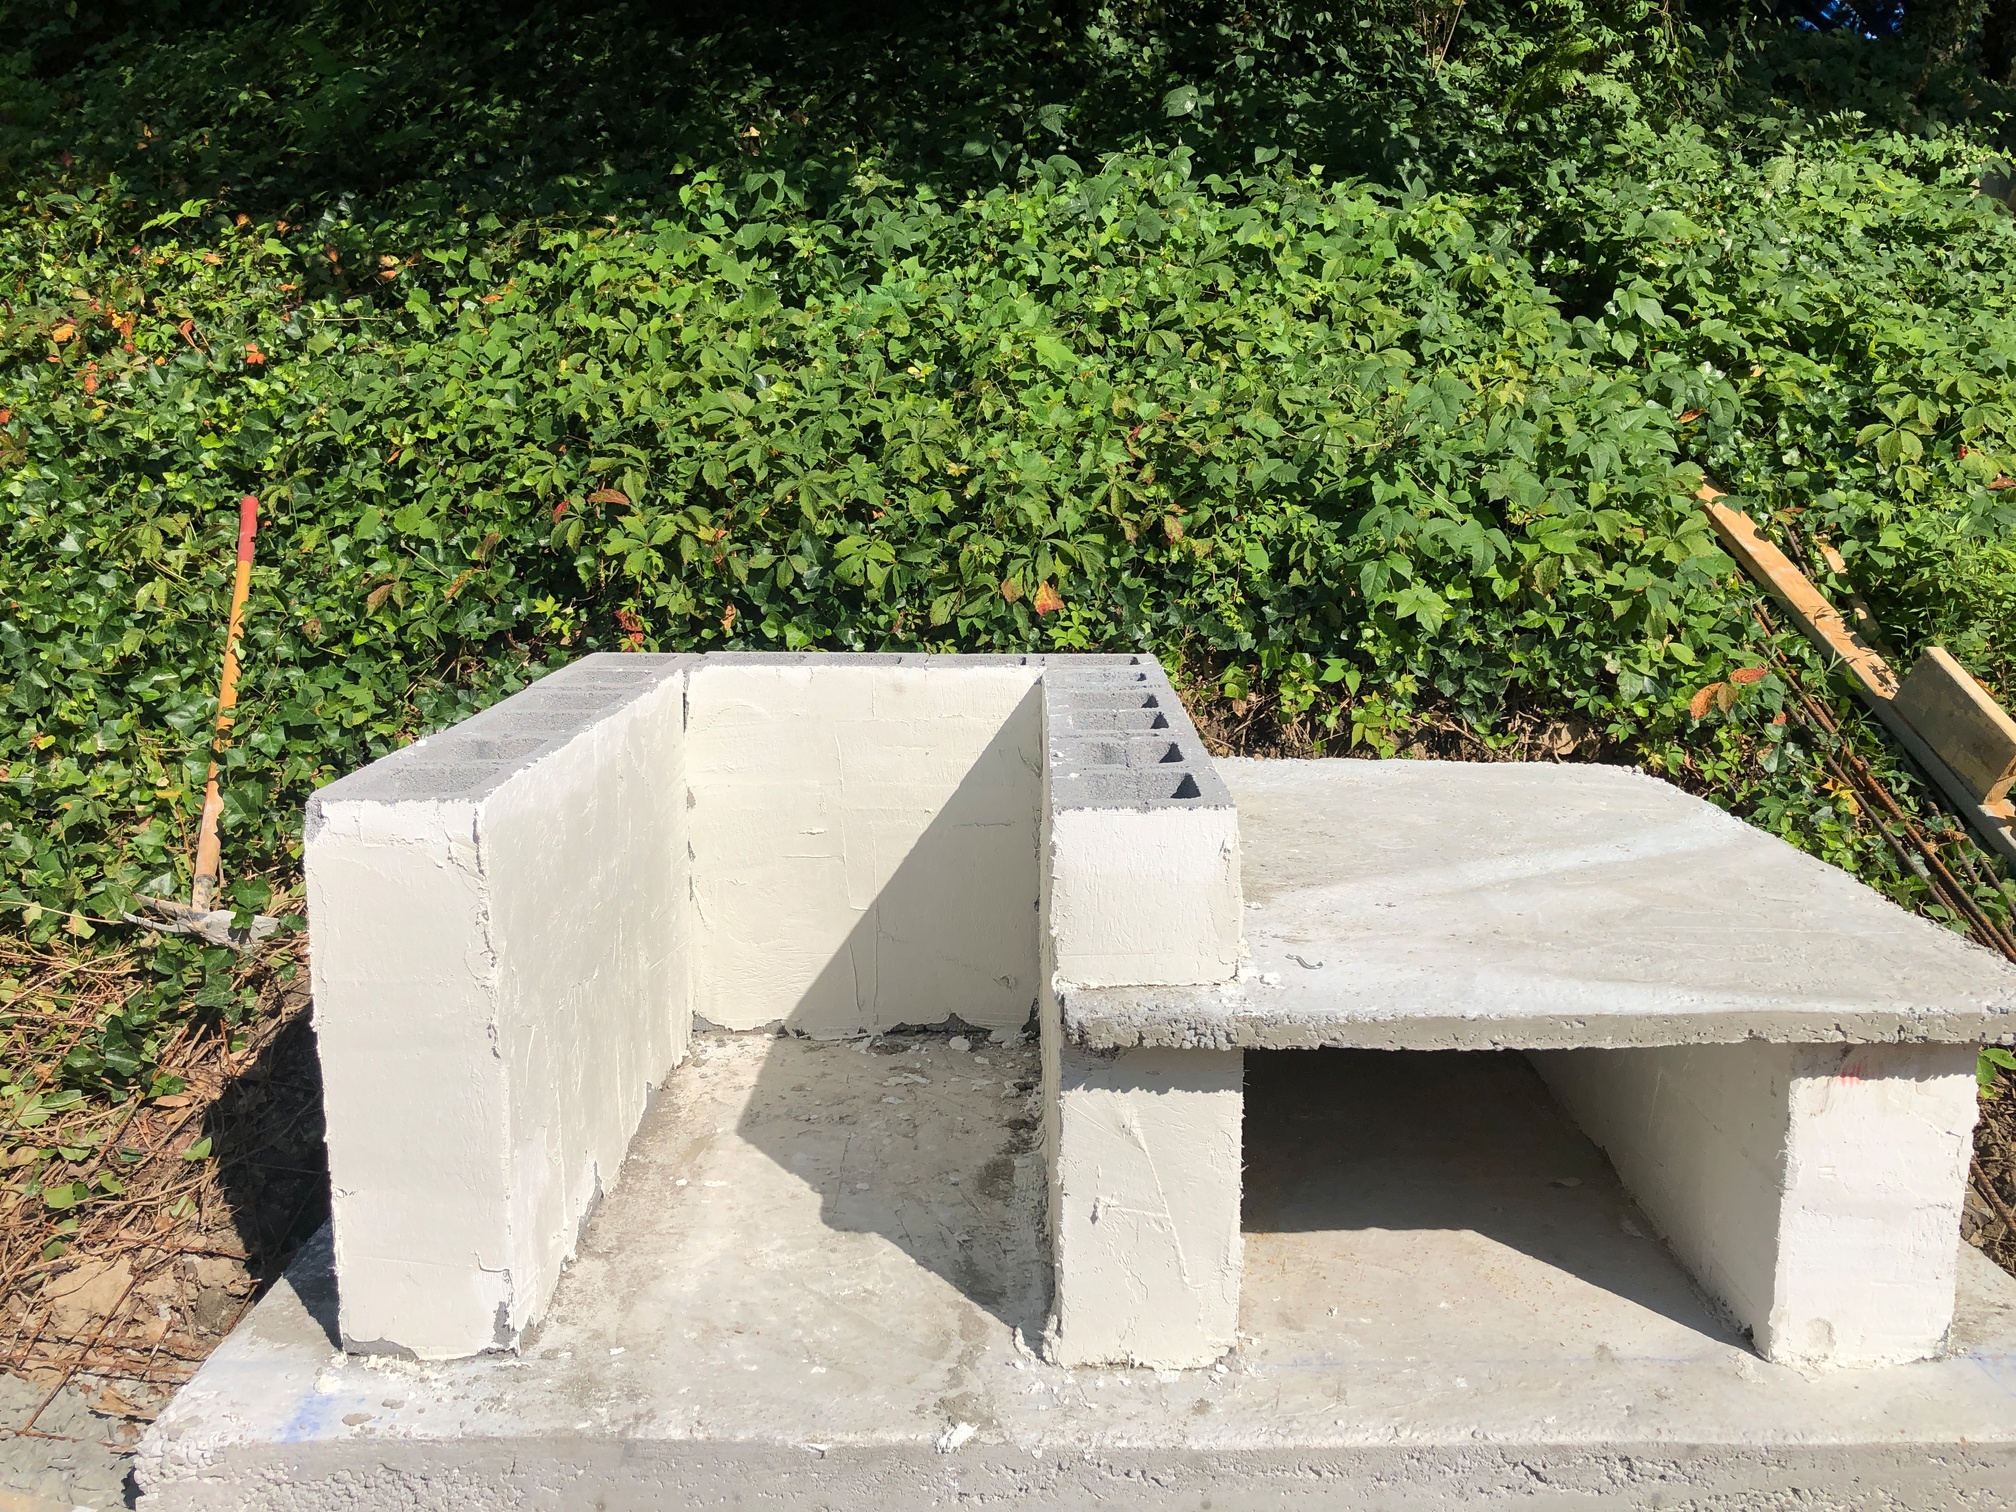
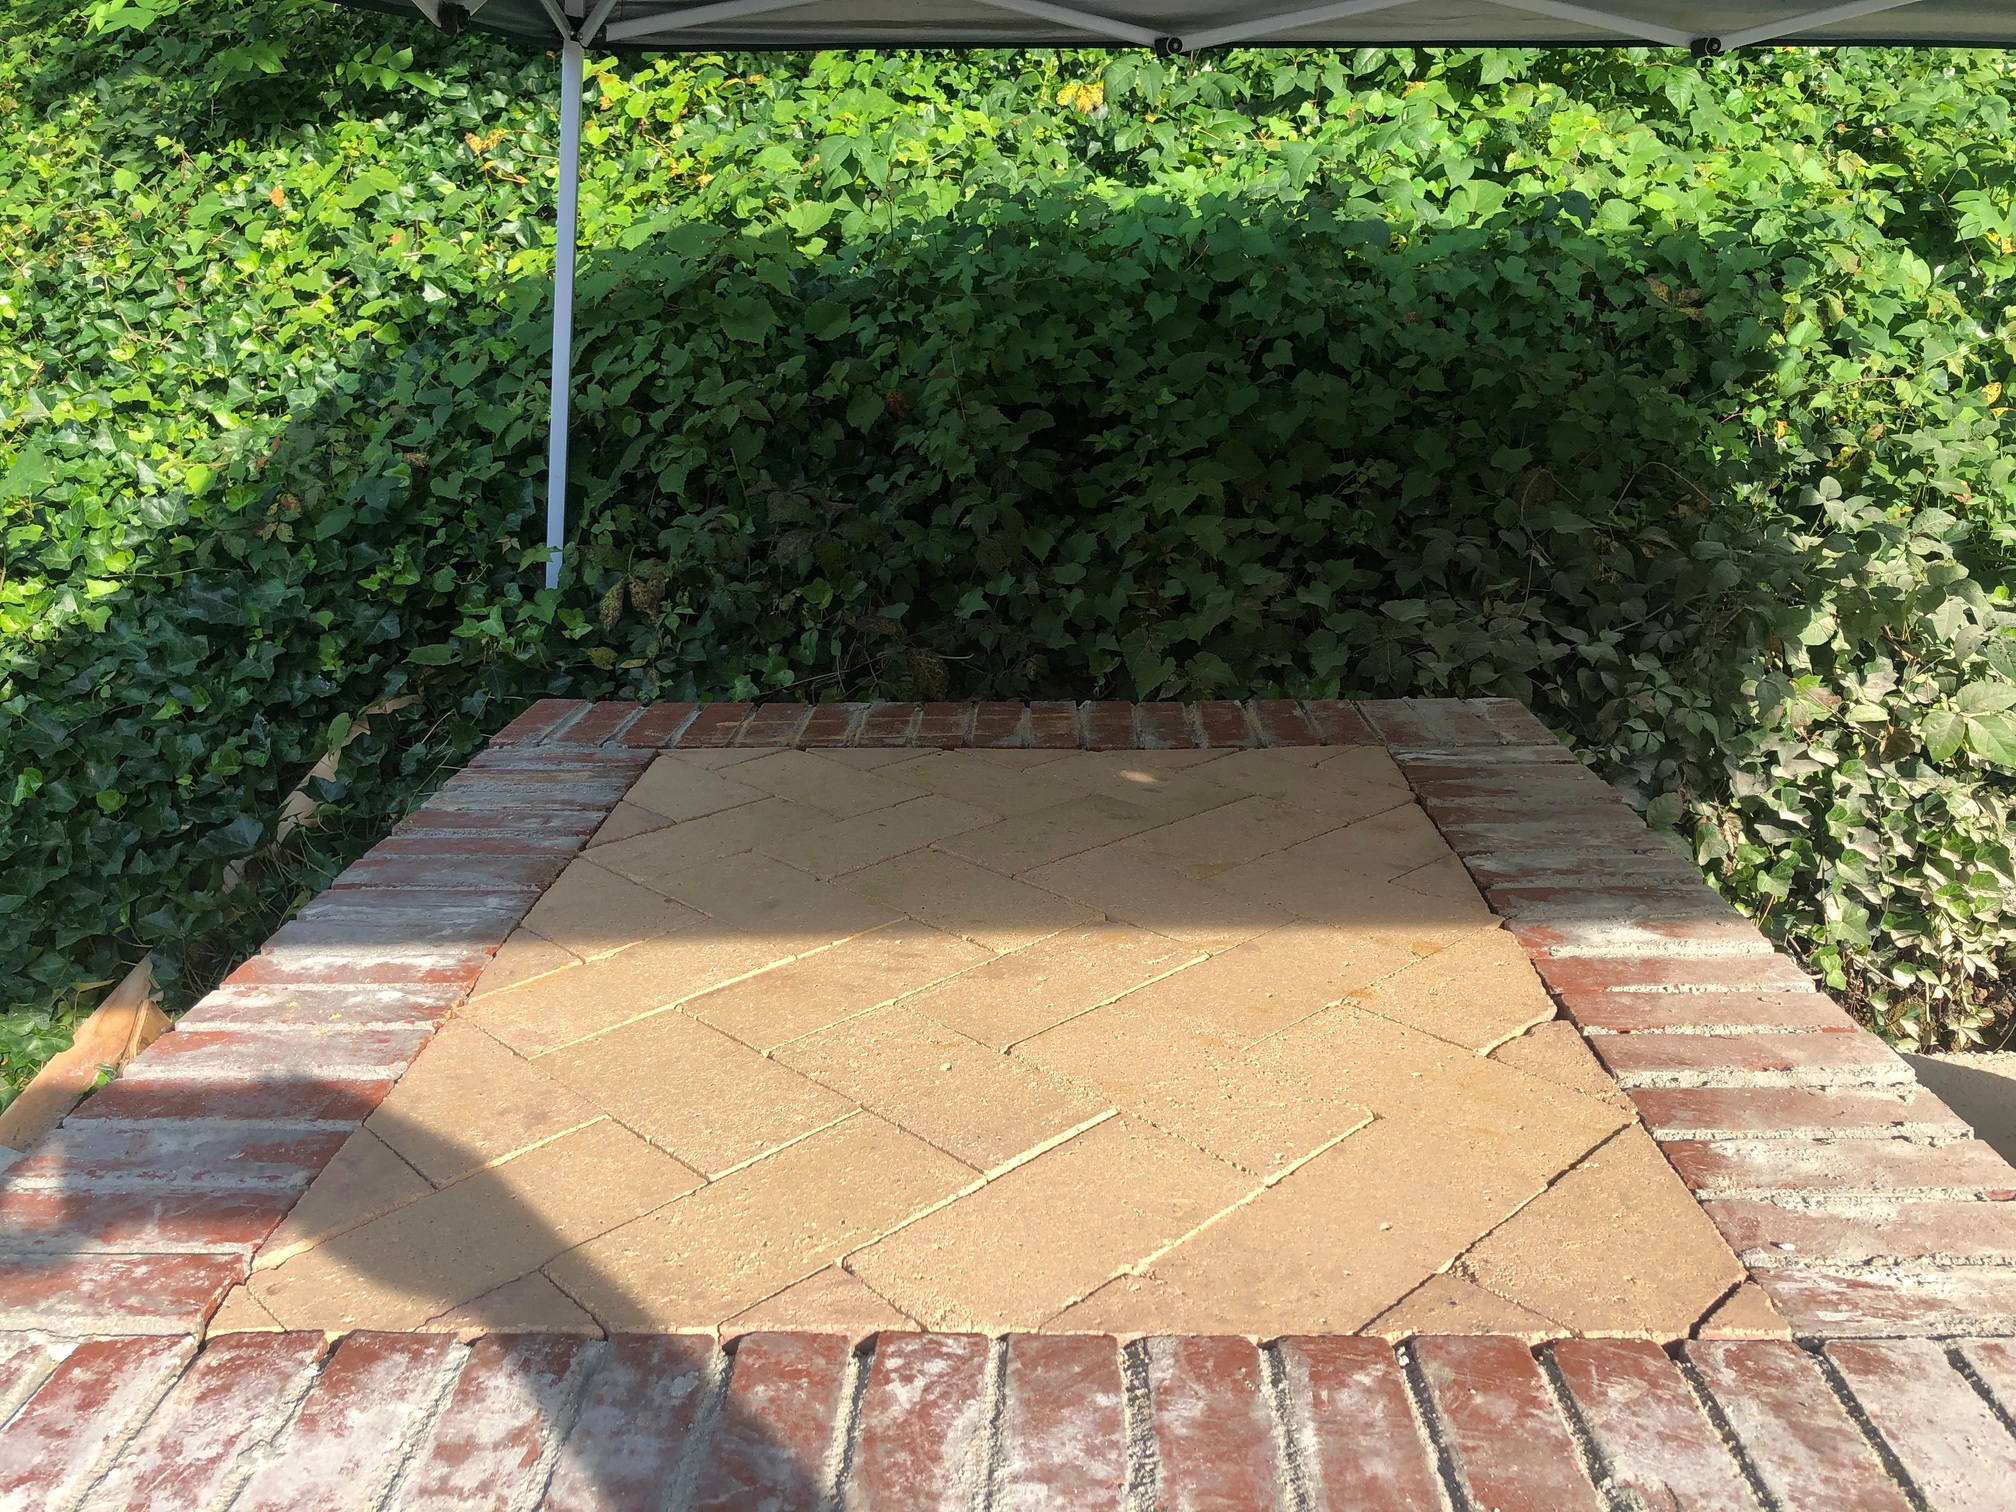
Slab complete
I’m about to start on the actual brick work for the oven, but here are some pictures of the work so far
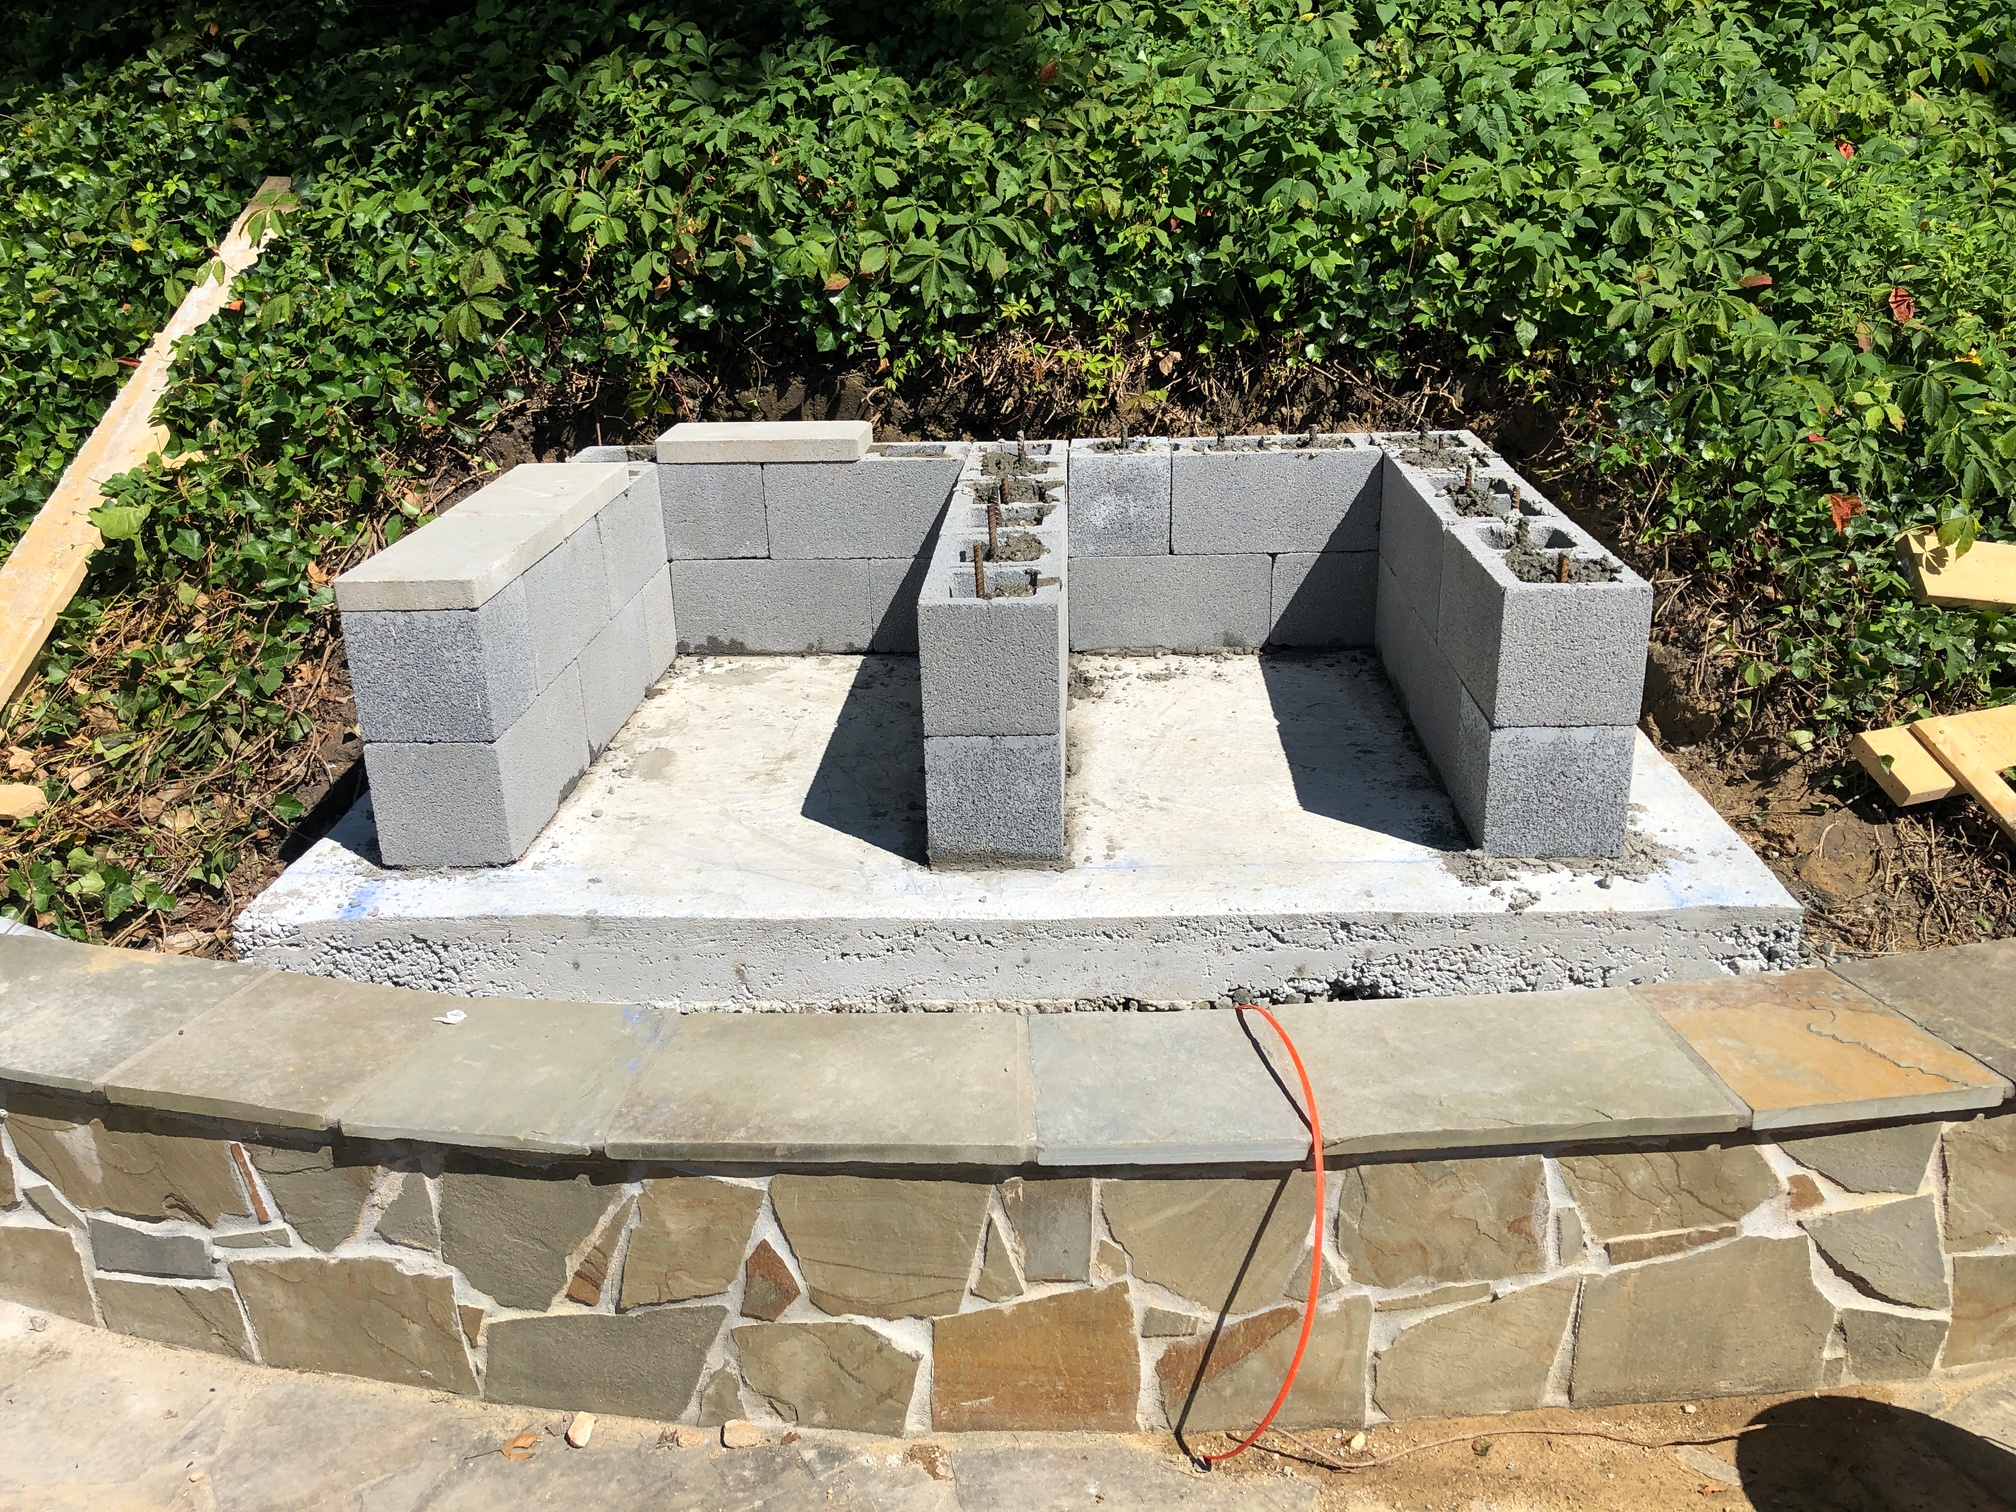
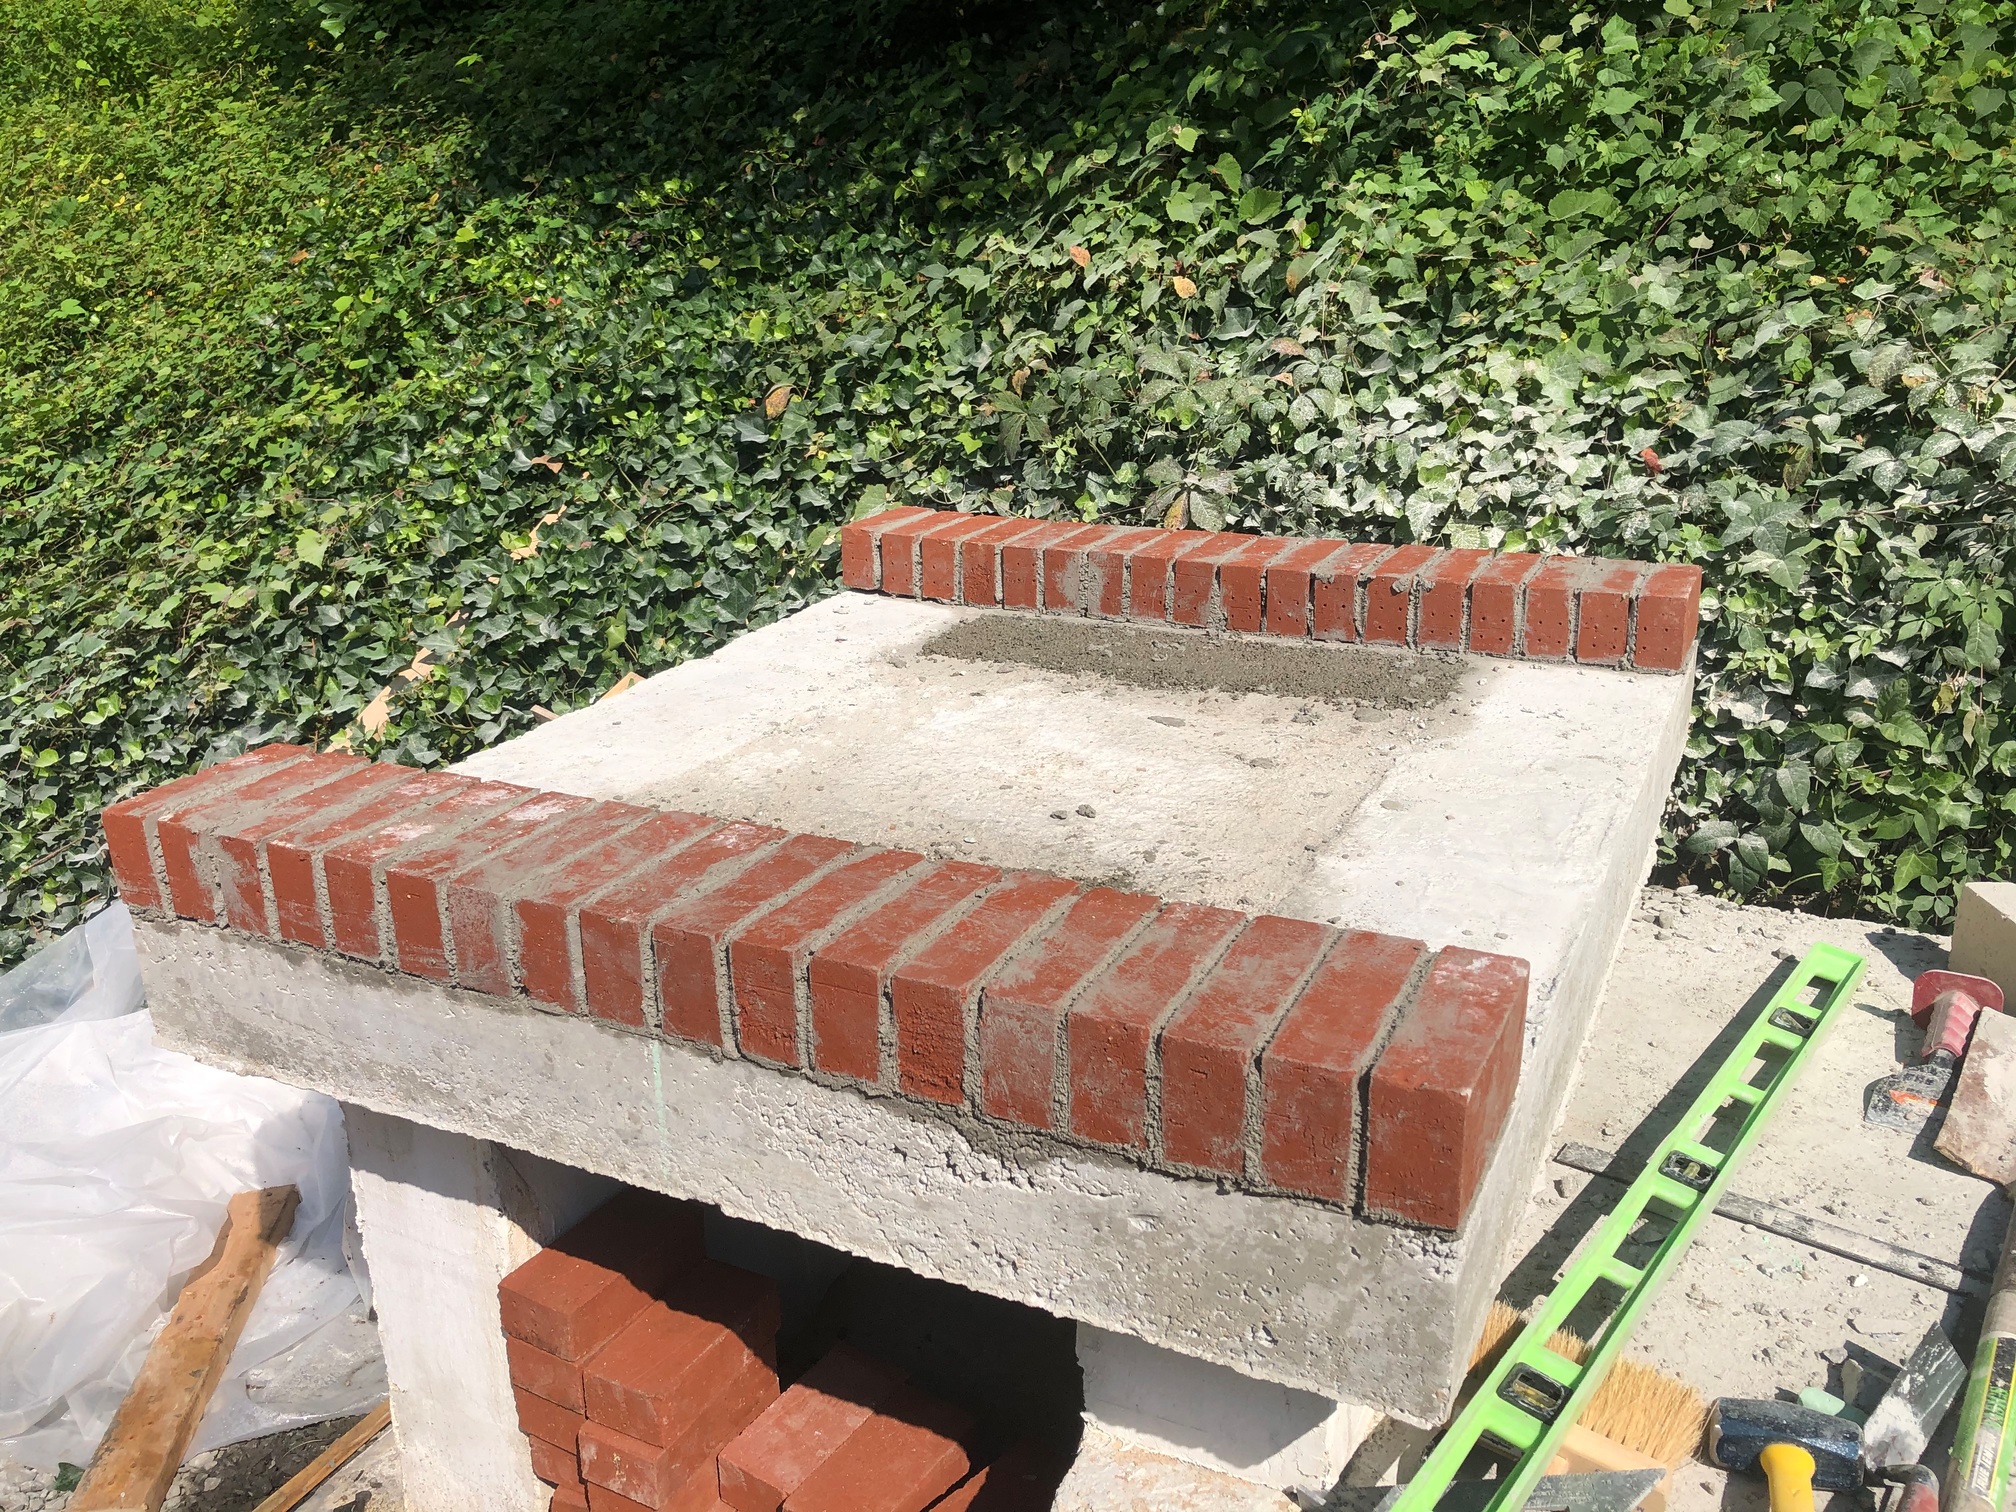
Part two, the block work:
Remaining base stages
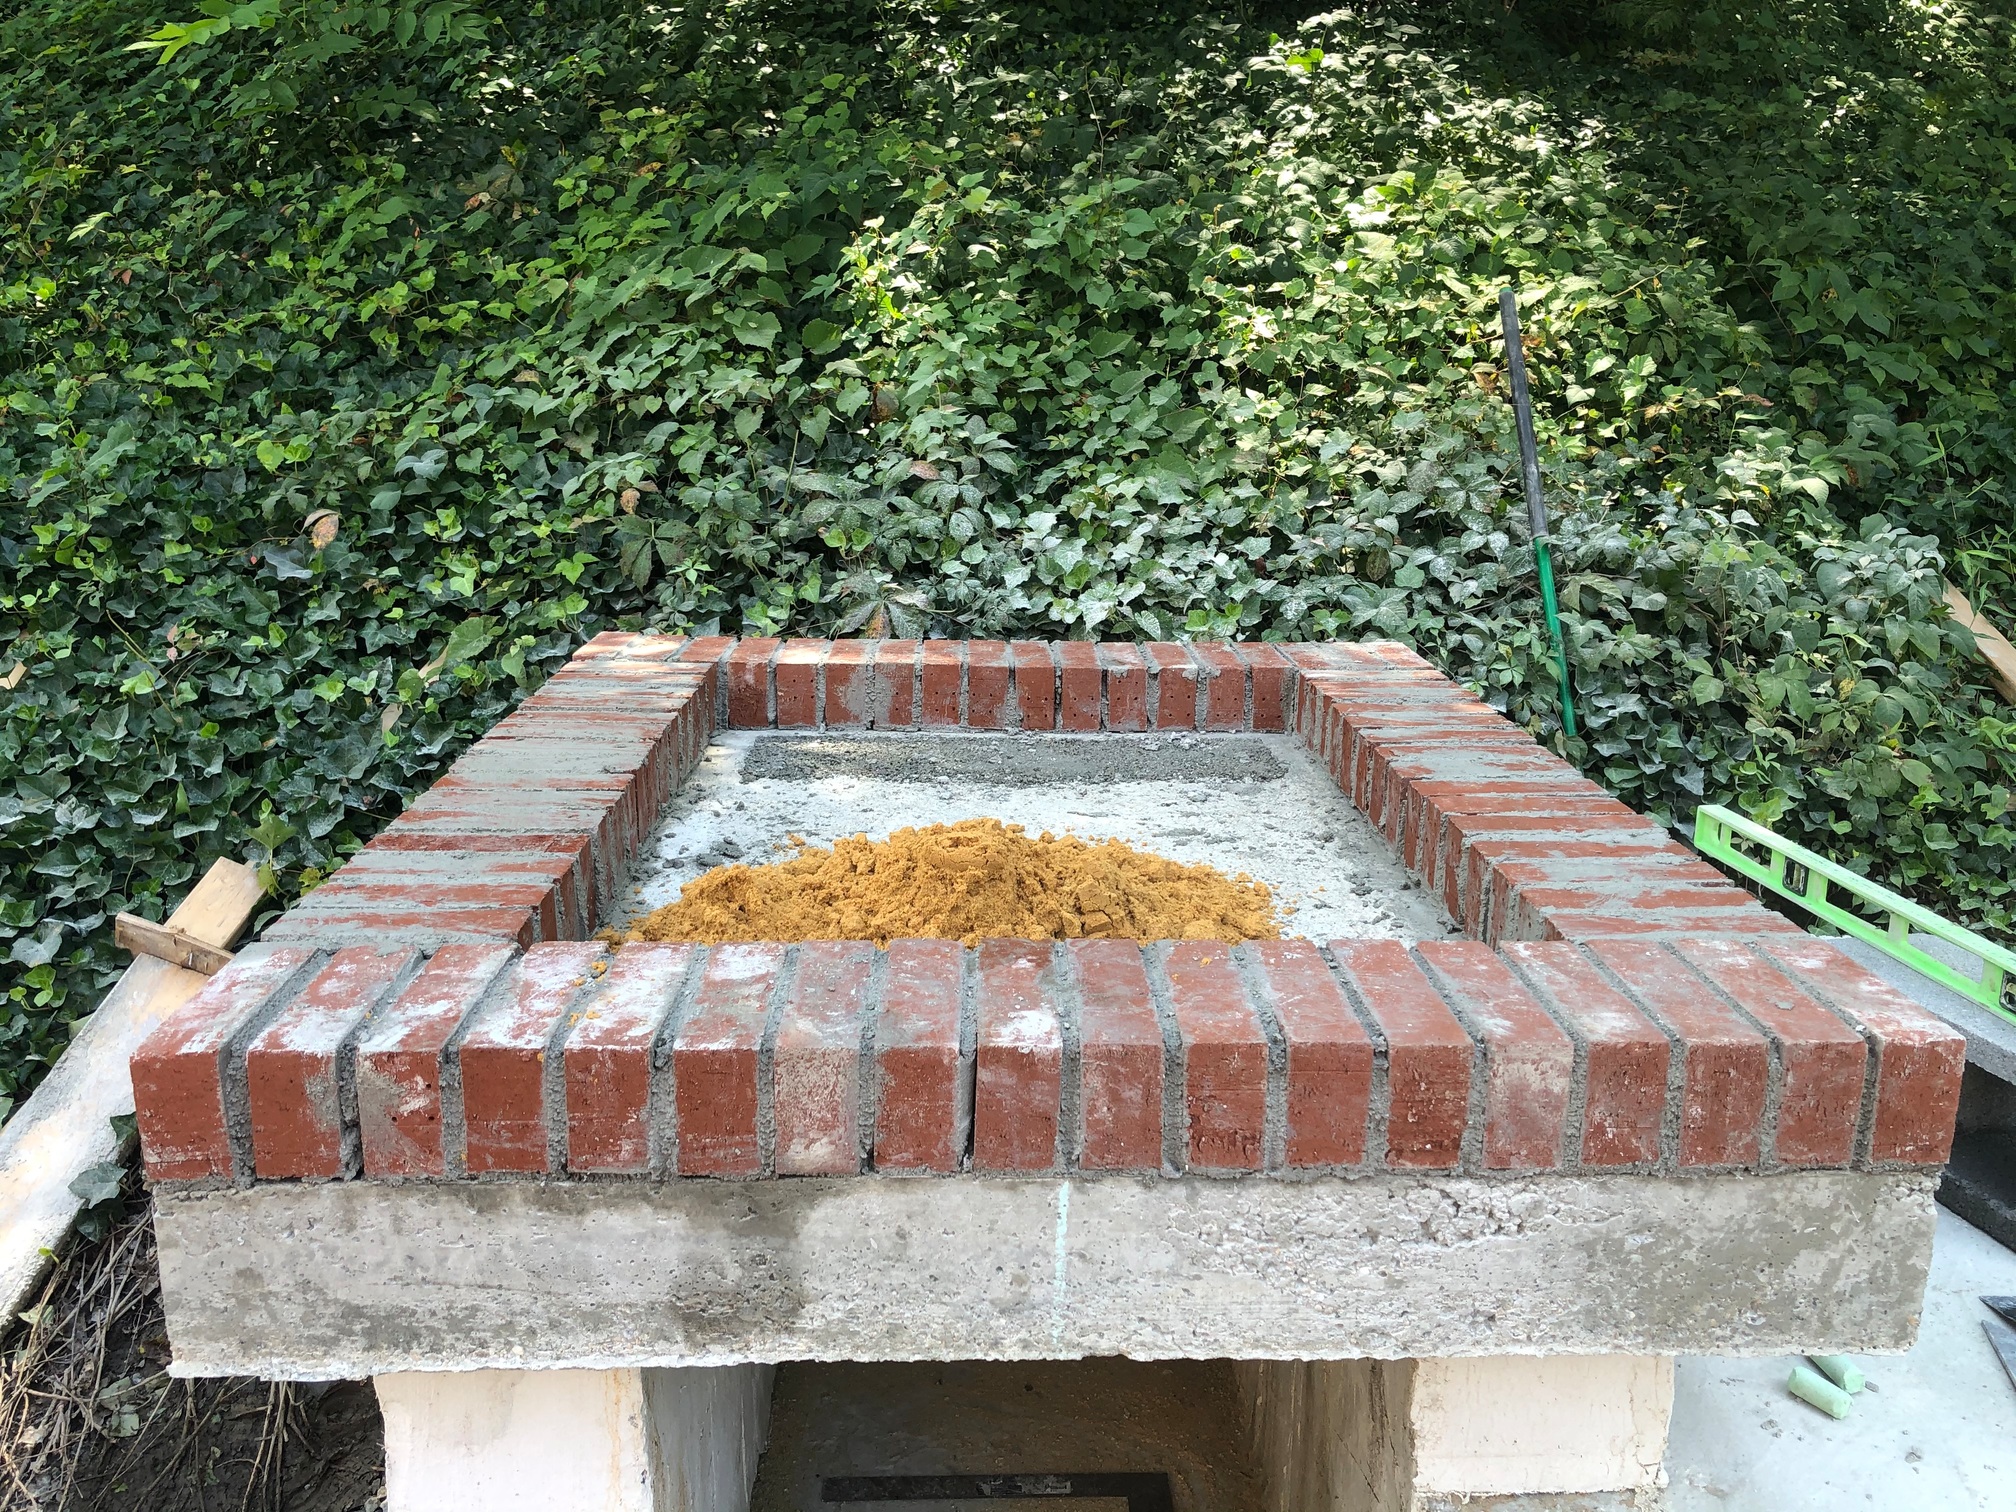
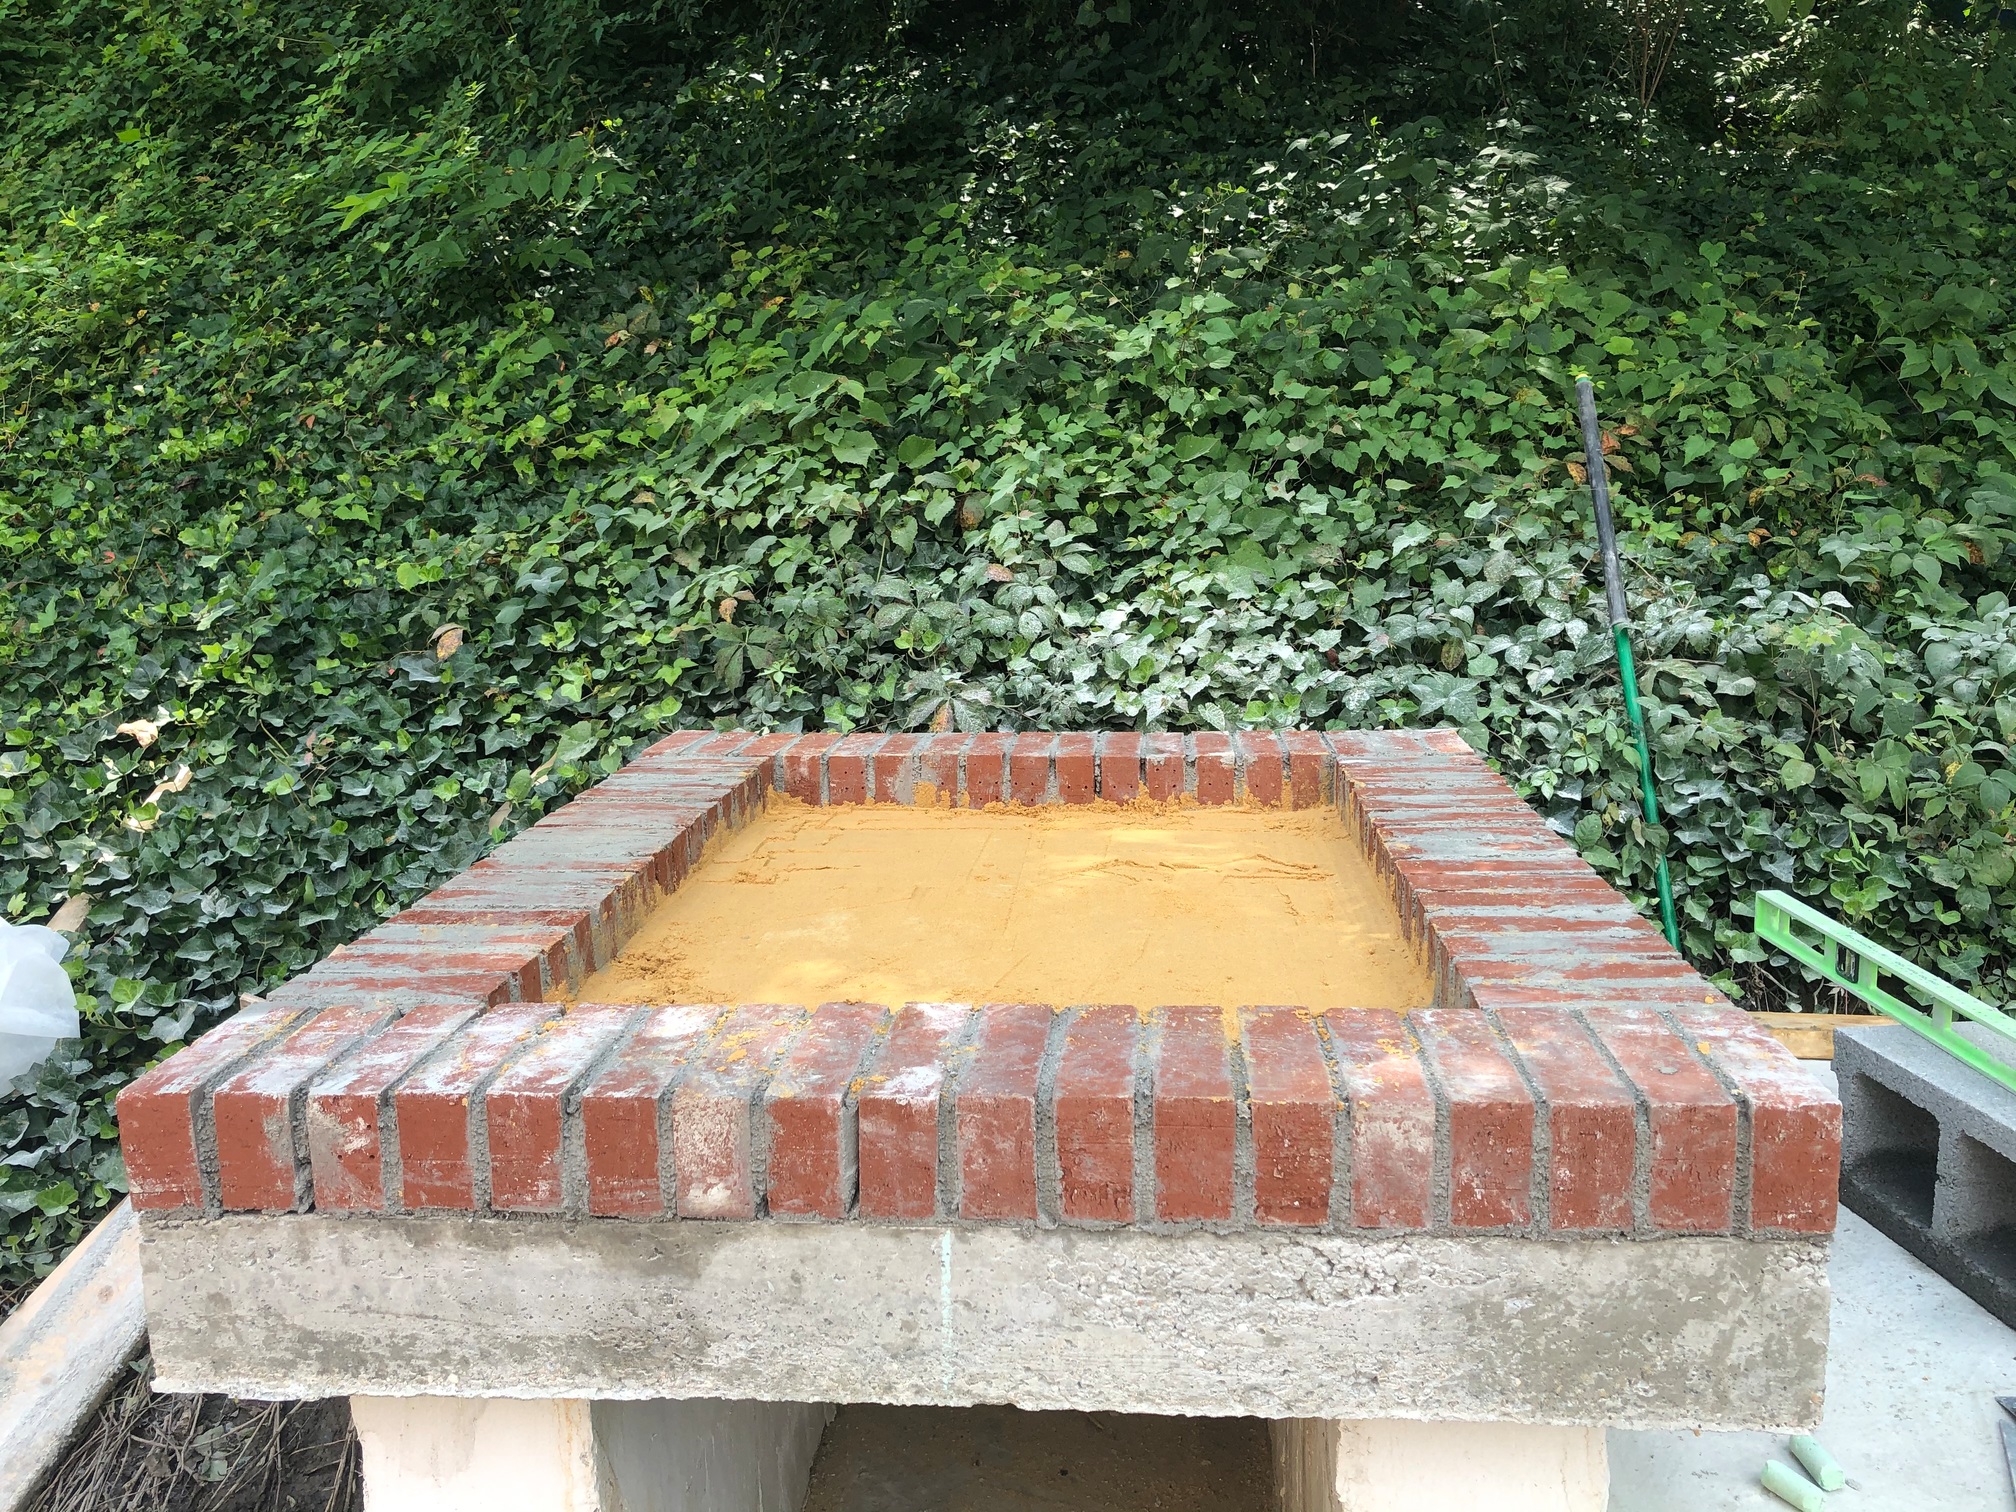
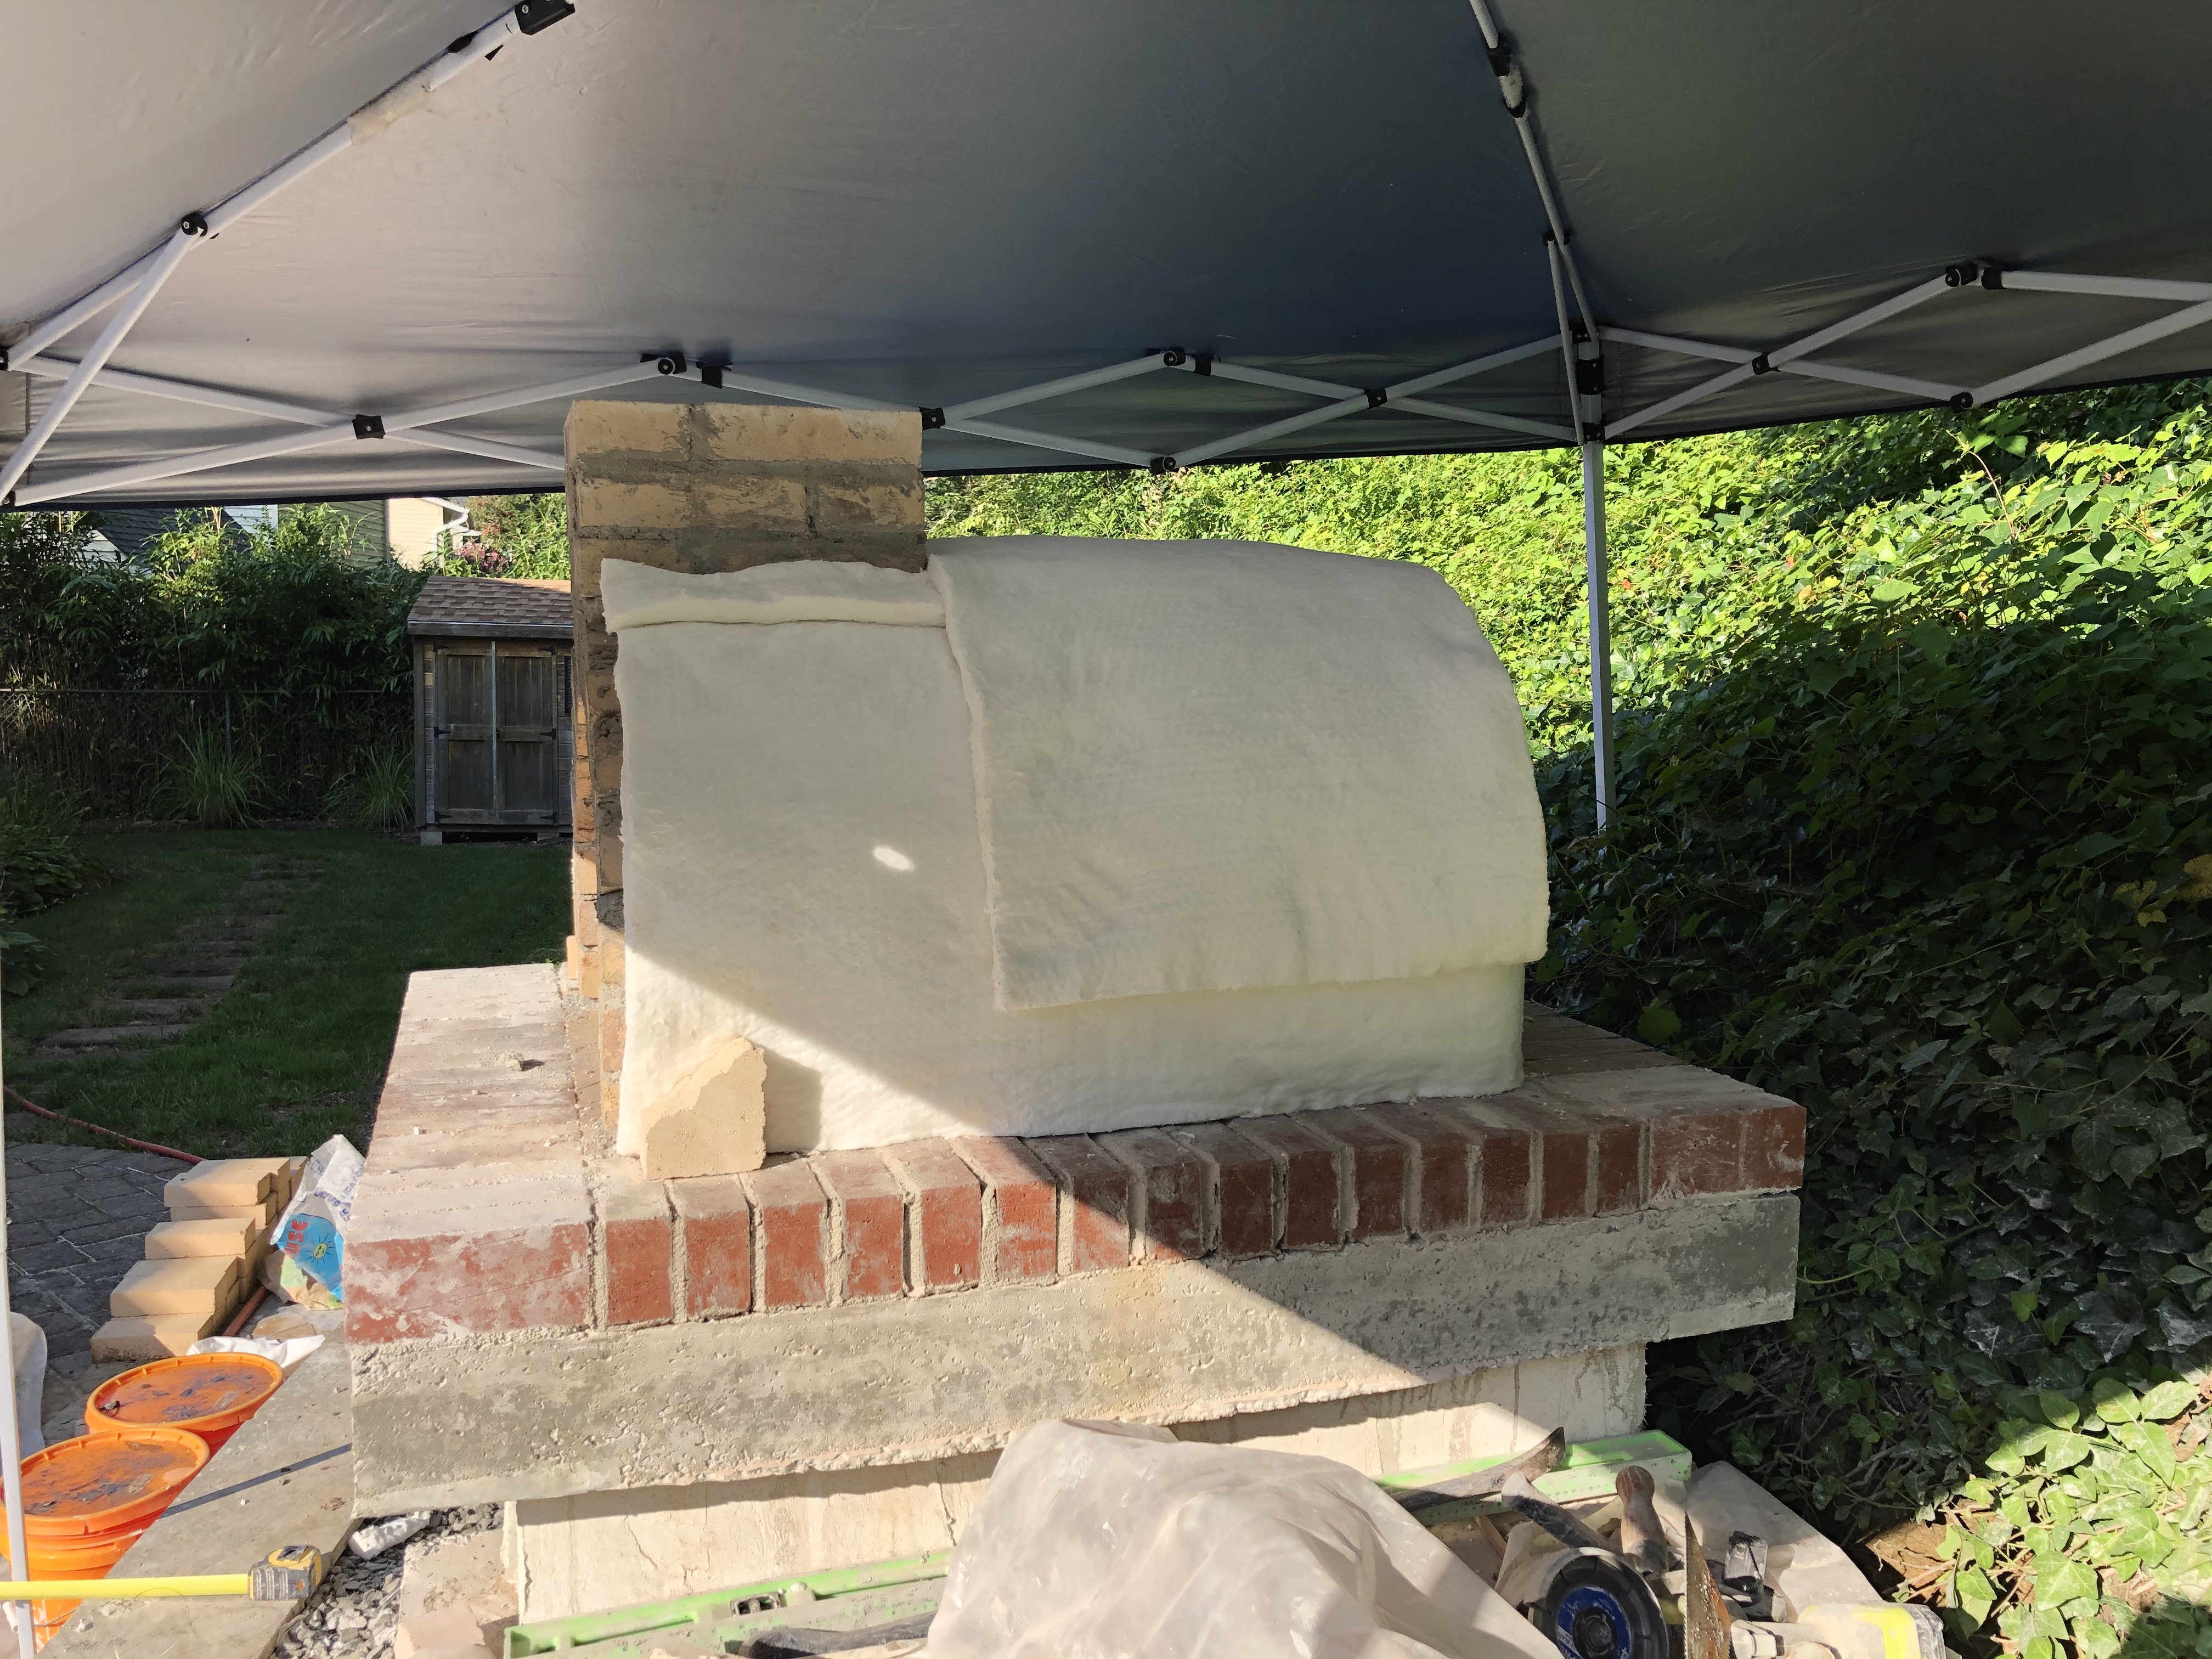
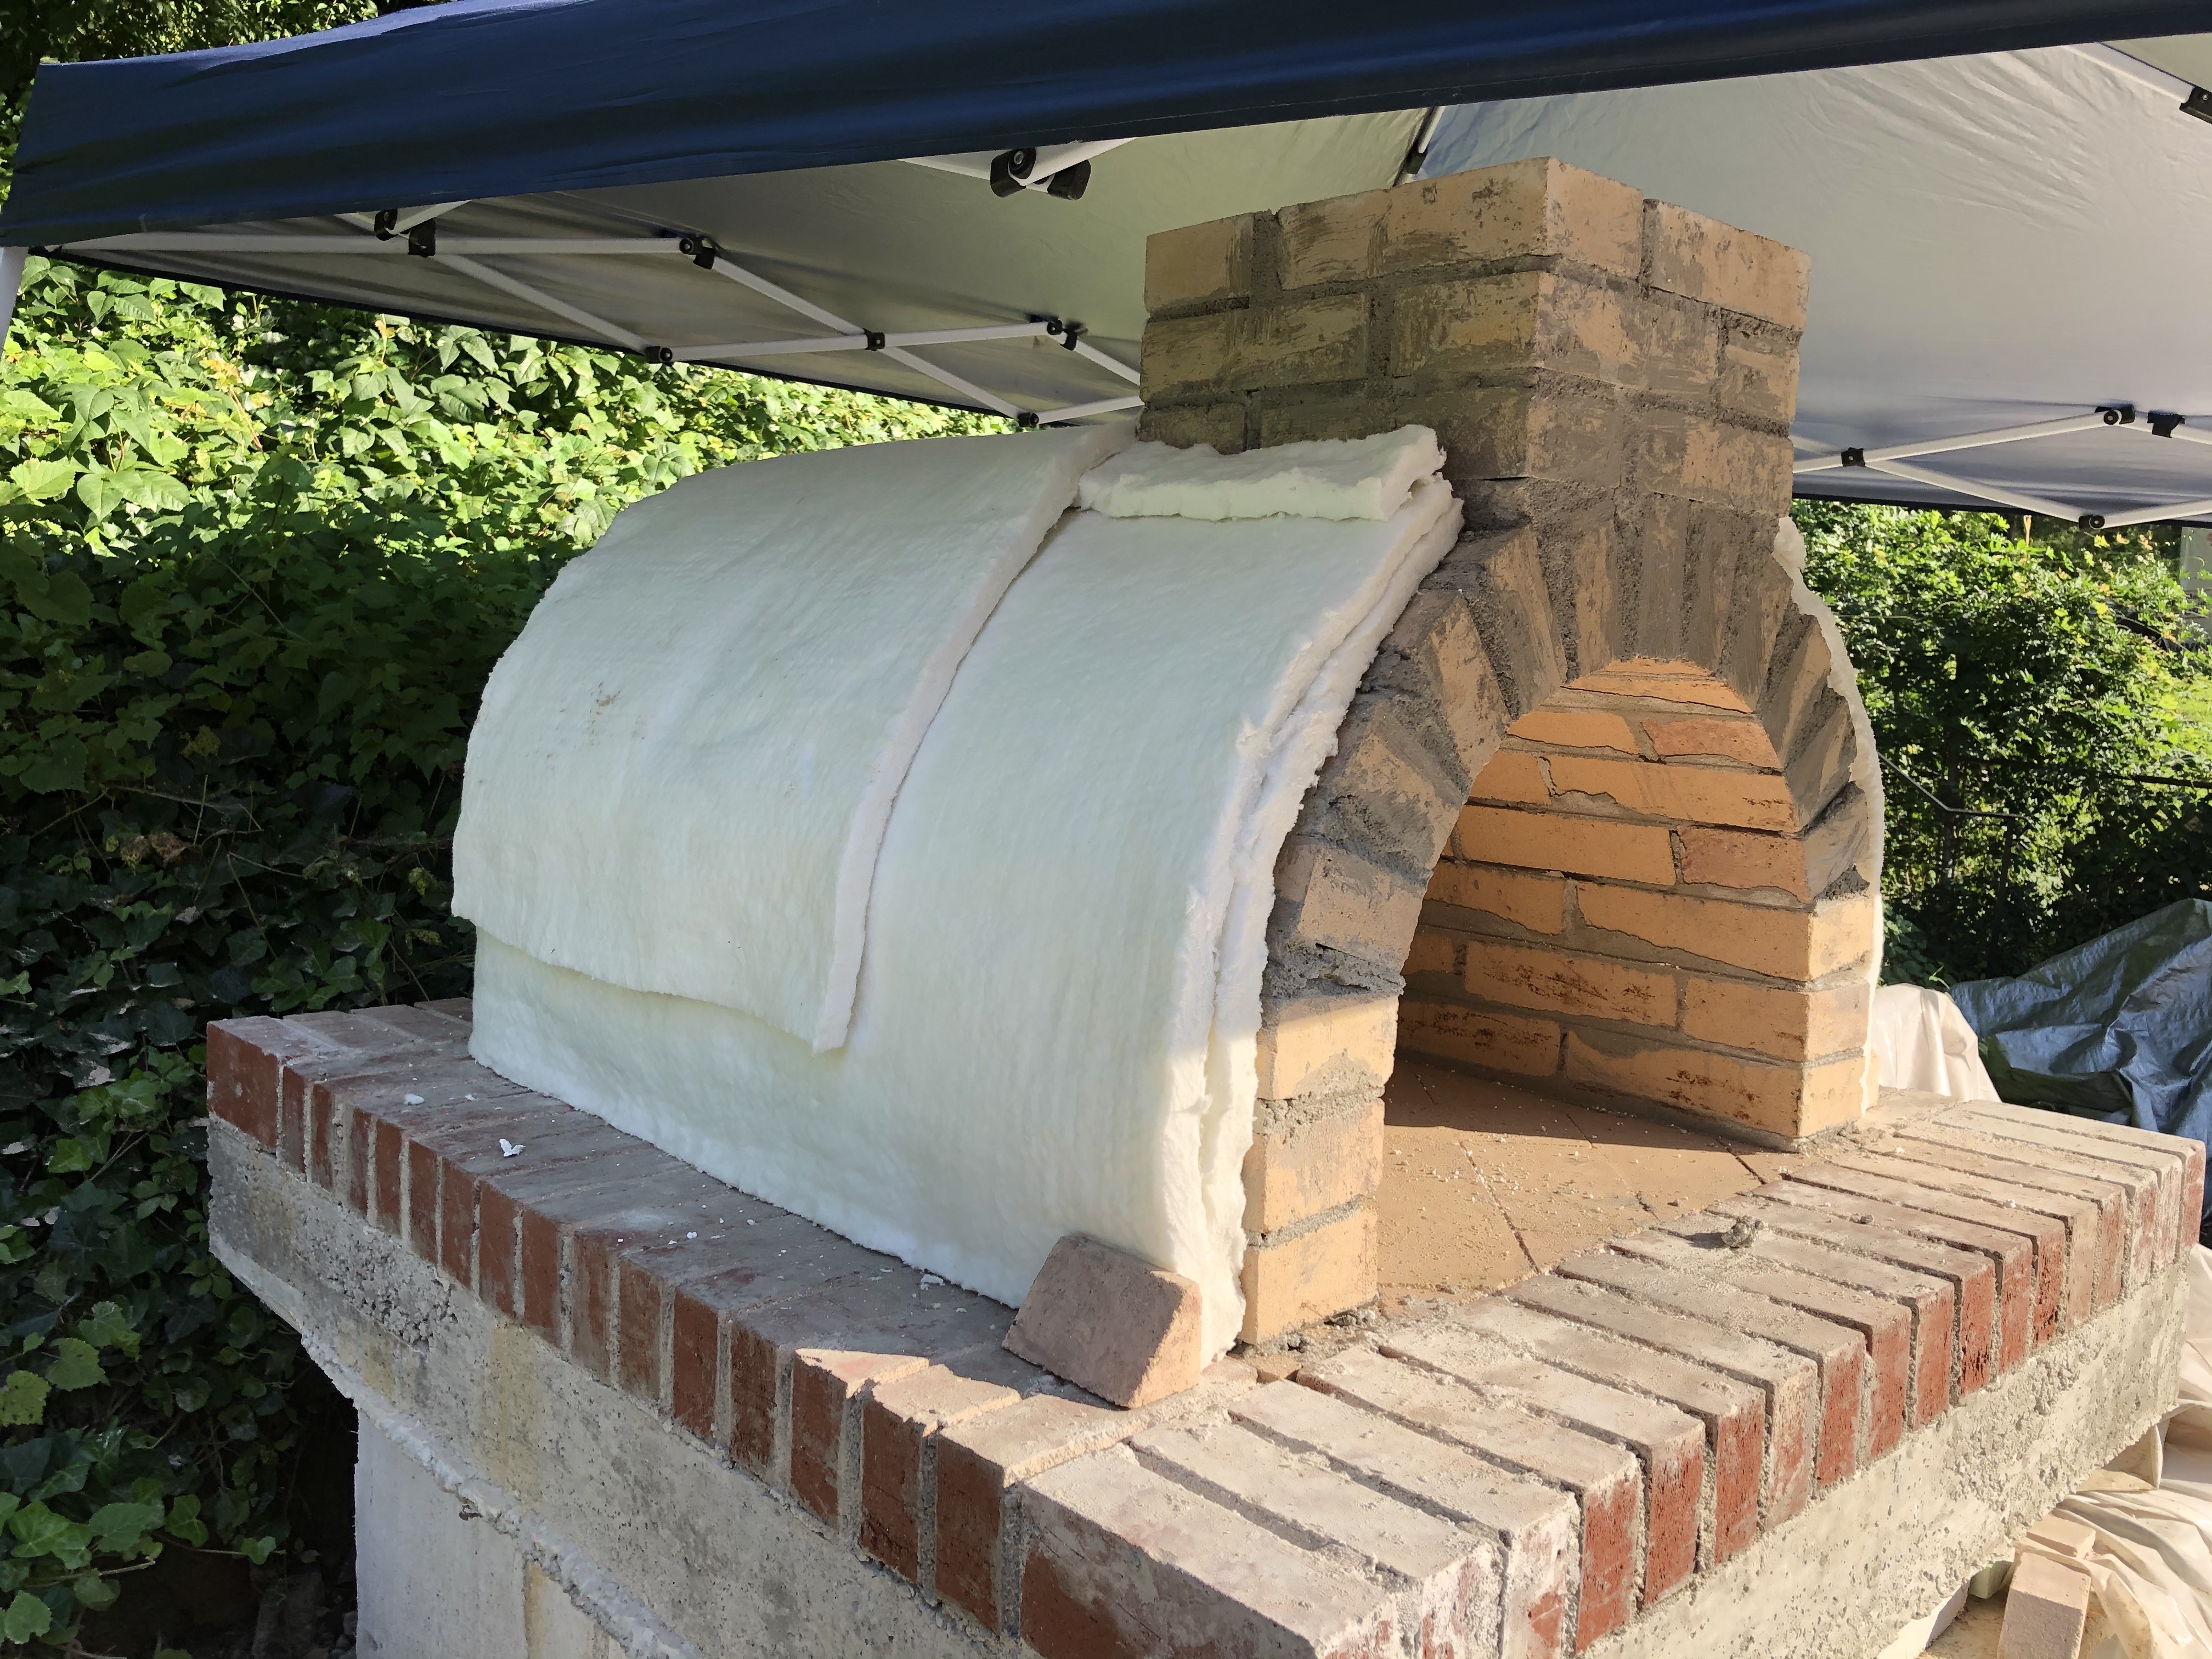
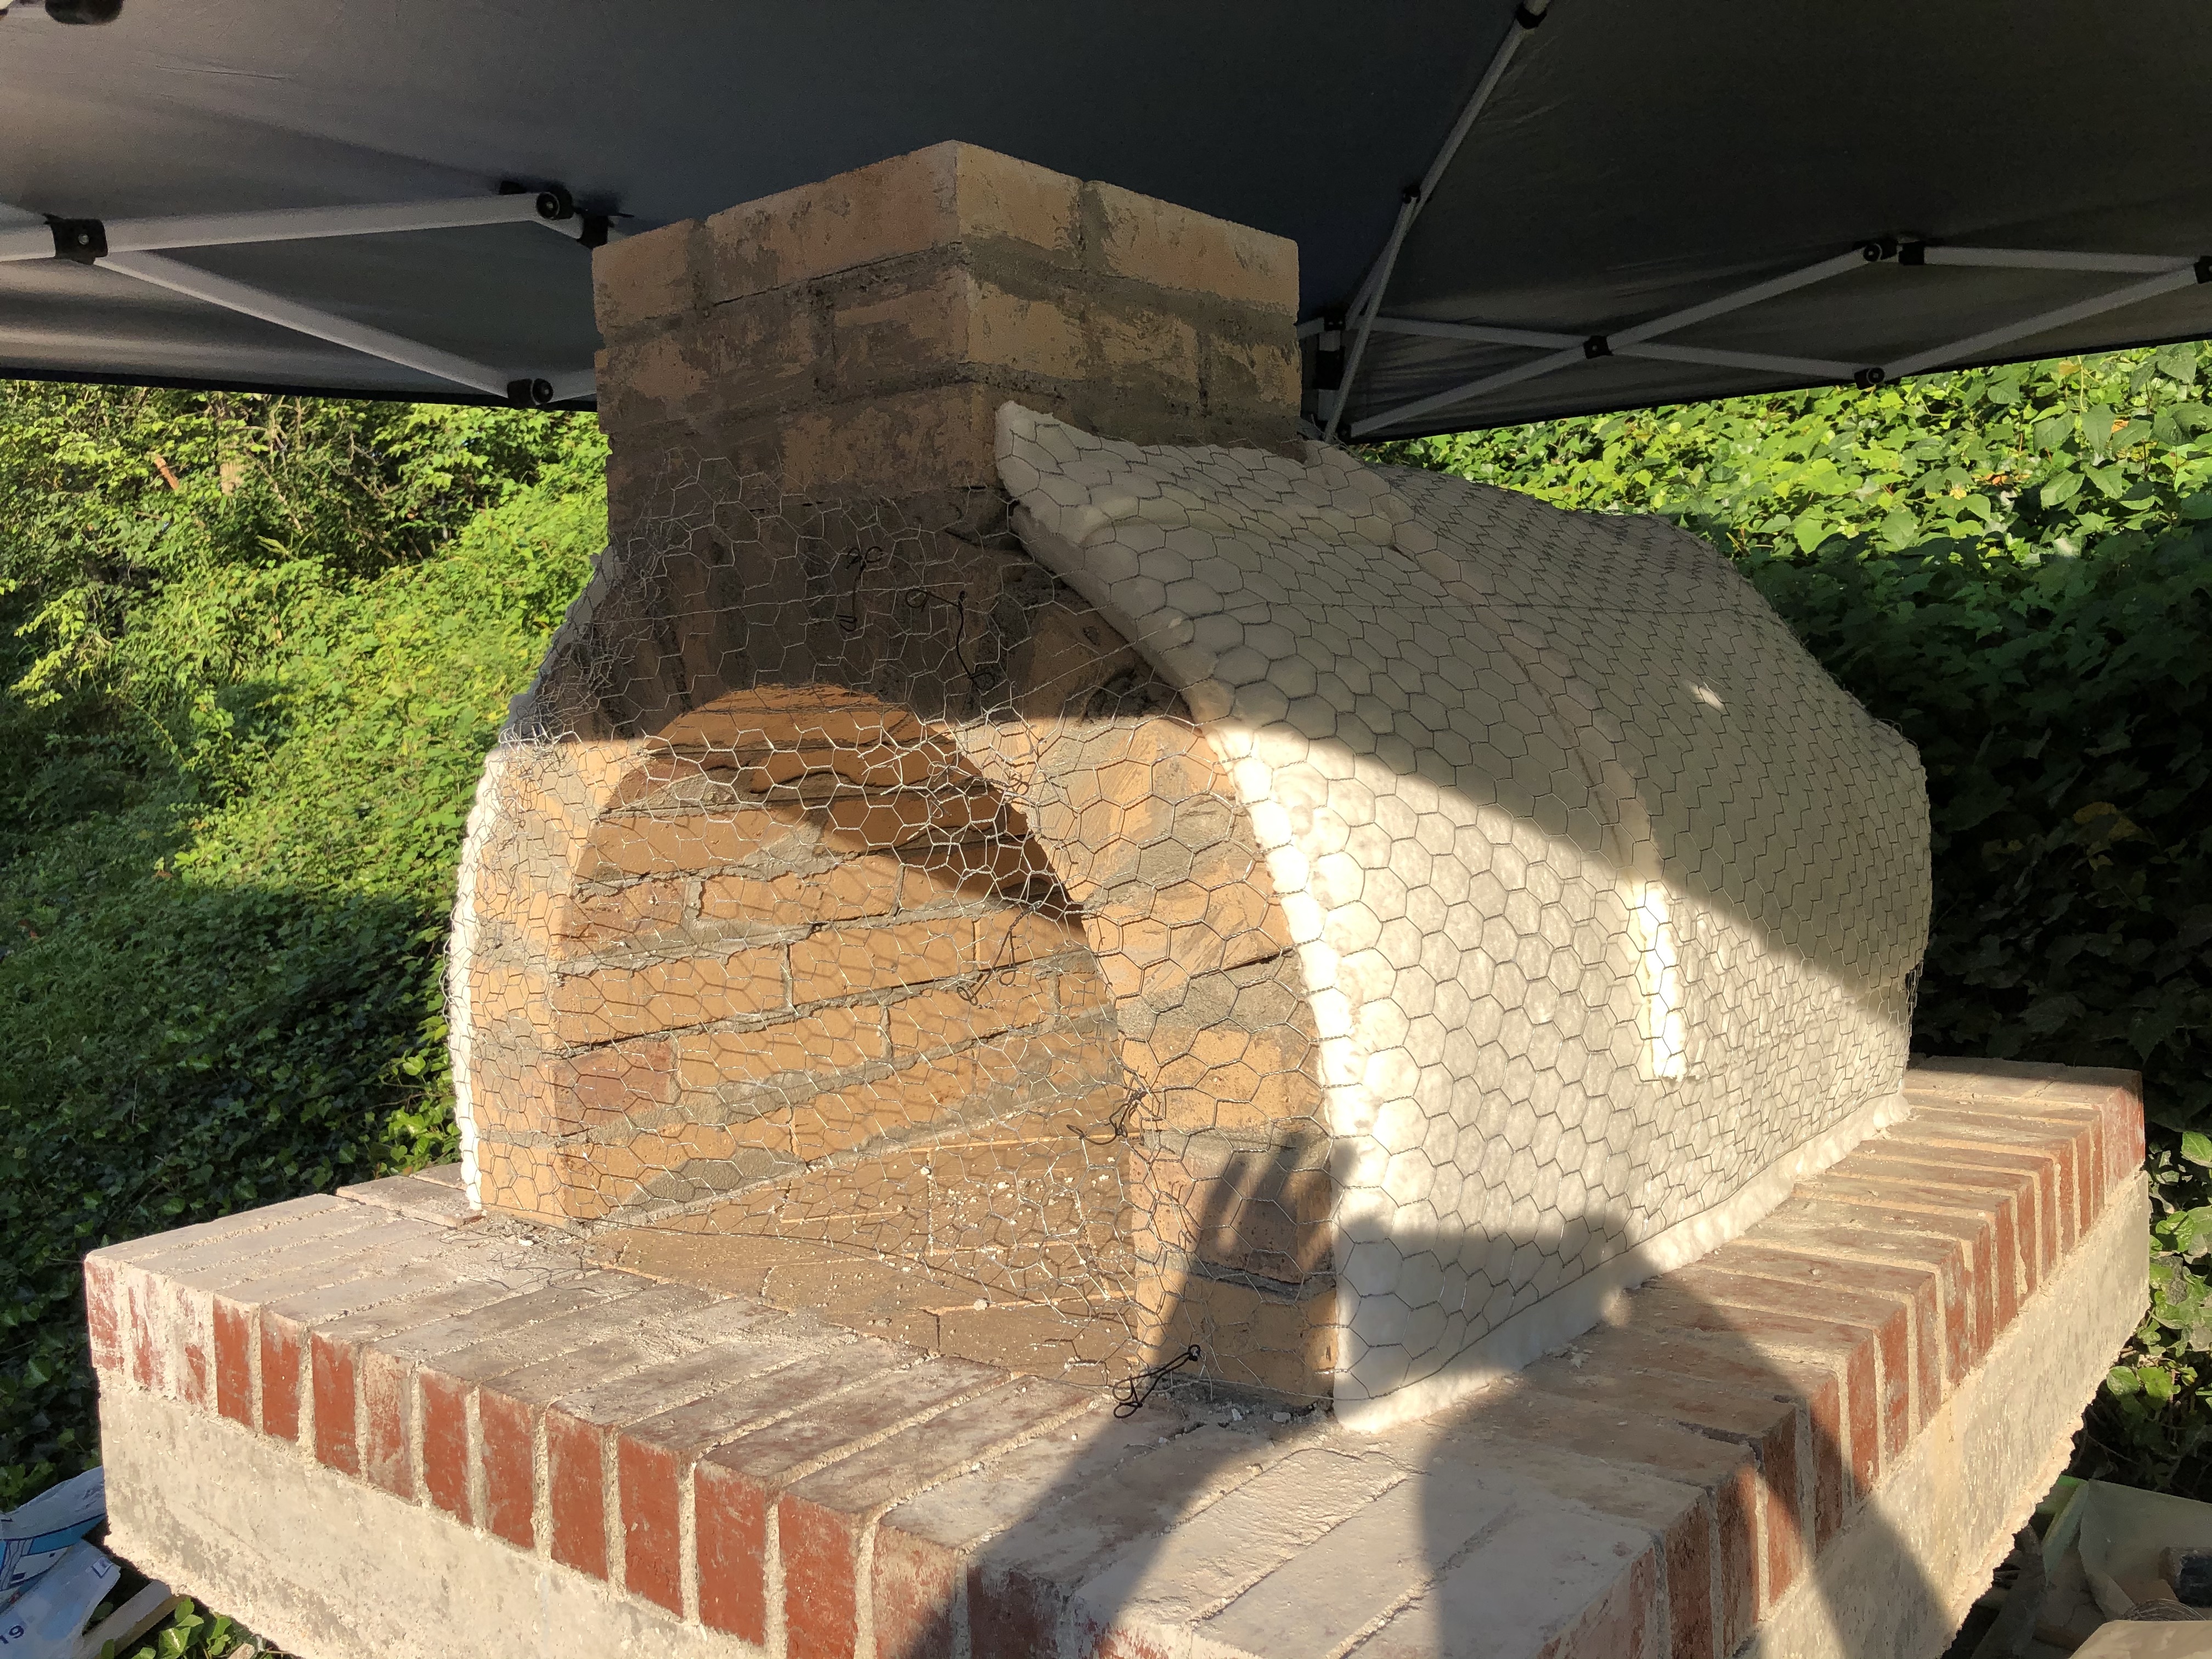
That’s all up to now, I’m finishing the insulation section, and starting on the brick surround tomorrow. If all goes well, I’ll be spreading sand and making my firebrick herringbone on Sunday.
G
Looks great. And after you correct the insulated part of the slab your going to be so much better off. And it will give so much peace of mind that its right.
Good luck.
I spent the better part of Saturday grinding and chiseling out the extra space for the insulation, so I didn’t get as much completed this weekend. On the plus side, I know that I’ve poured some ridiculously strong concrete.
G
looking good! don’t get in a hurry, it will come before you know it
Did some work during the week, since the slab grinding set me back a bit.
G
The floor looks great! My wife setup our E-Z Up tent for me too. It kept me cool but also kept the mortar from curing too quick. You’ll be cooking in no time.
Good job! Your on your way.
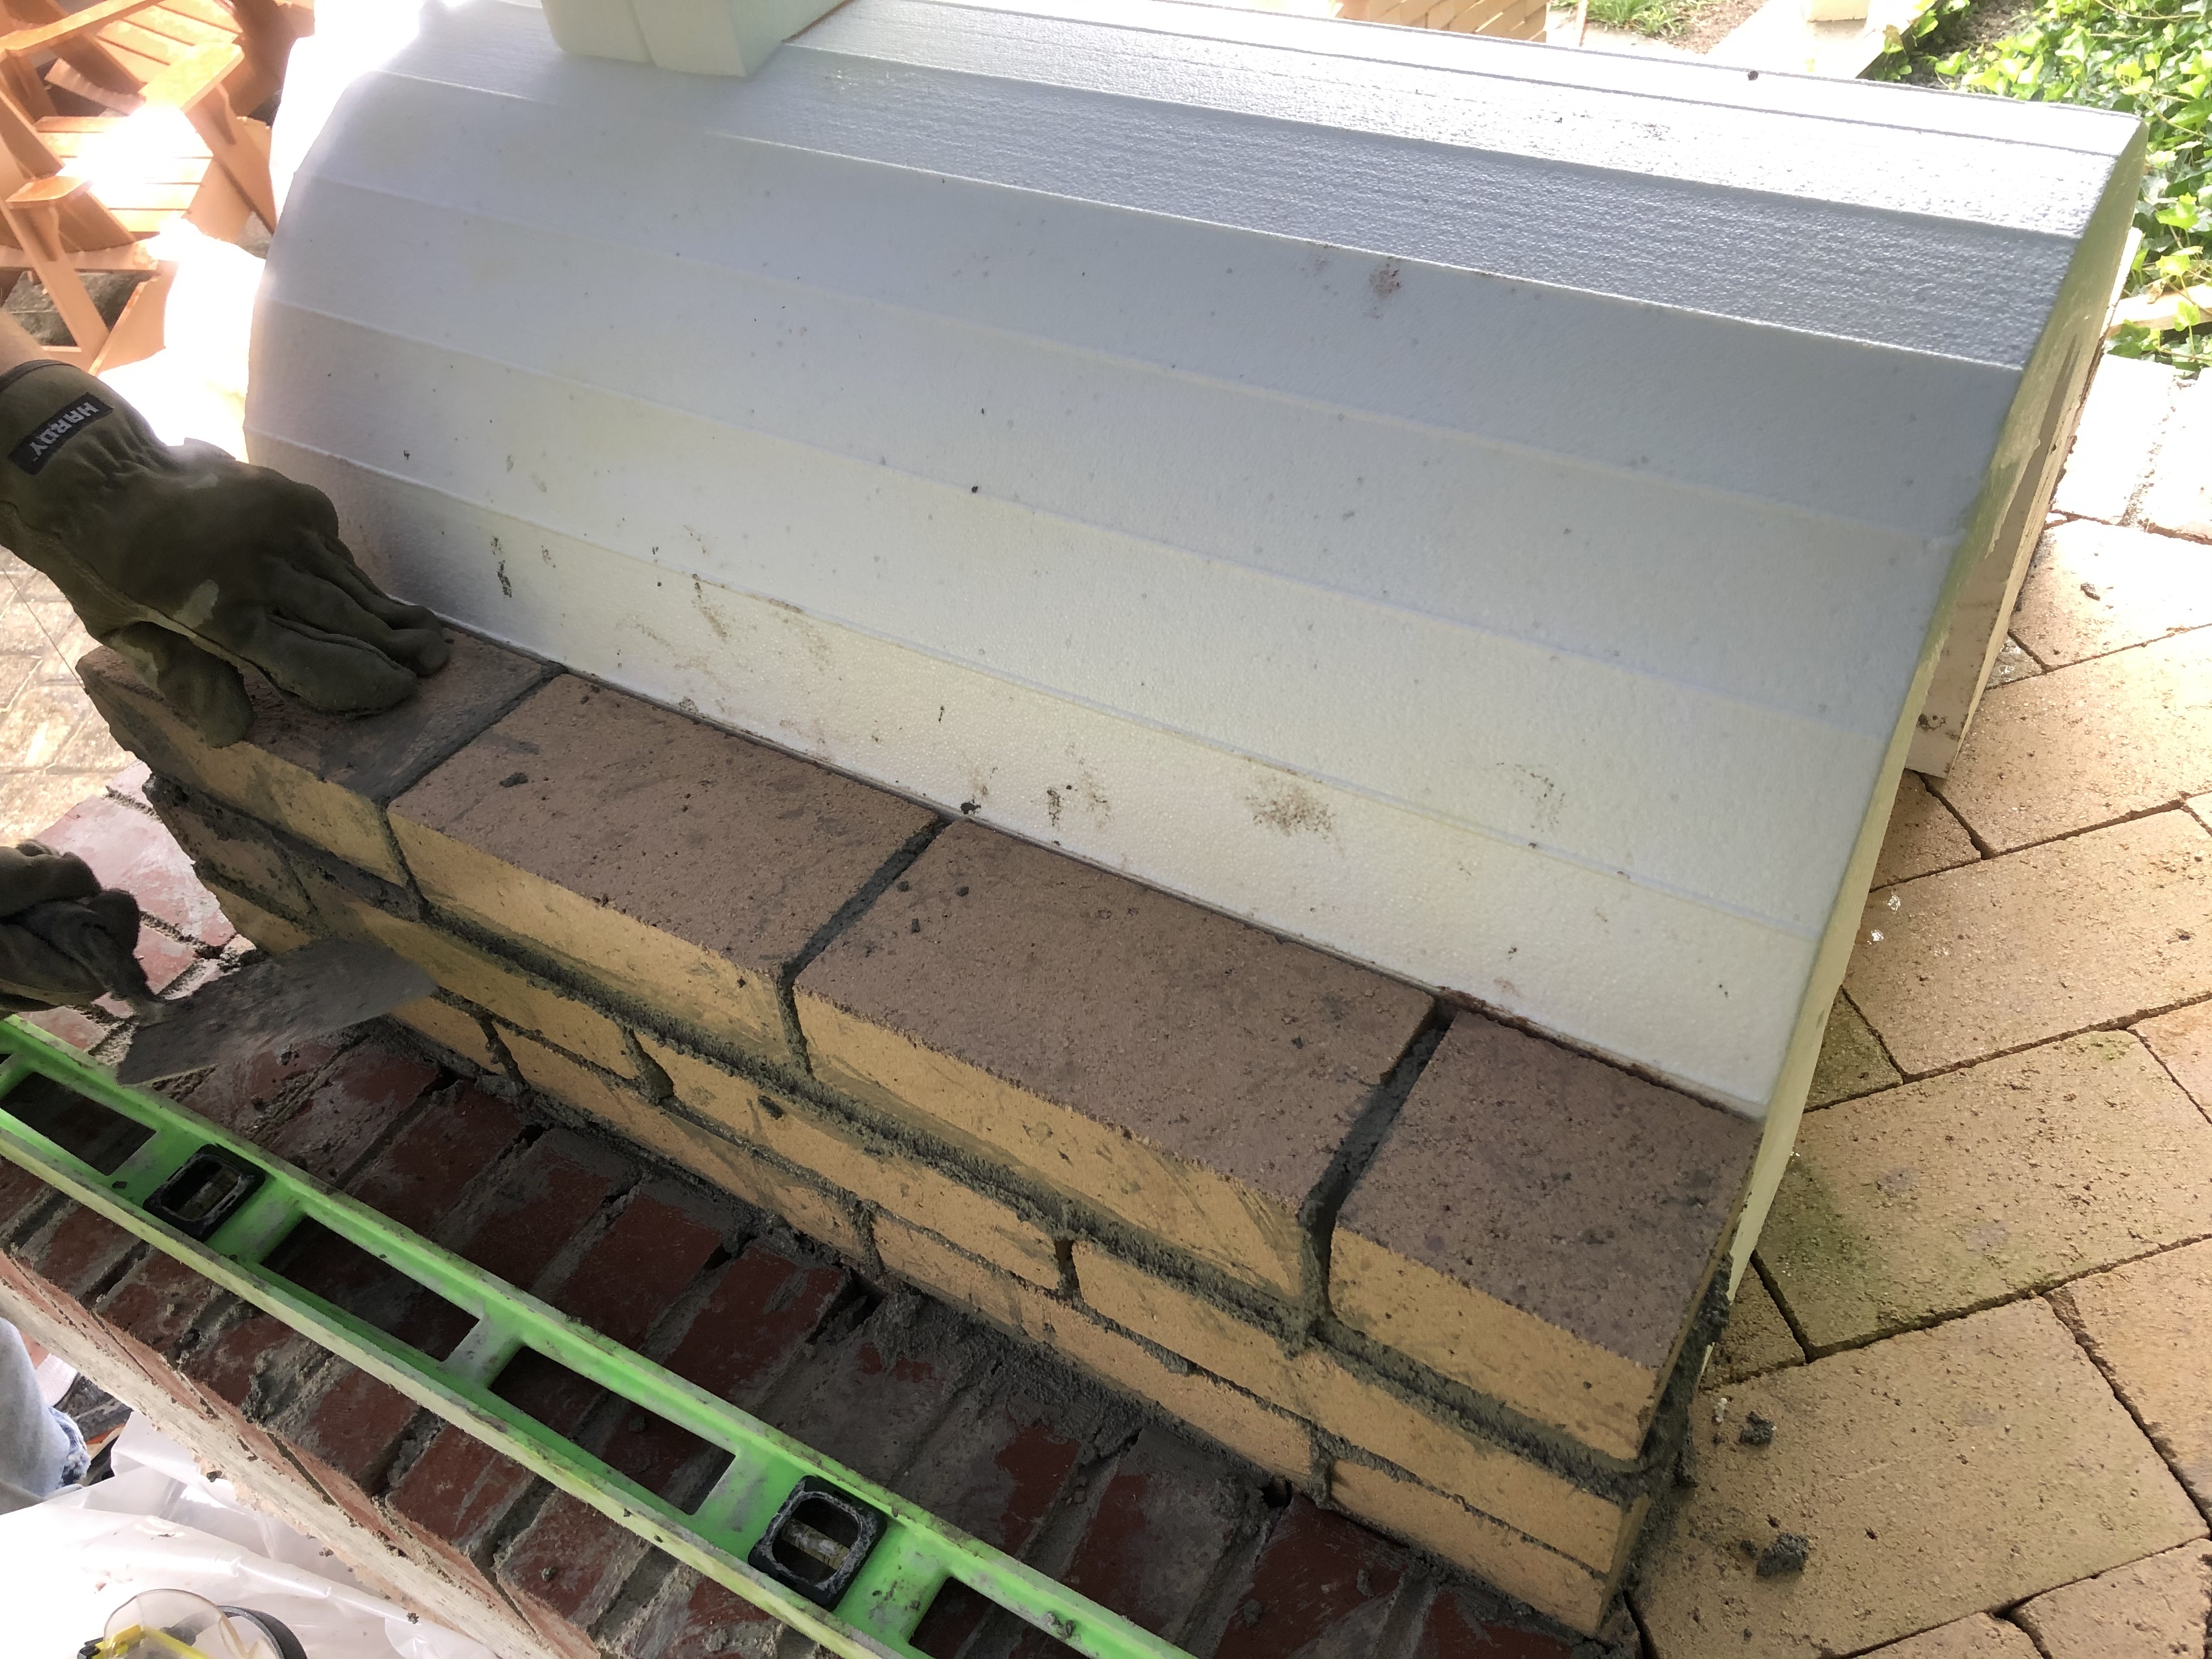
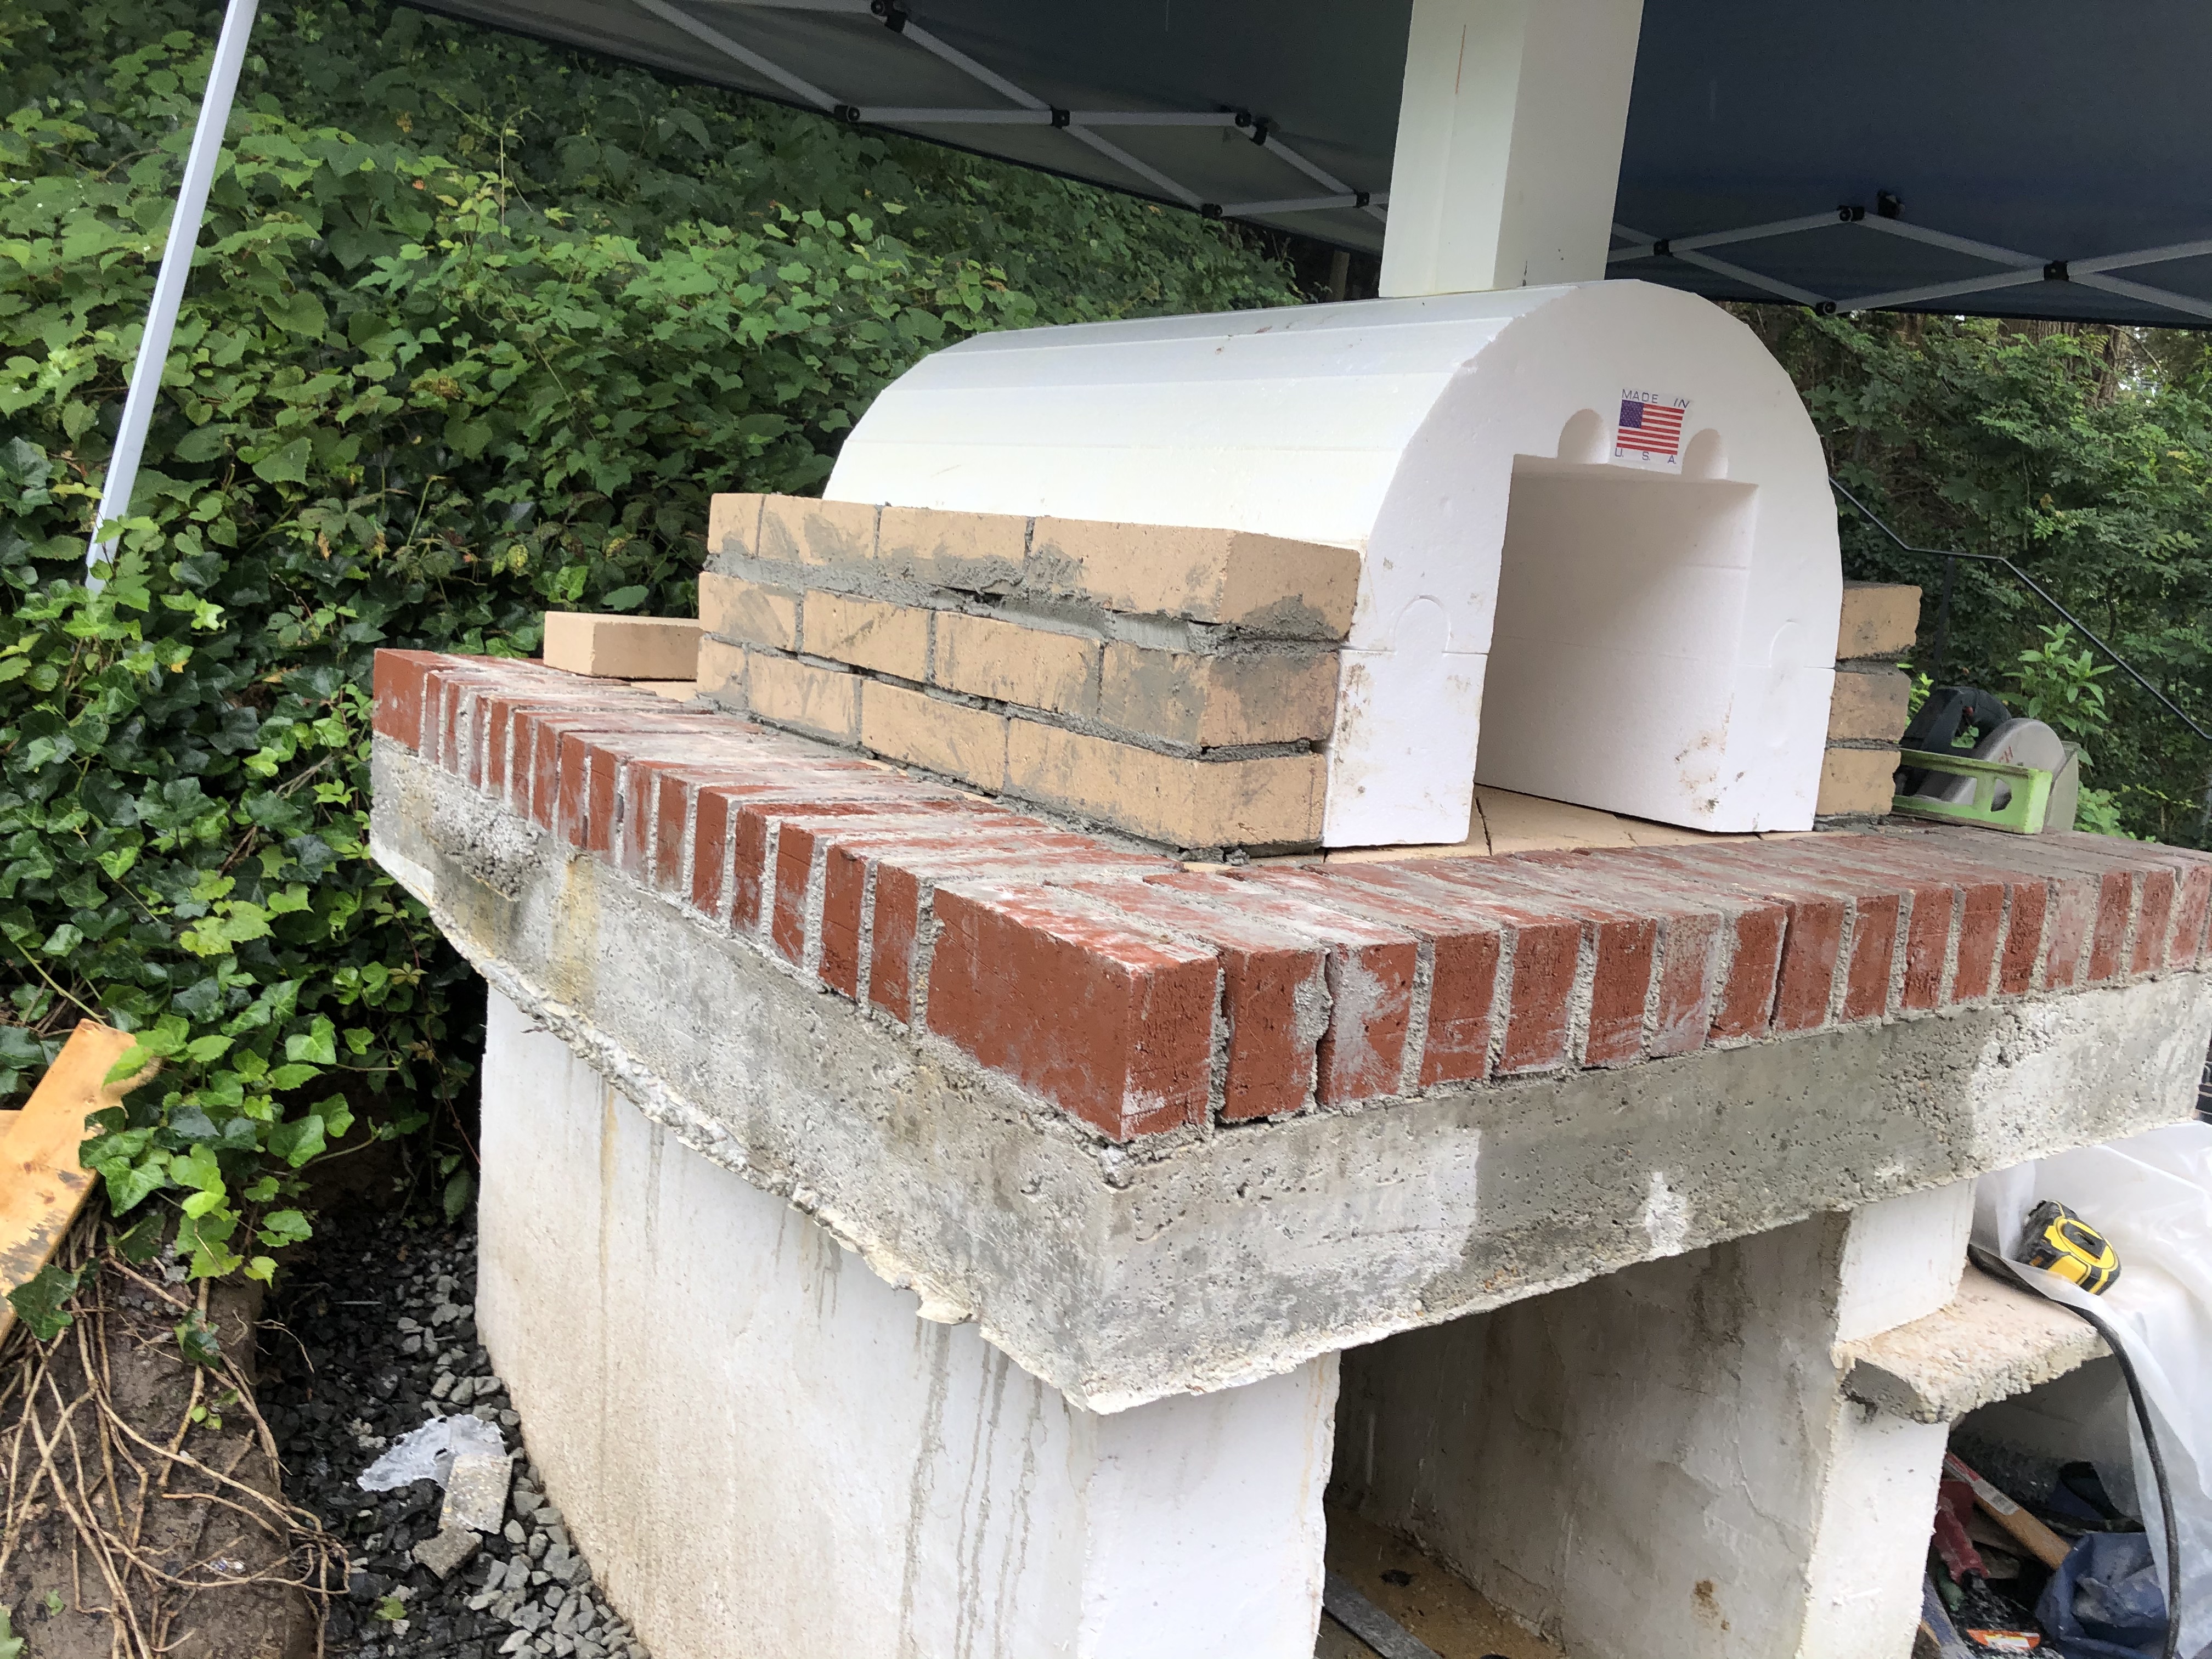
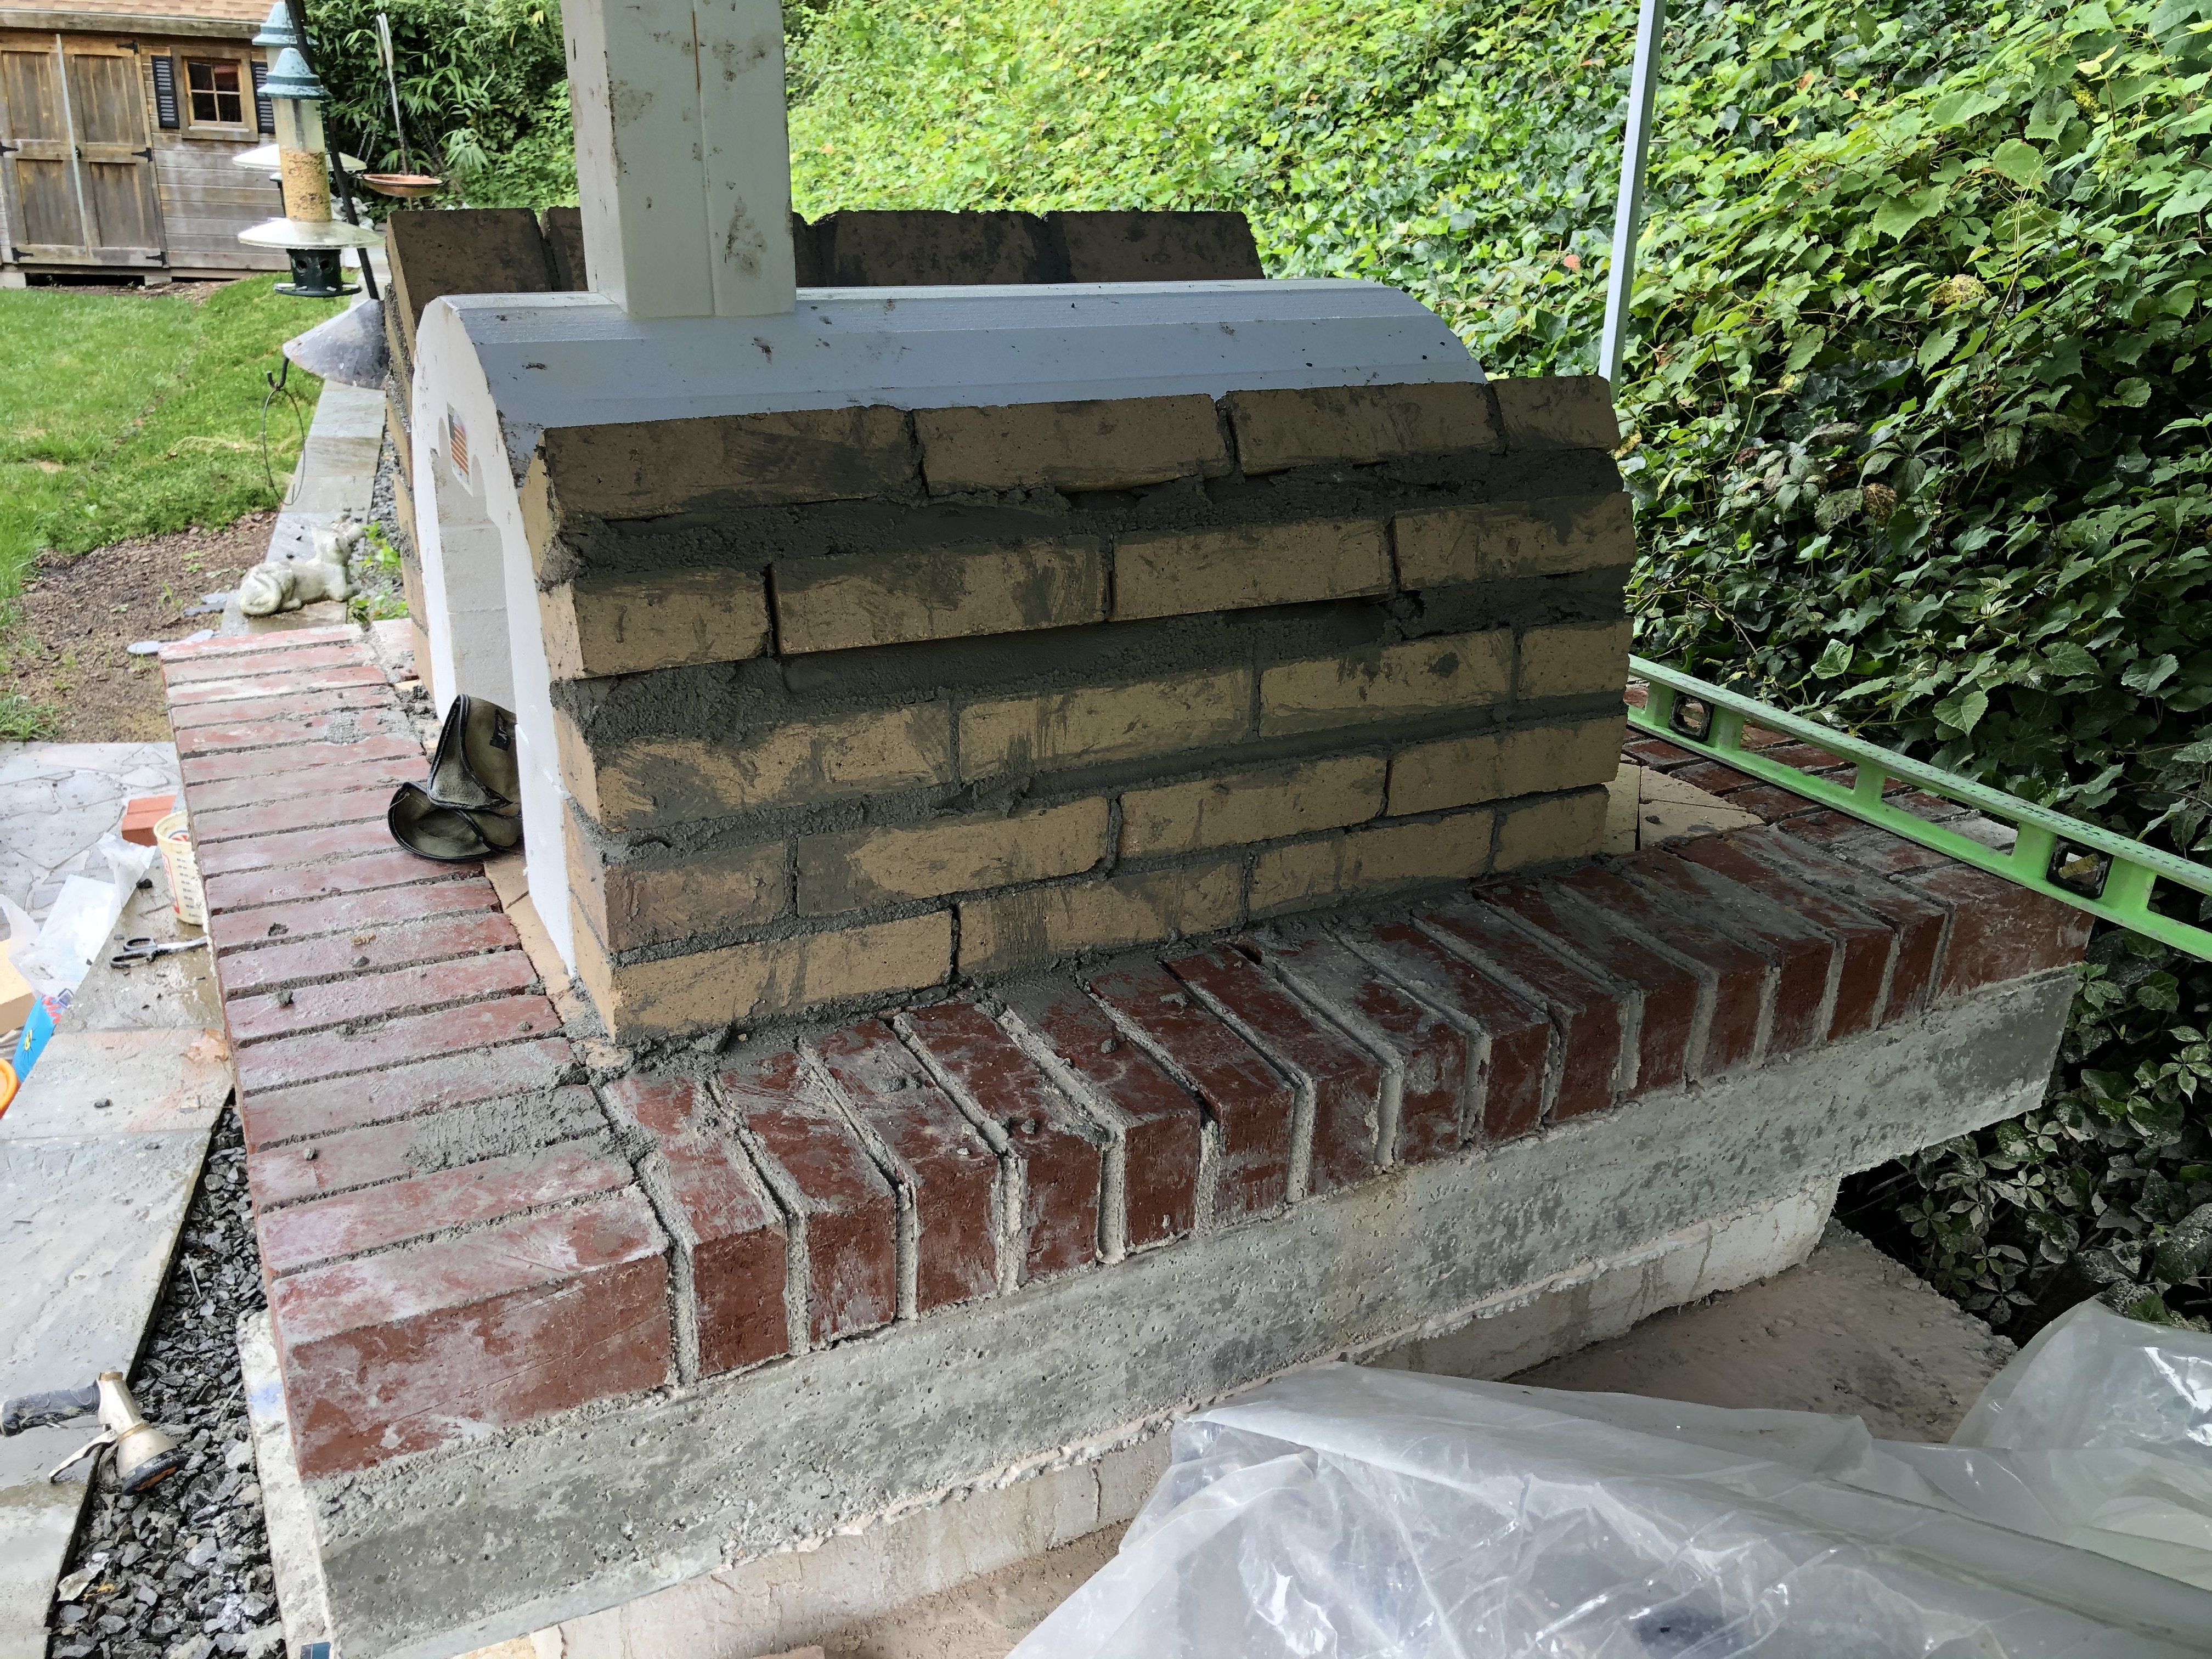
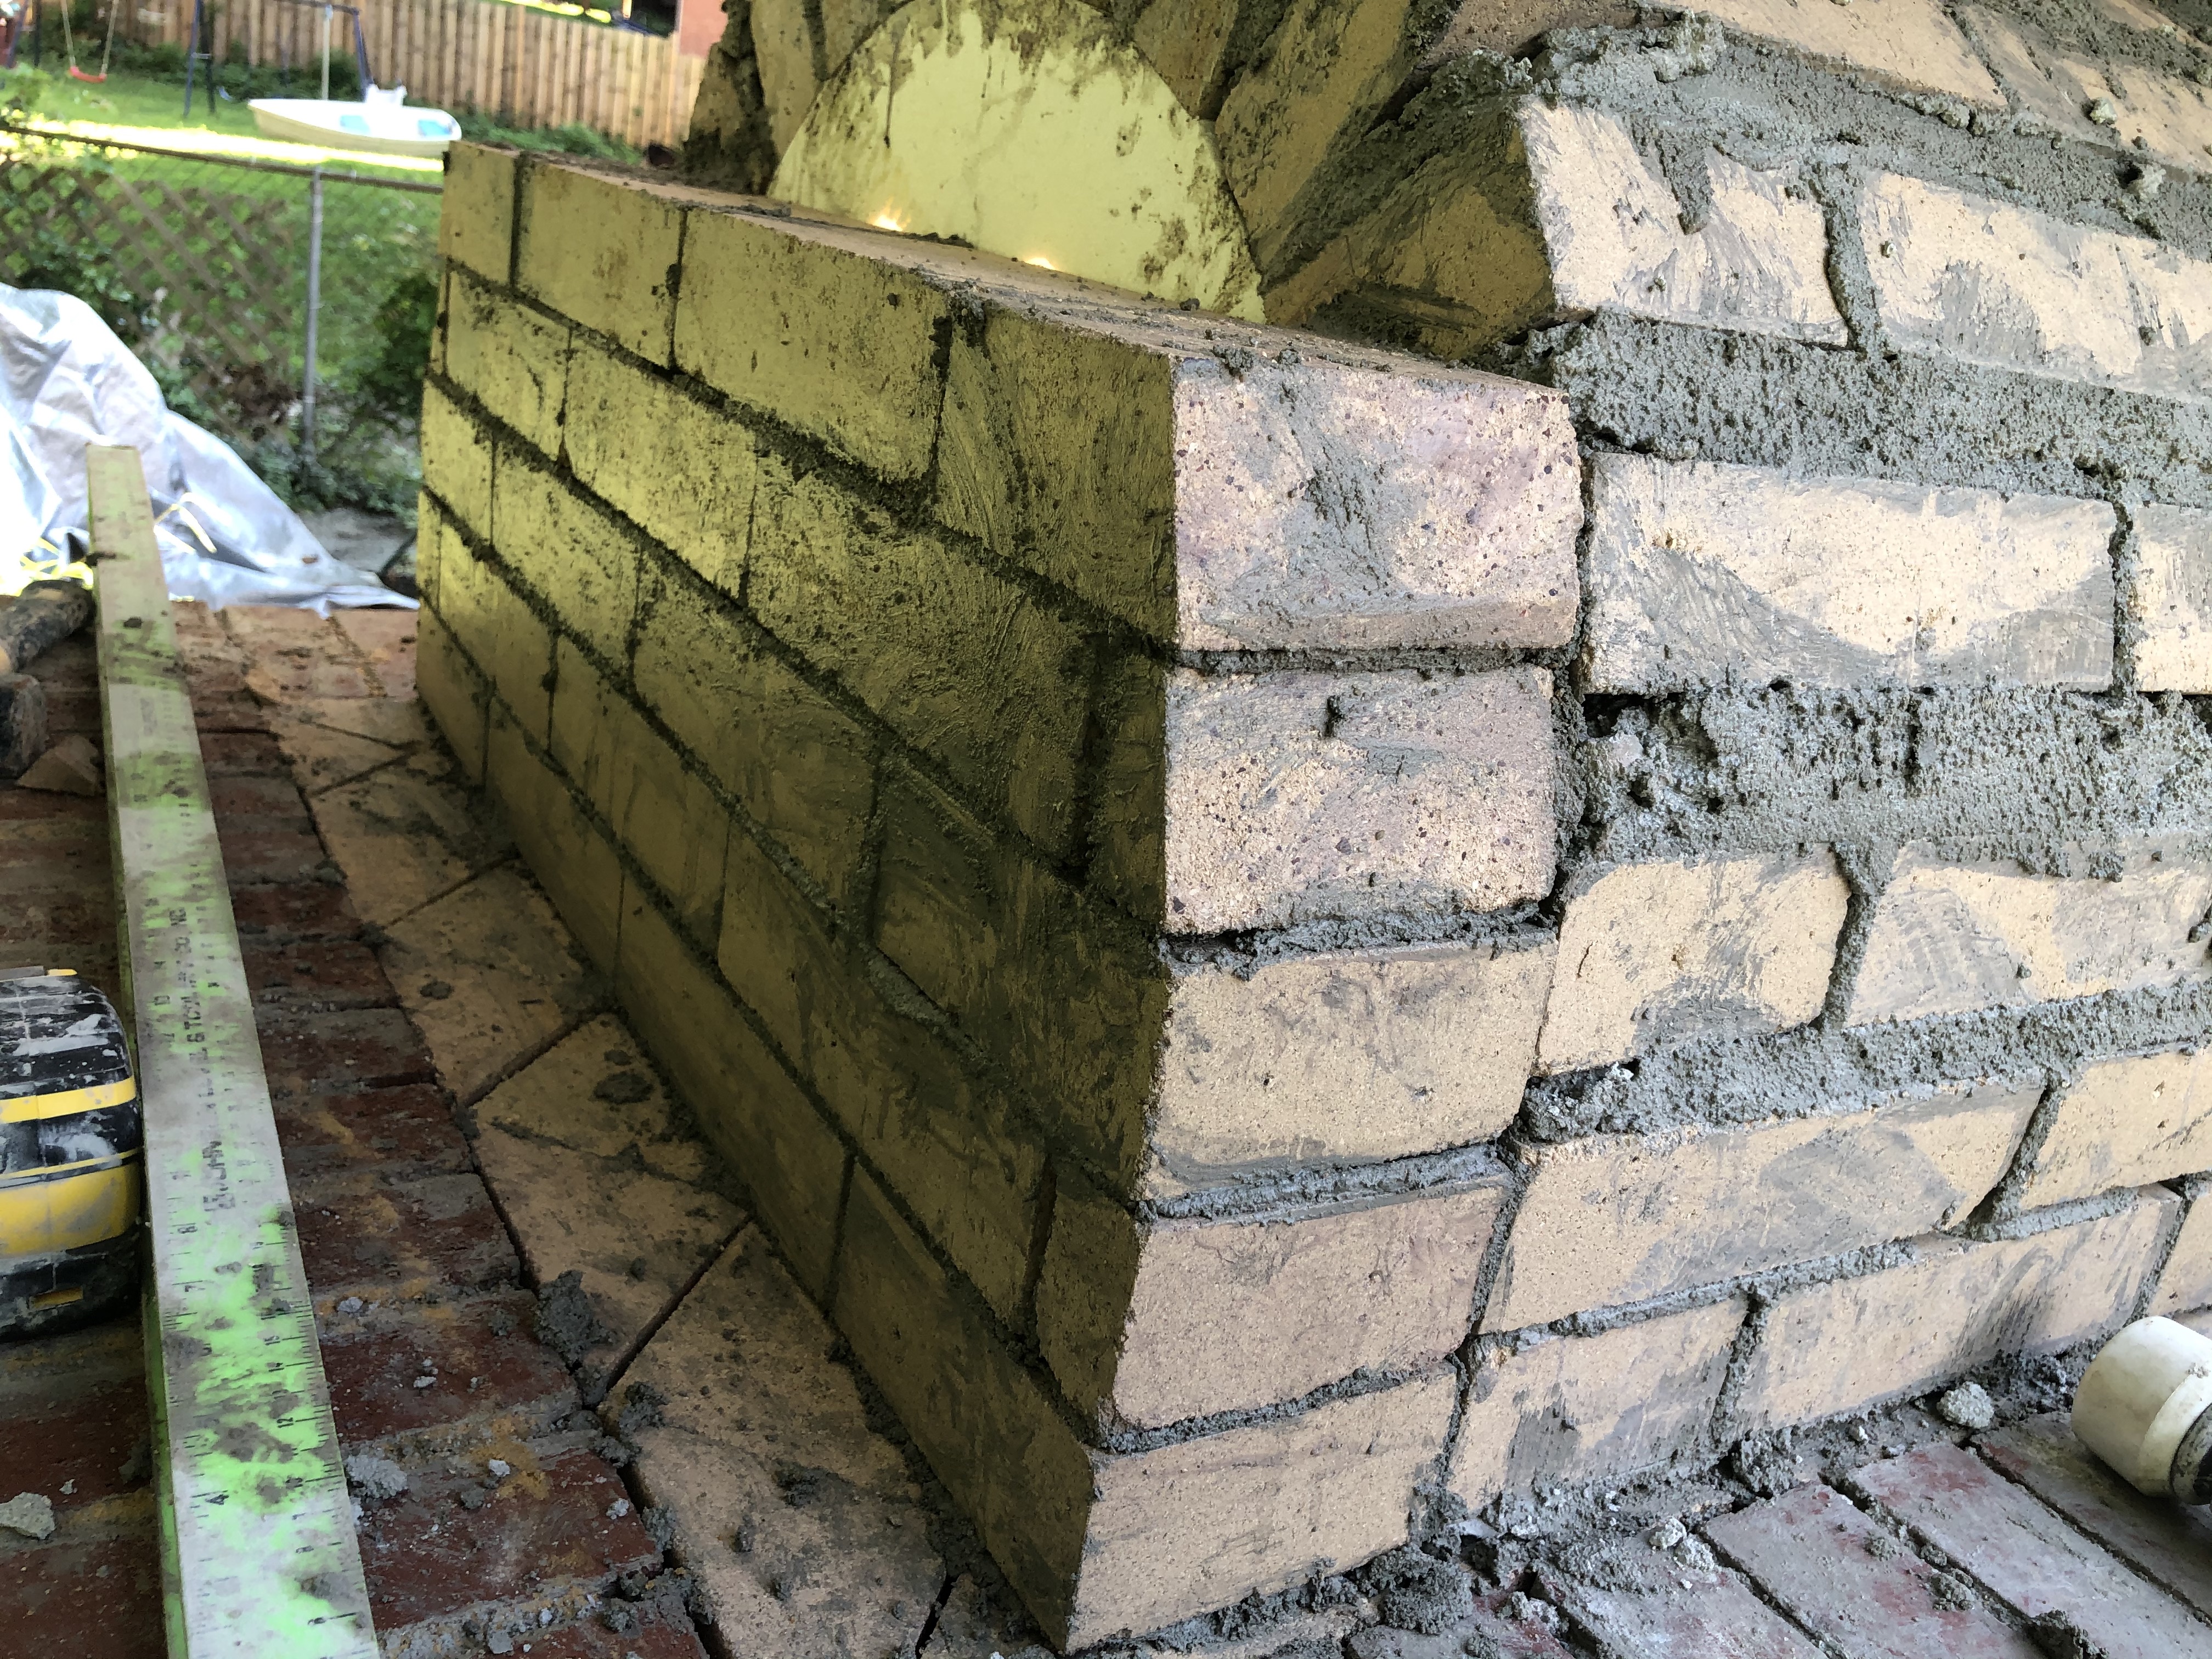
It was a drizzly weekend, but I pushed through.
This week, I may lay down a few courses of the back wall, depending on the weather.
More to come, but I’m happy with my progress.
G
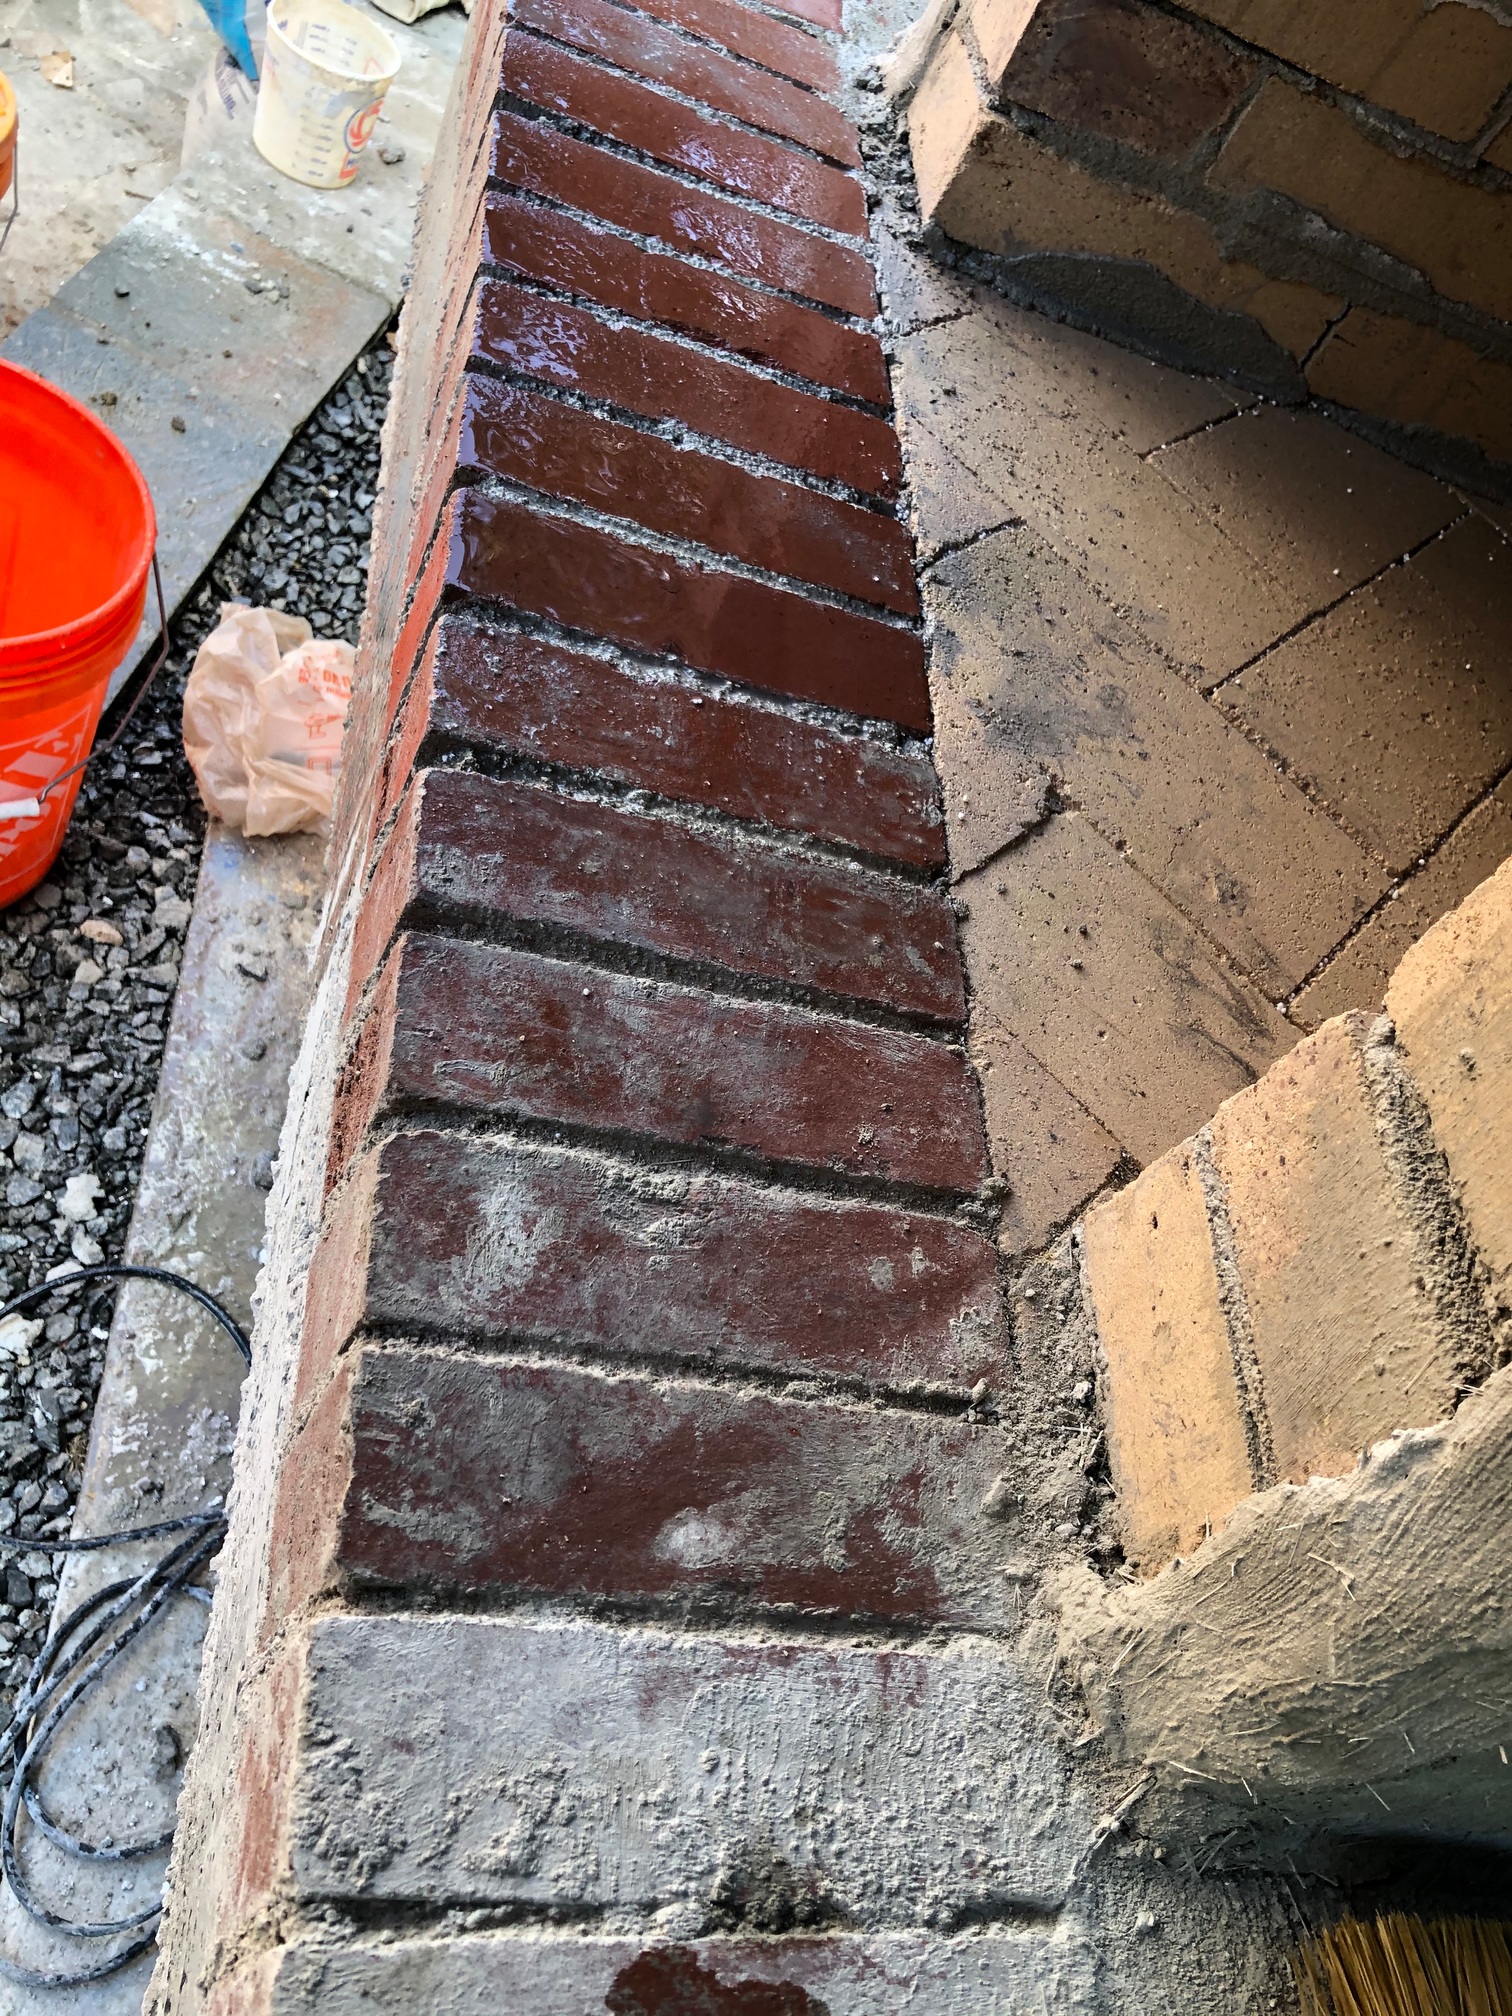
Monday was a soggy wet loss, so I worked some on Tuesday and today
Should I try and grind off those big mortar splotches?
Good work!
Don’t worry about the splotches. Eventually your oven interior will have a coating of soot or ash that will camouflage them. You also risk damaging the joint underneath them, or even chipping a firebrick, which is susceptible to that kind of damage.
Yeah, I left mine…looks kinda rustic
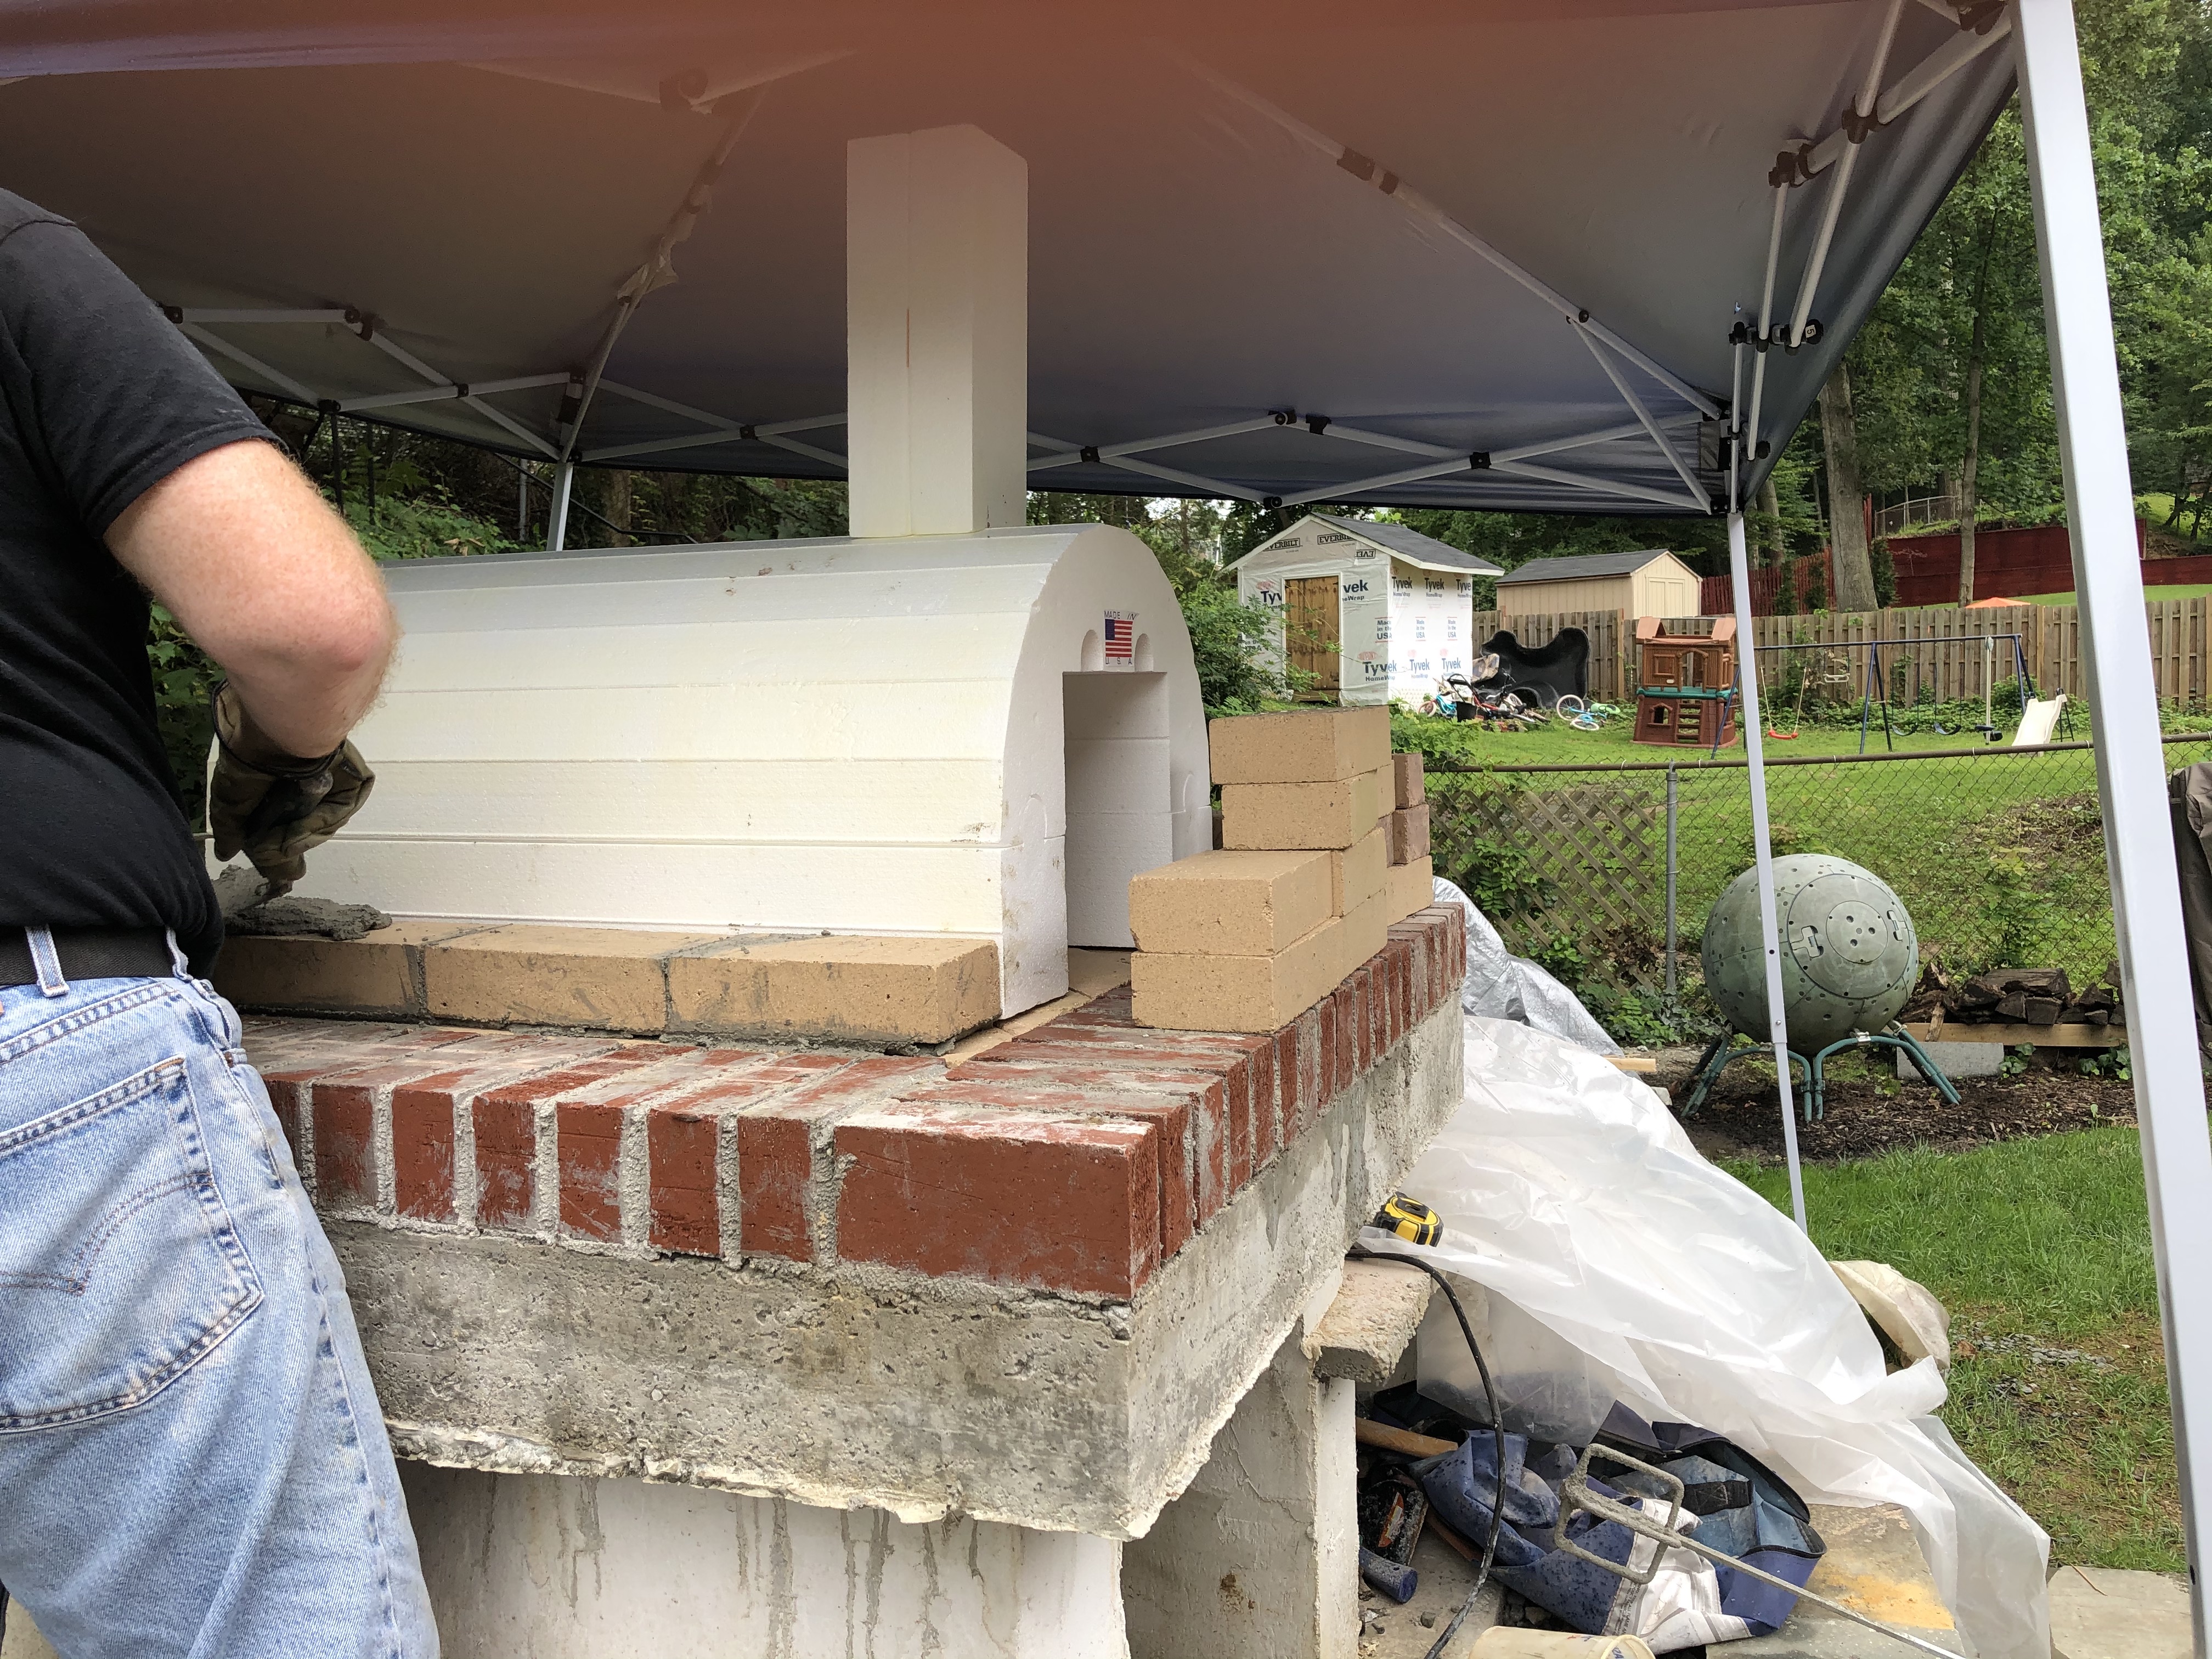
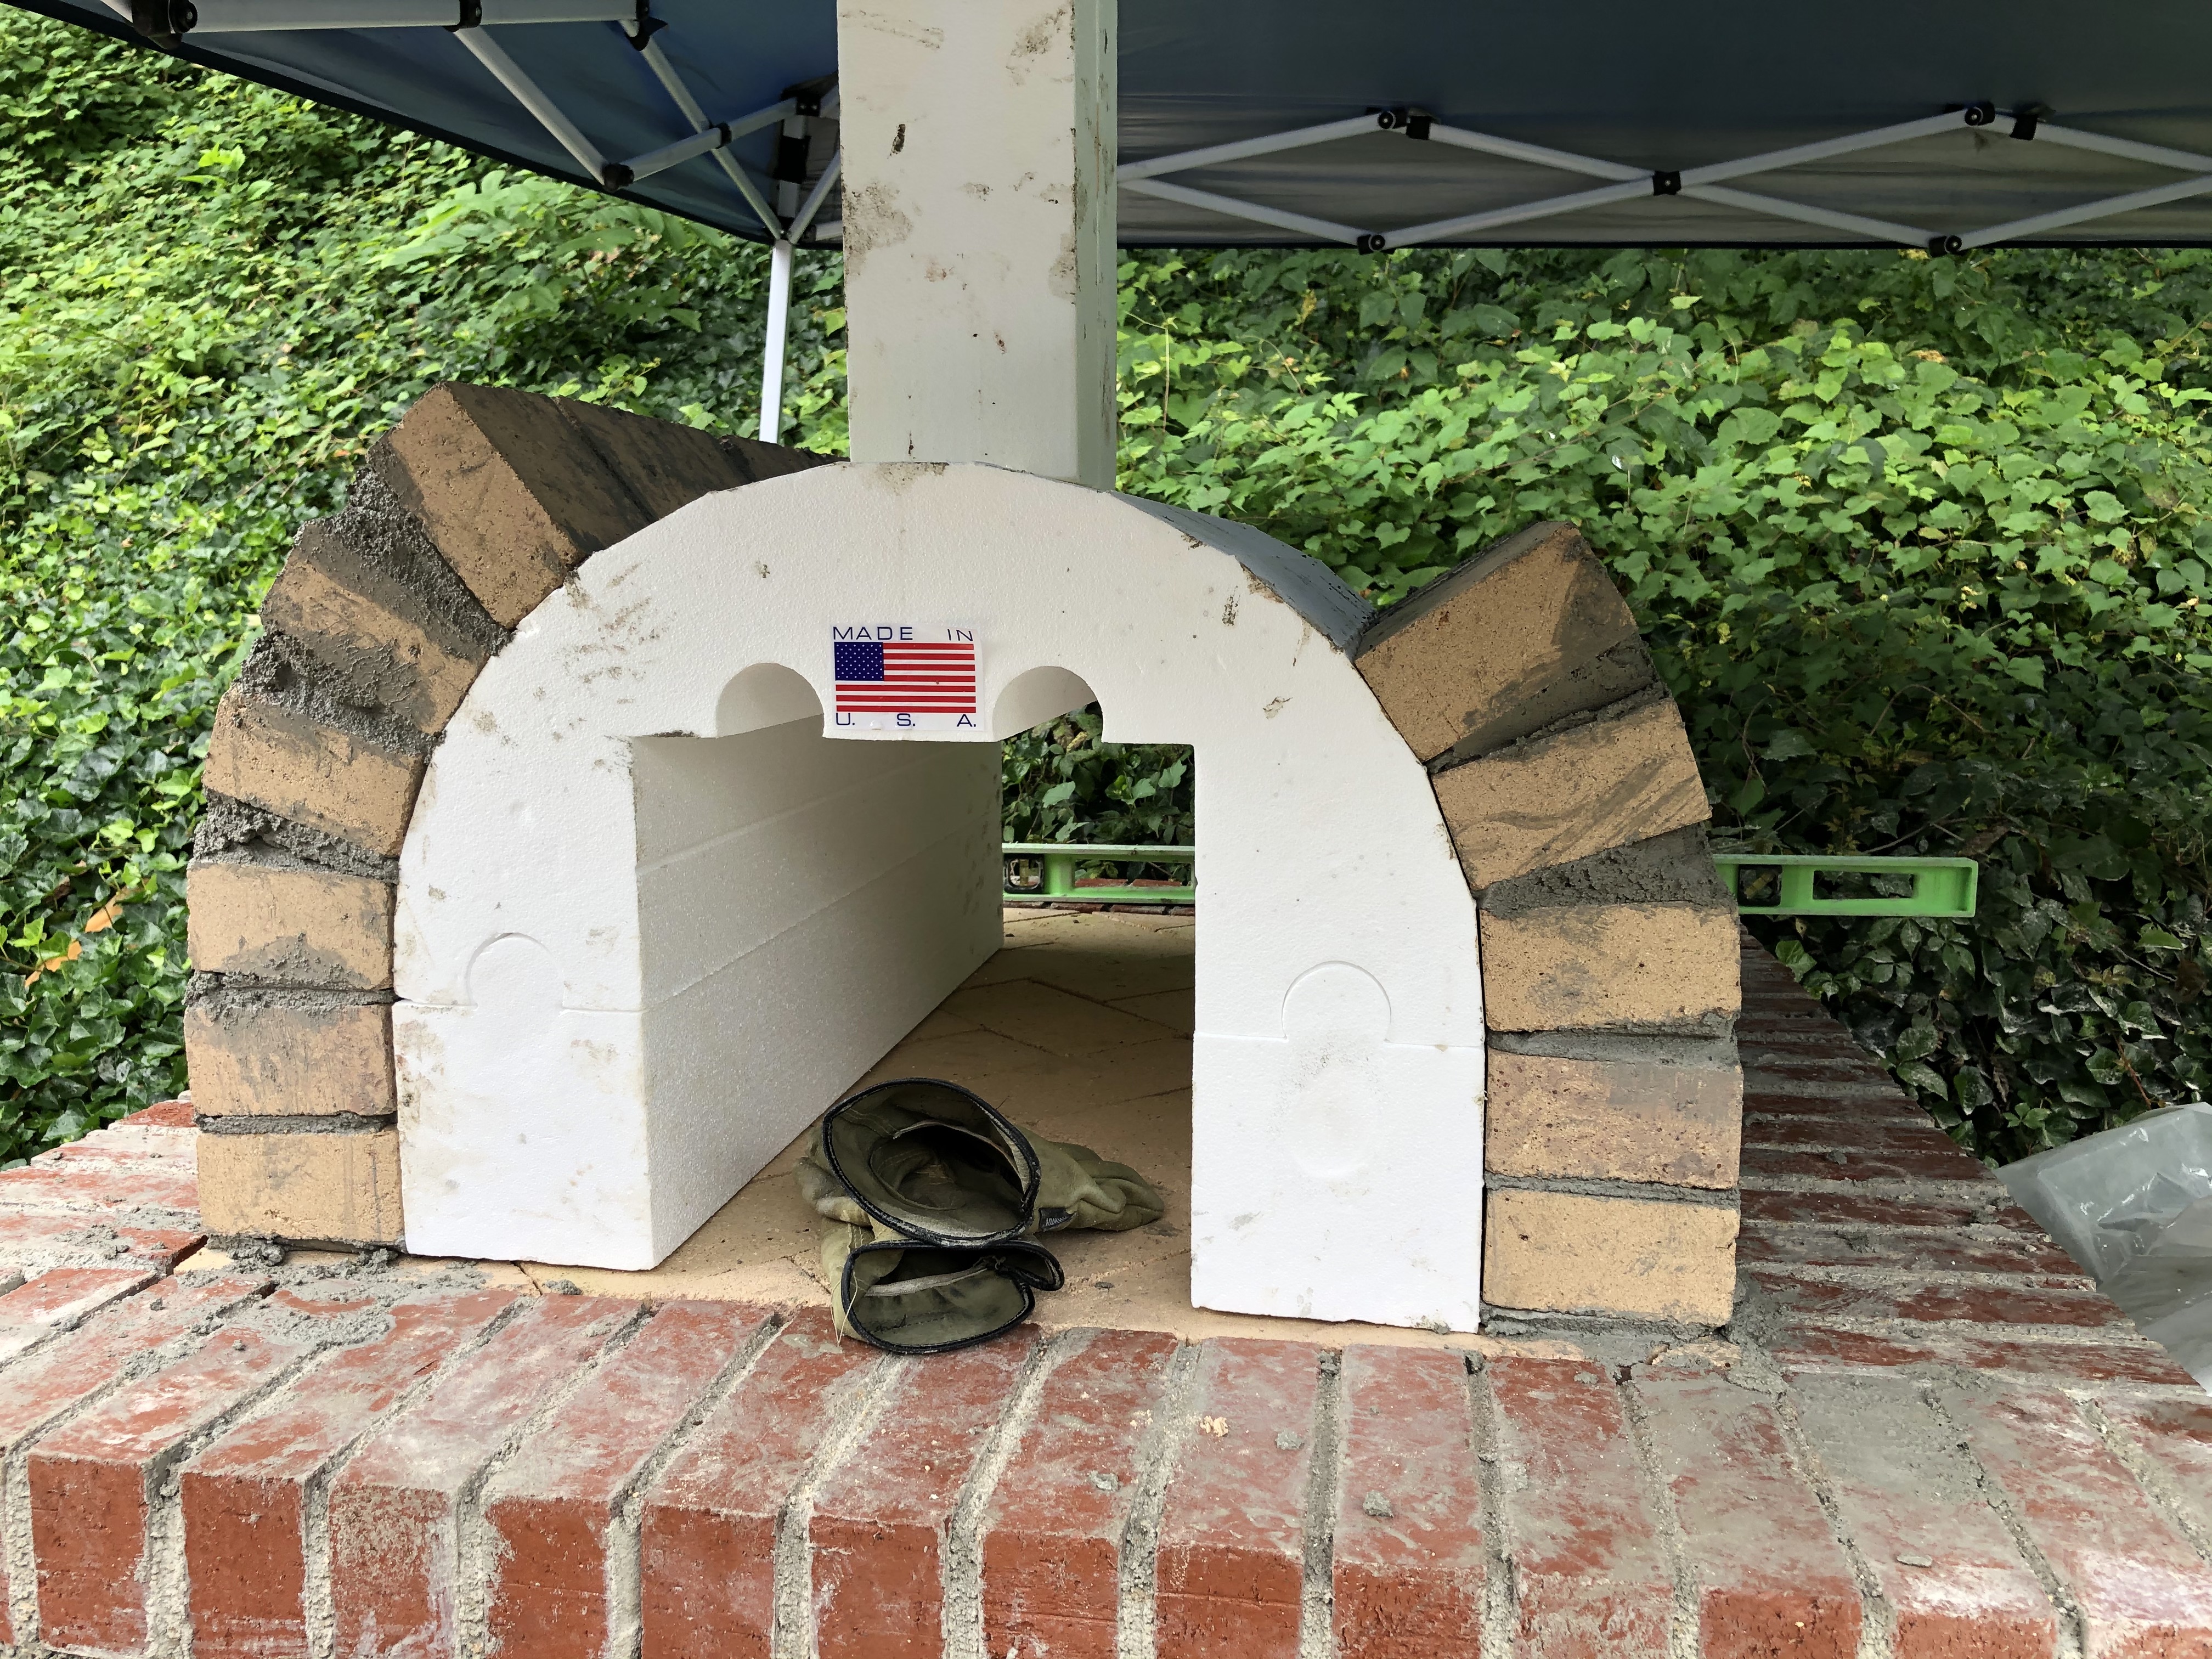
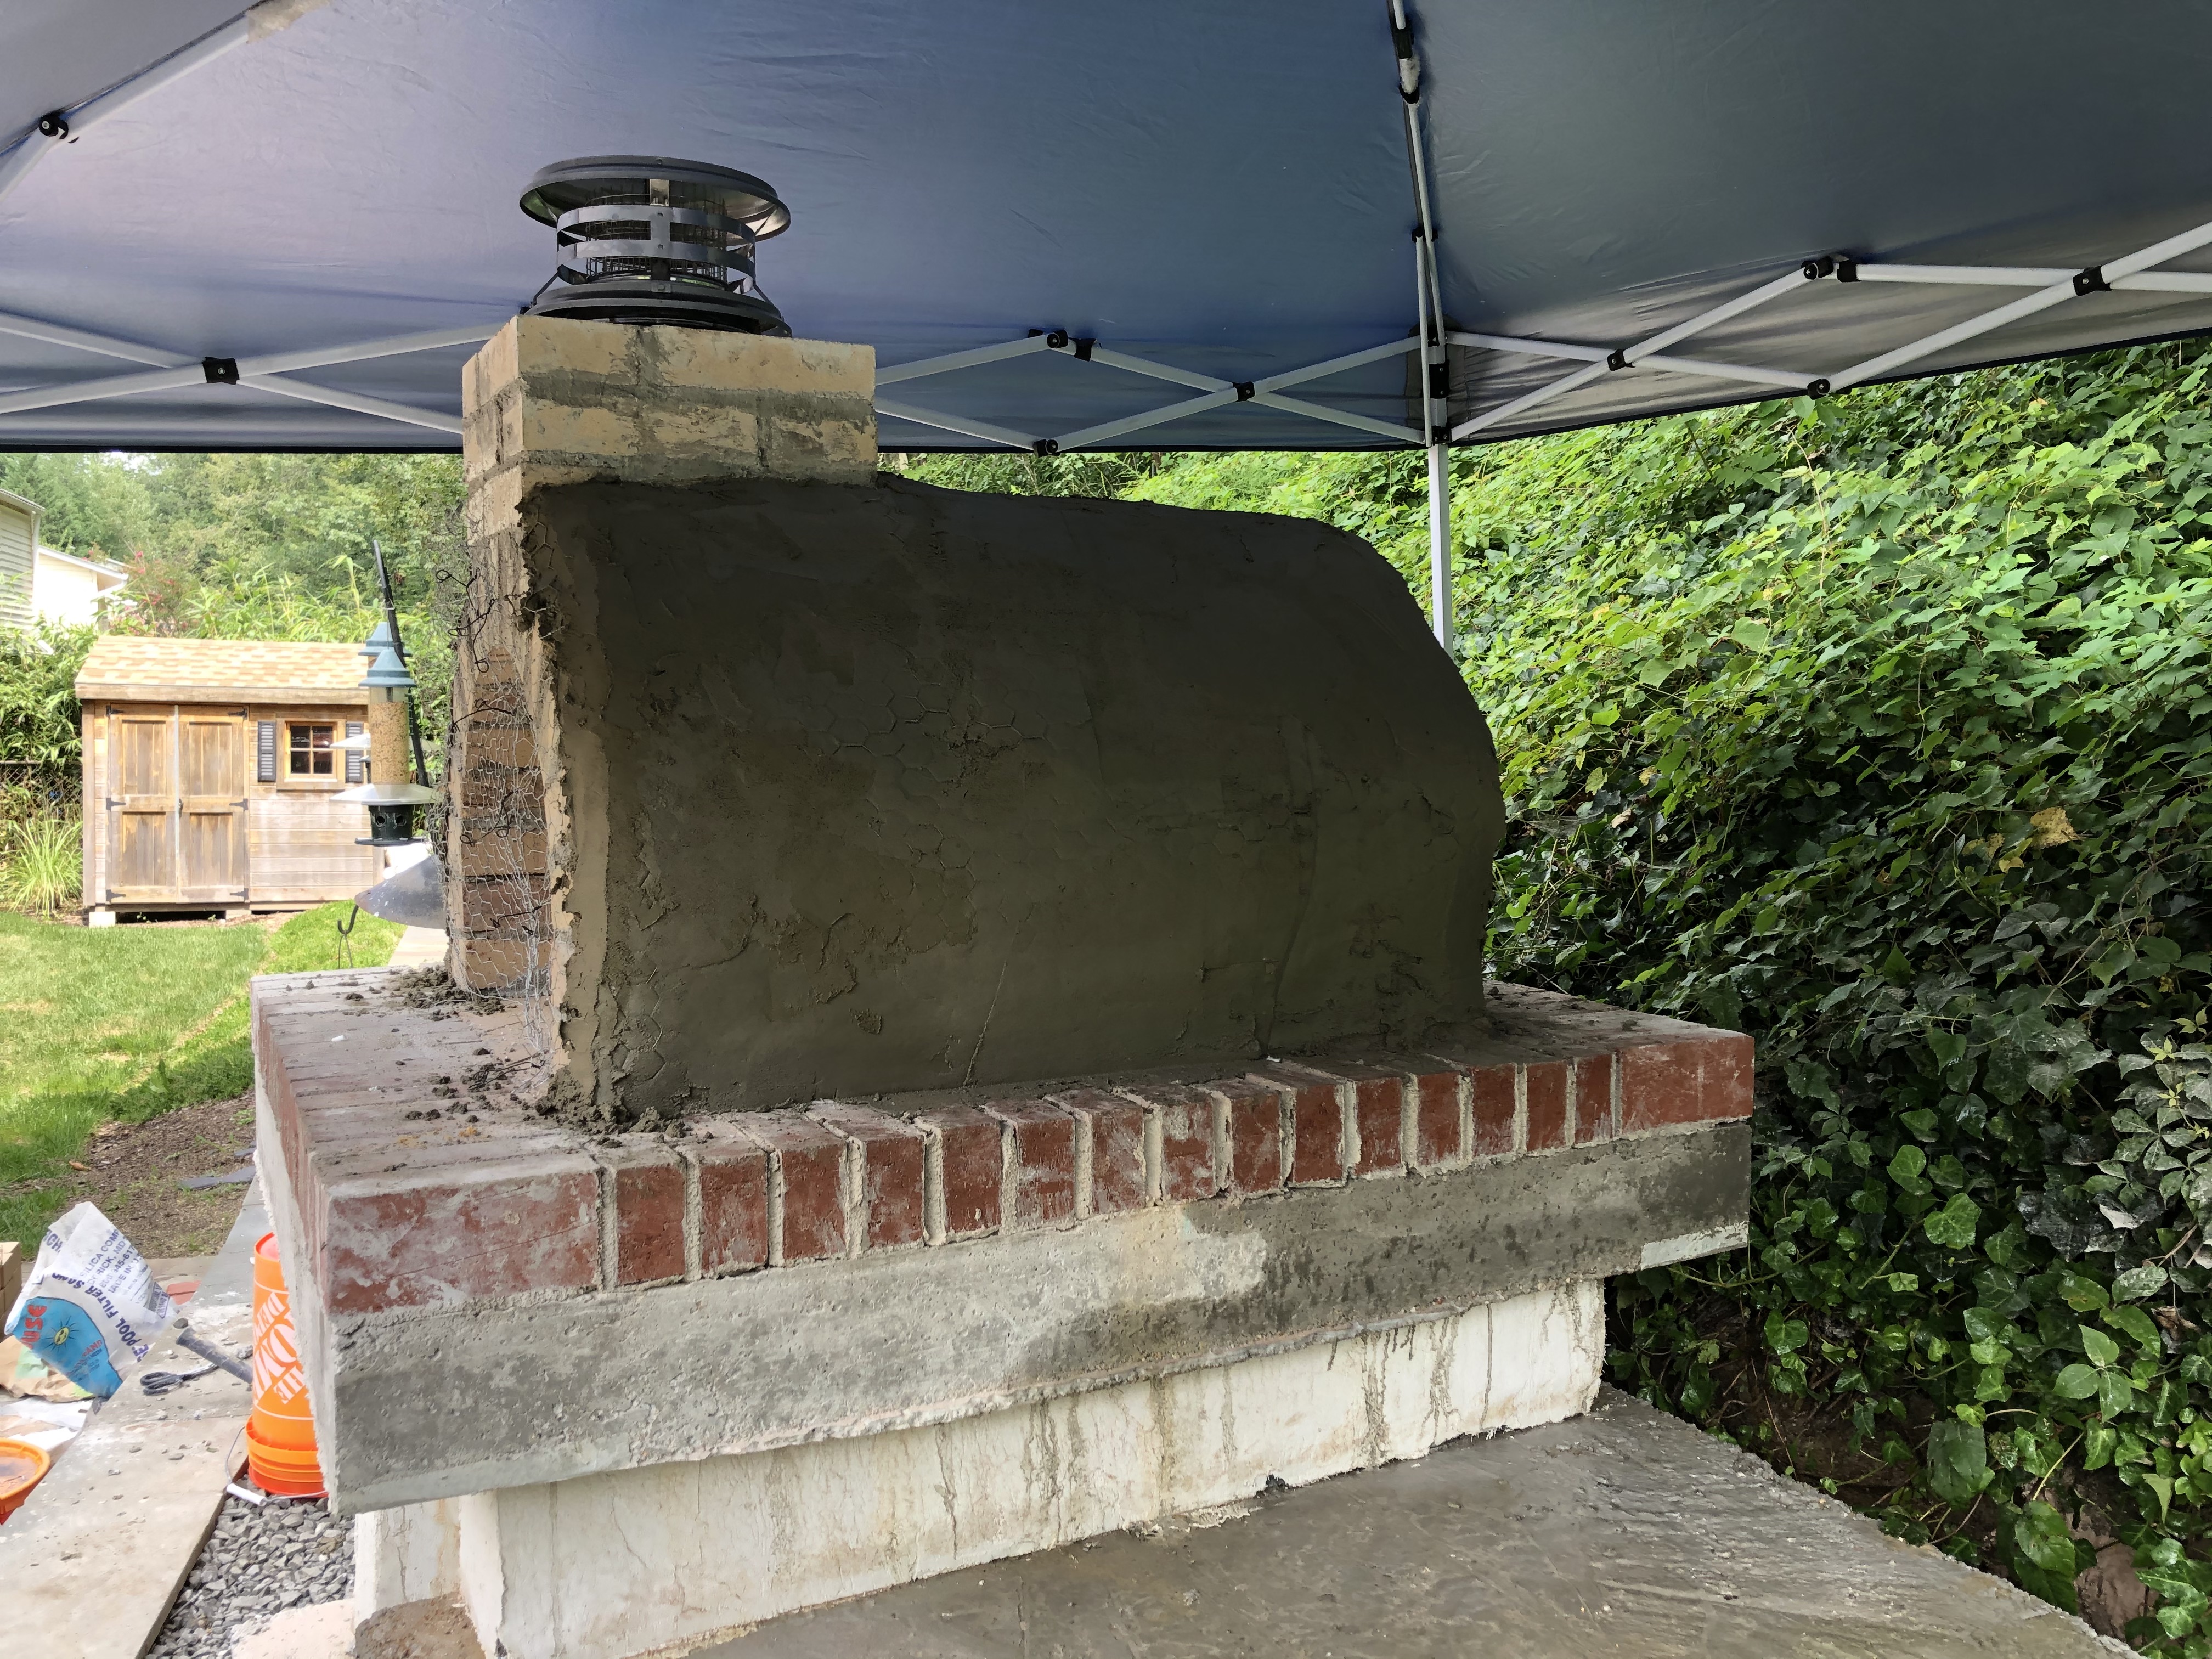
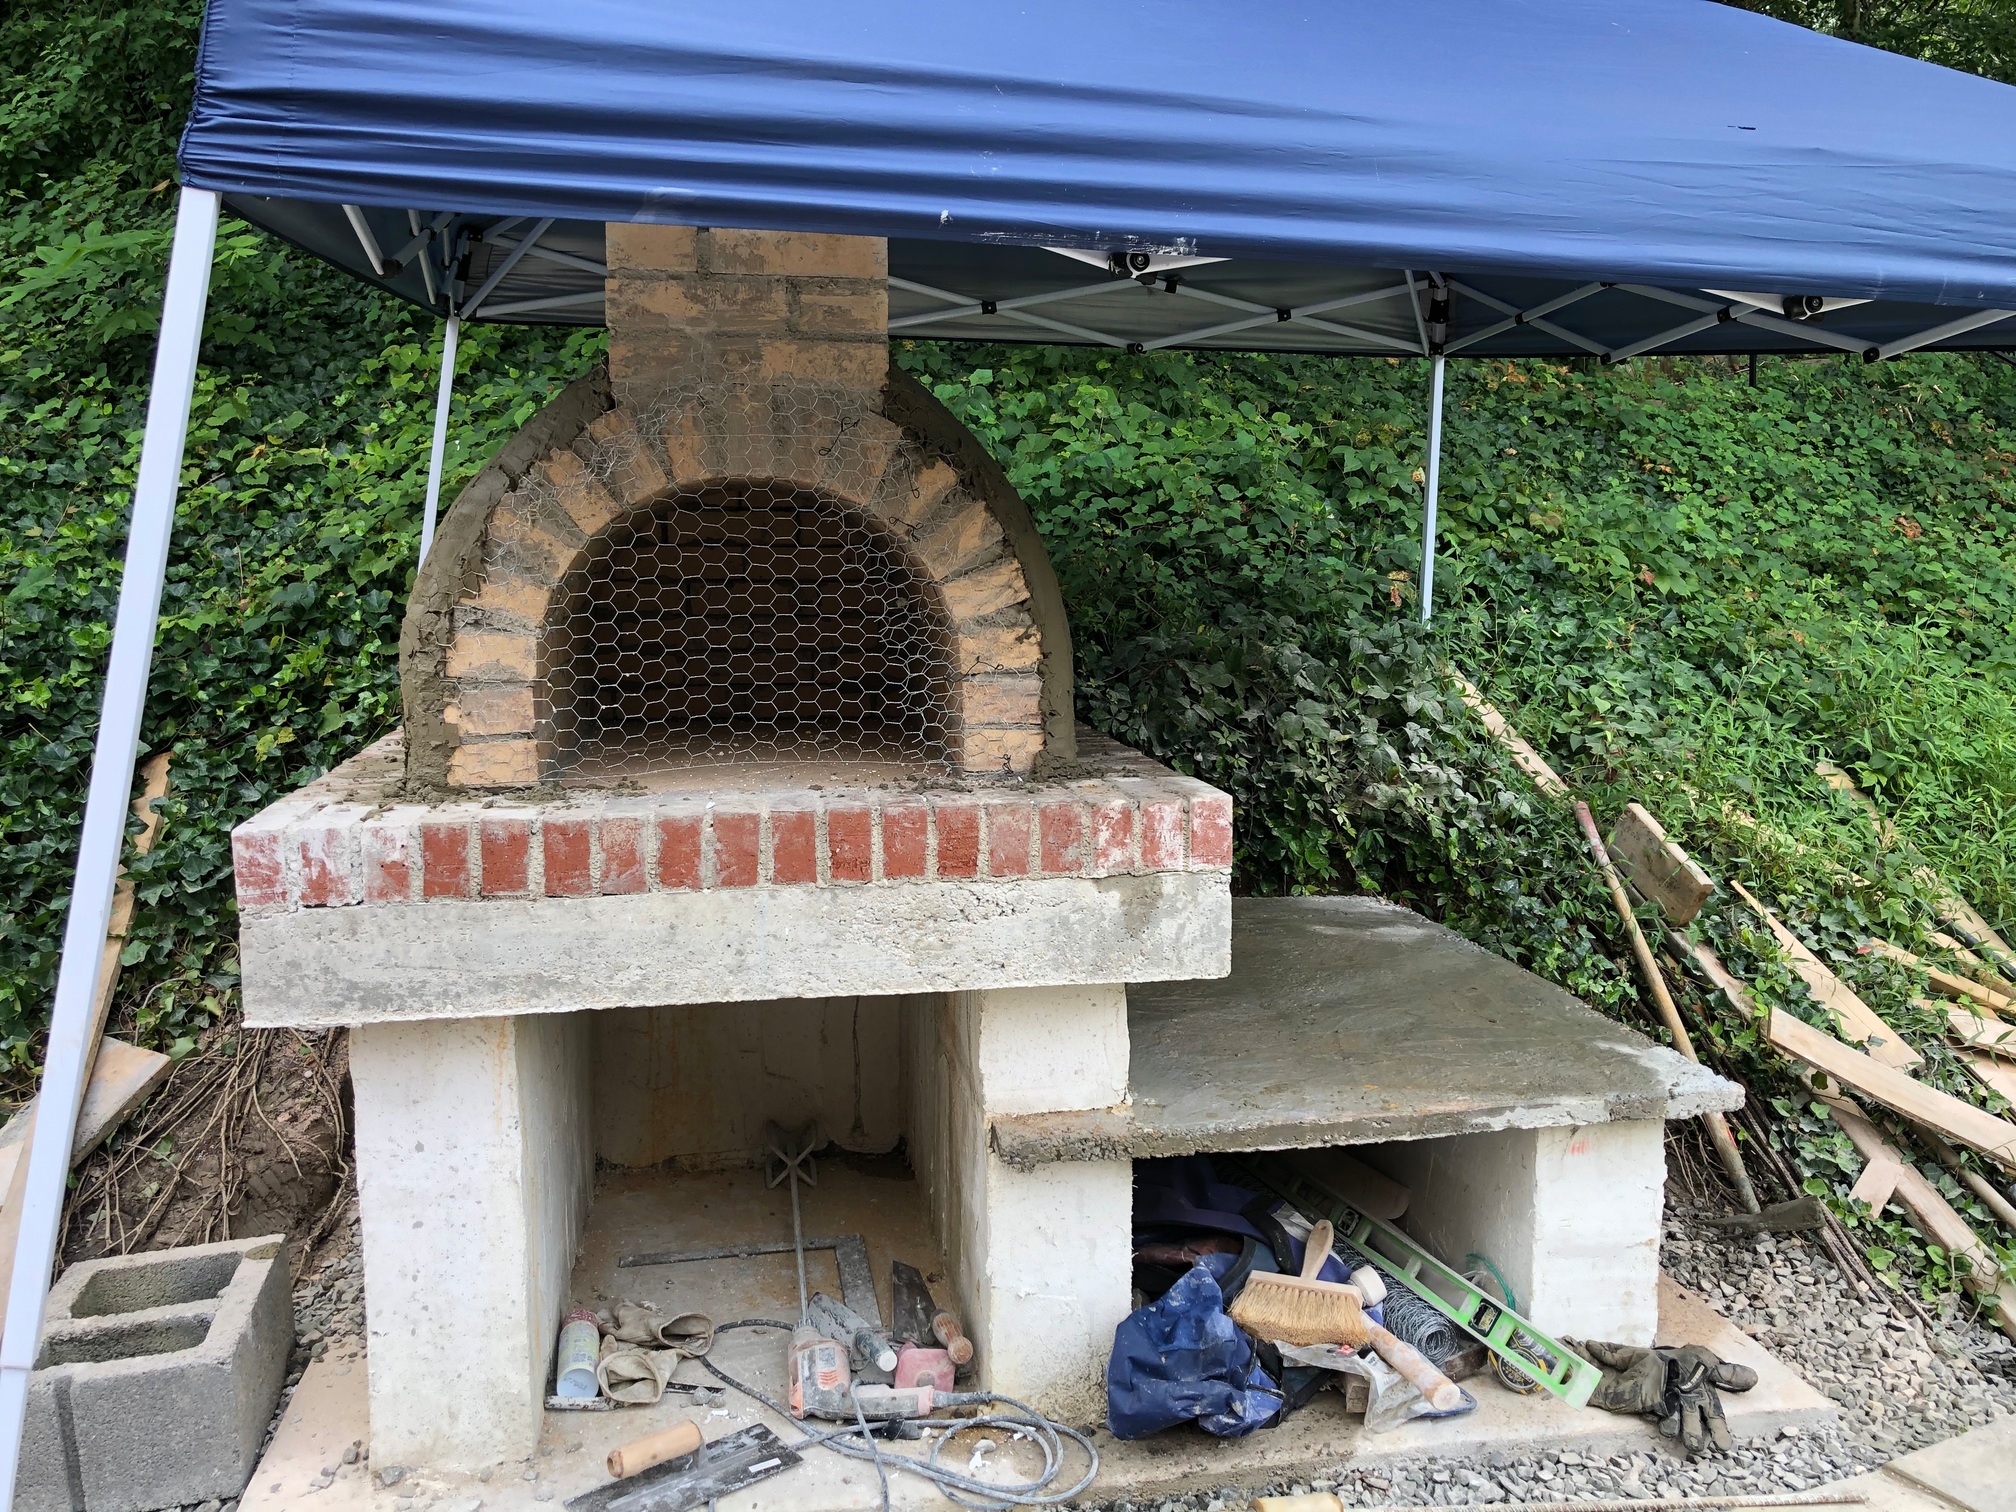
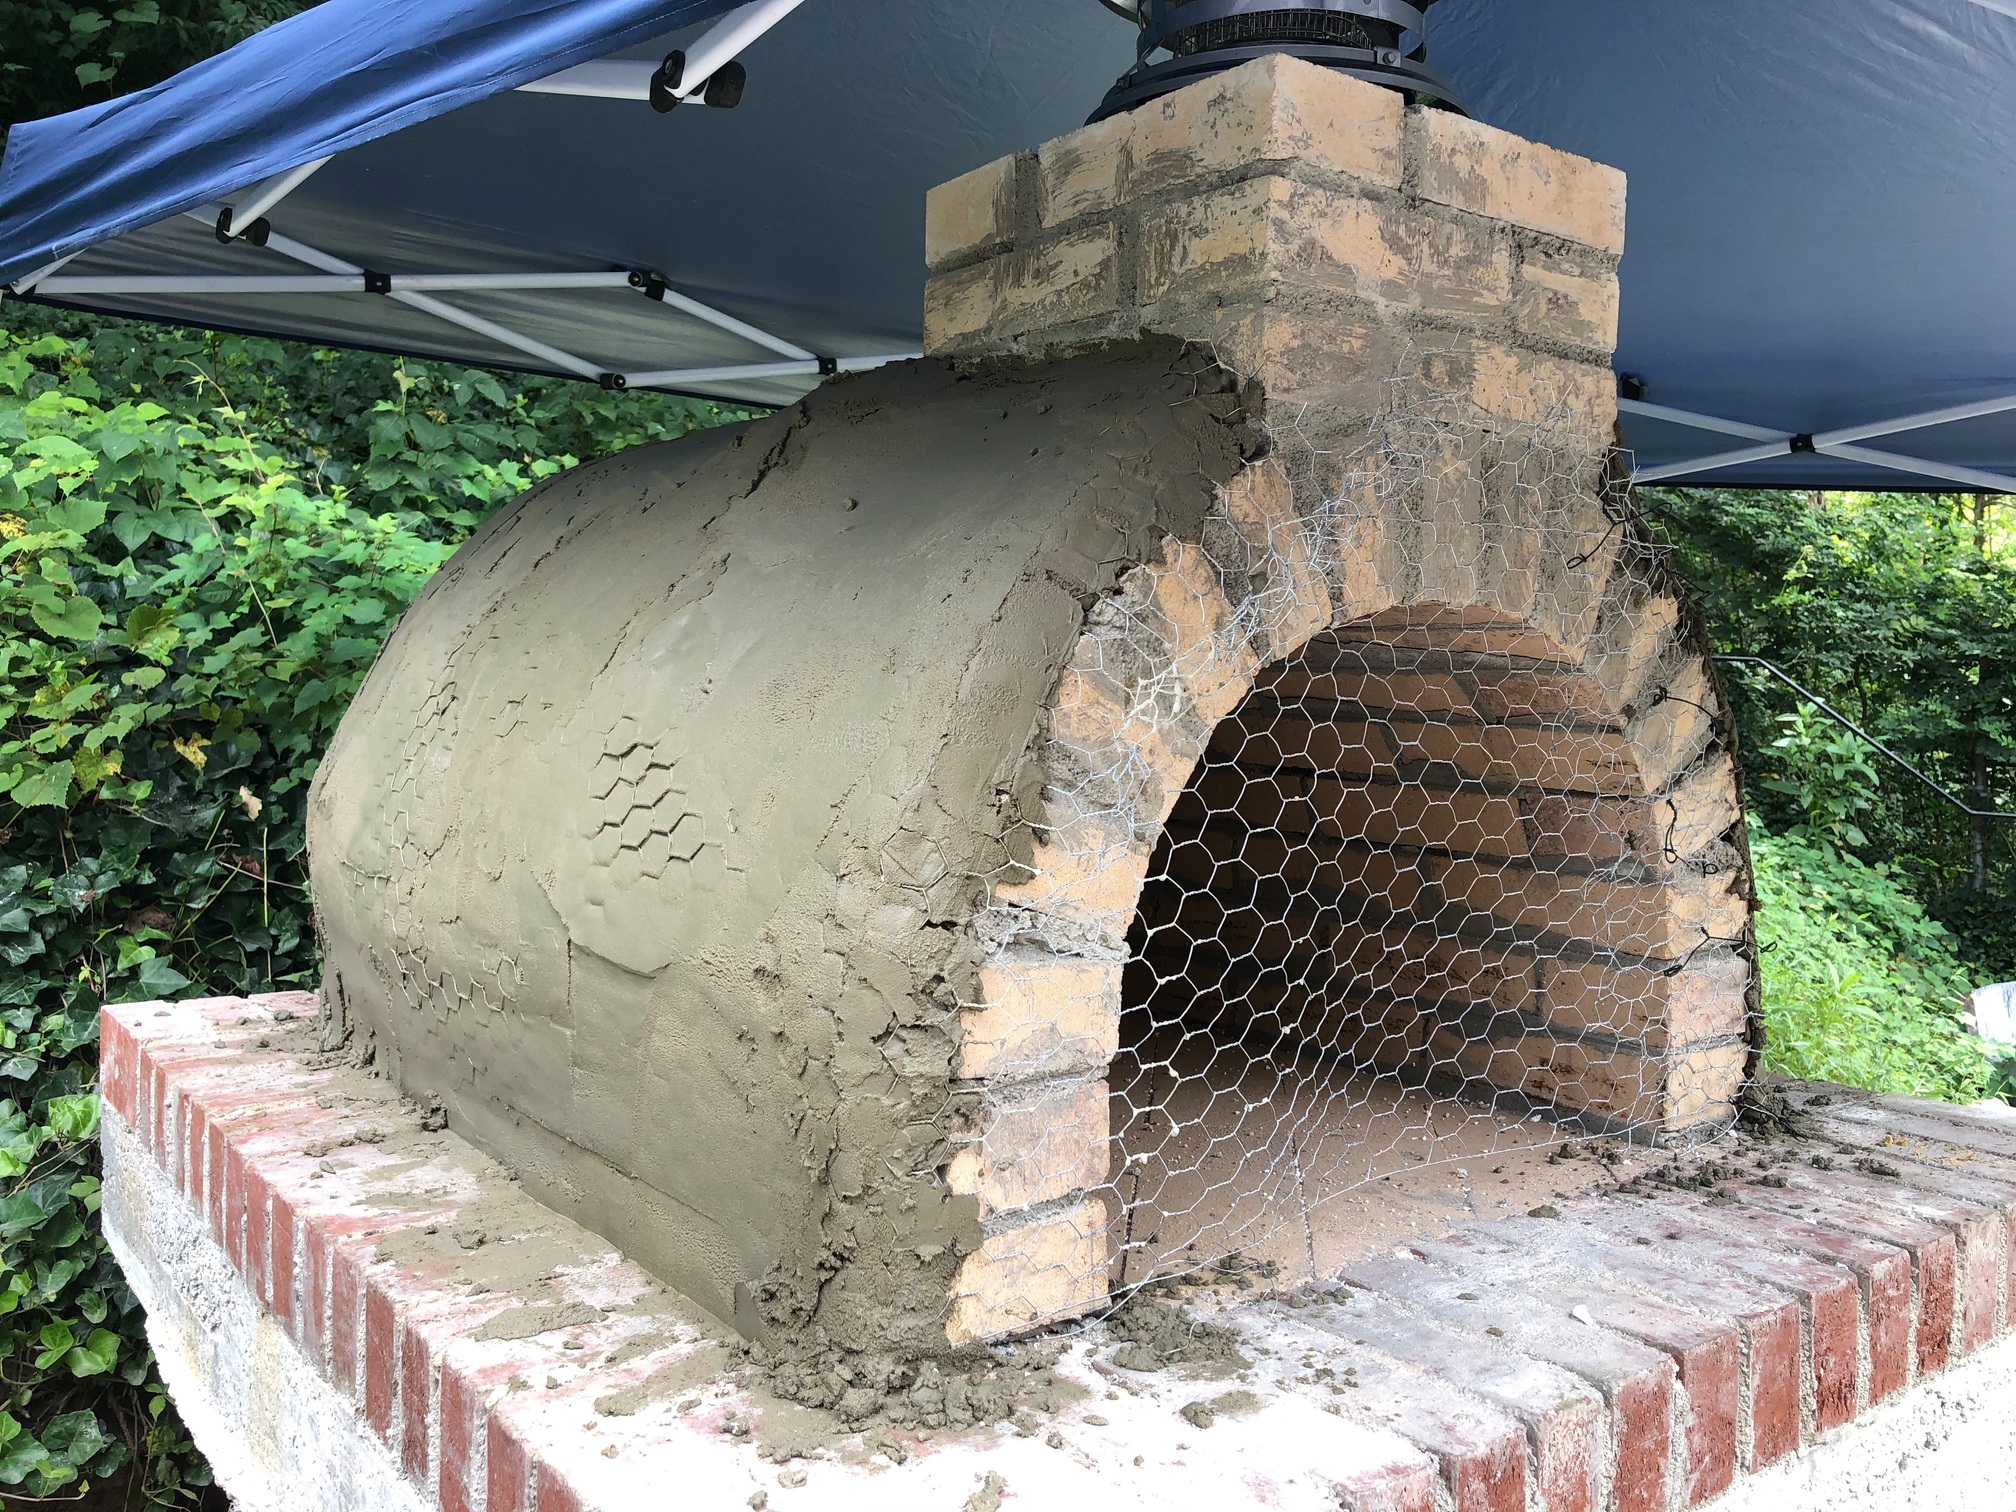
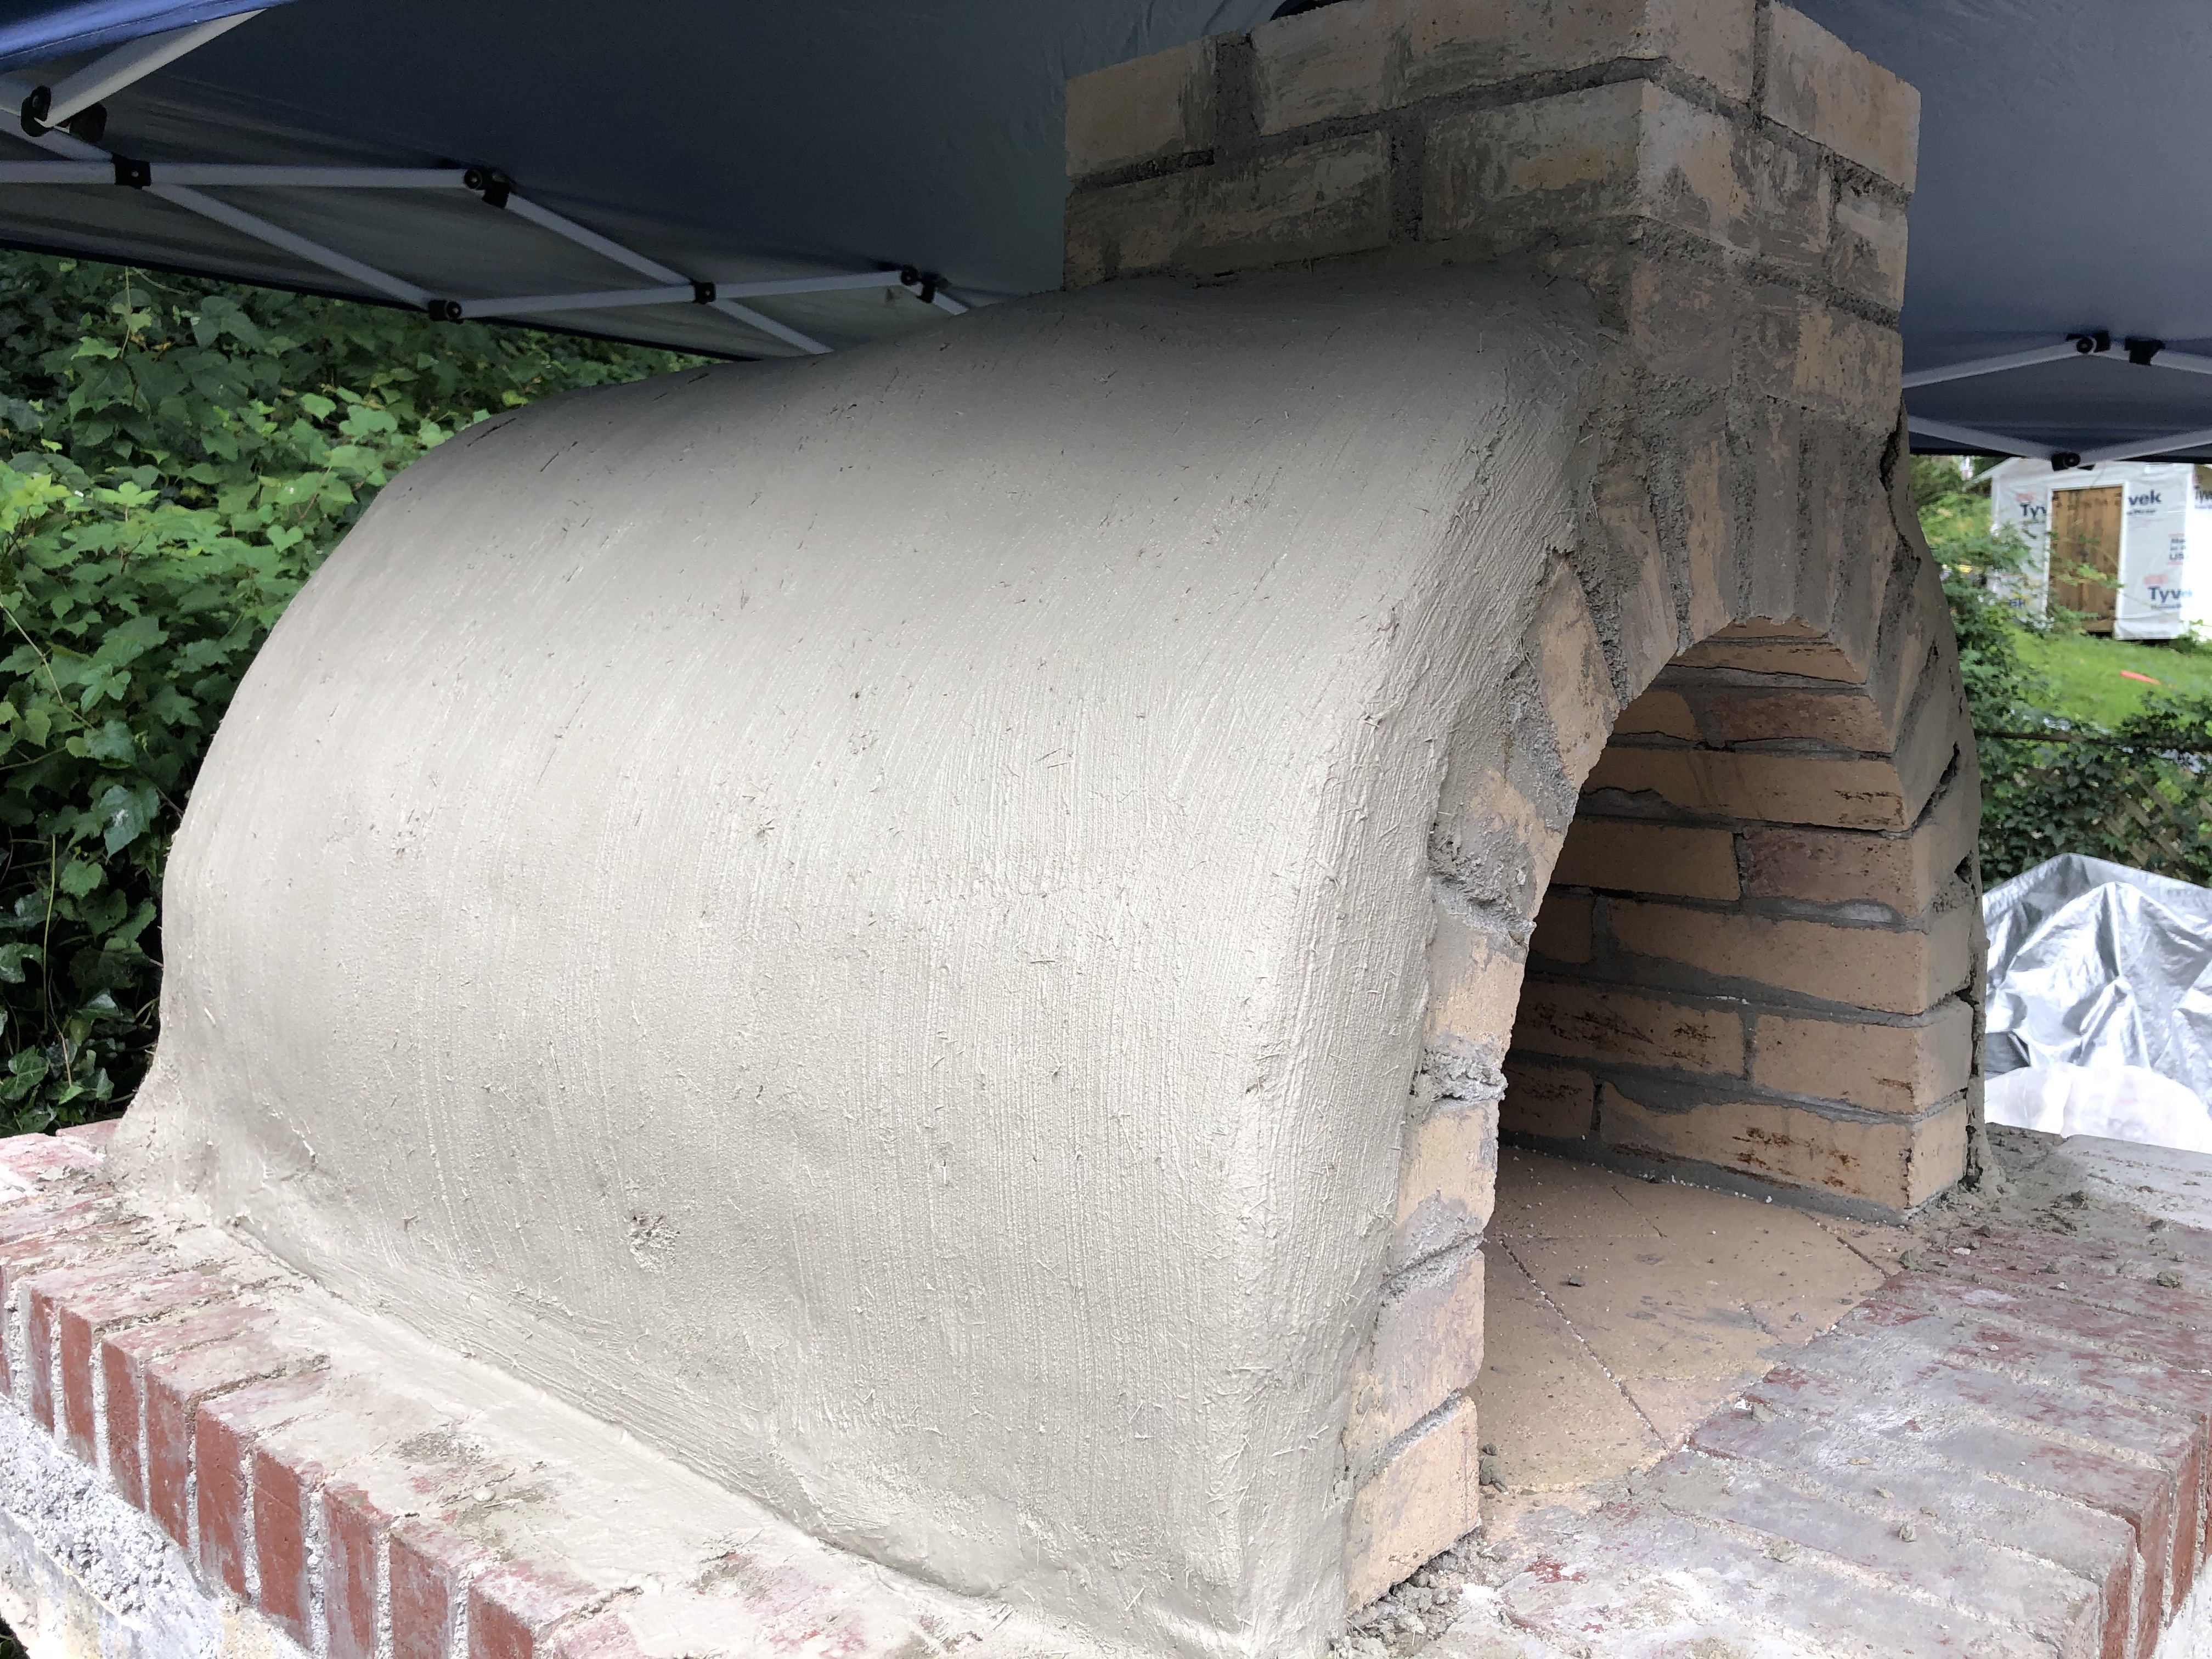
A burst of productivity
Today was a busy day
And so begins the hard part of the build:
waiting 5 days before beginning the tempering fires…
We’re going to tile the outside of the barrel and close the opening, but those activities can be done after the tempering, right? We are also looking at a stacked stone treatment for the base, but we’ll see.
G
Looks awesome! Your doing a great job. If your going to close the front that may be something you can do while you’re waiting for the stucco to cure. That way when you do the curing fires it all get cured at once. Just a suggestion.
Happy building!
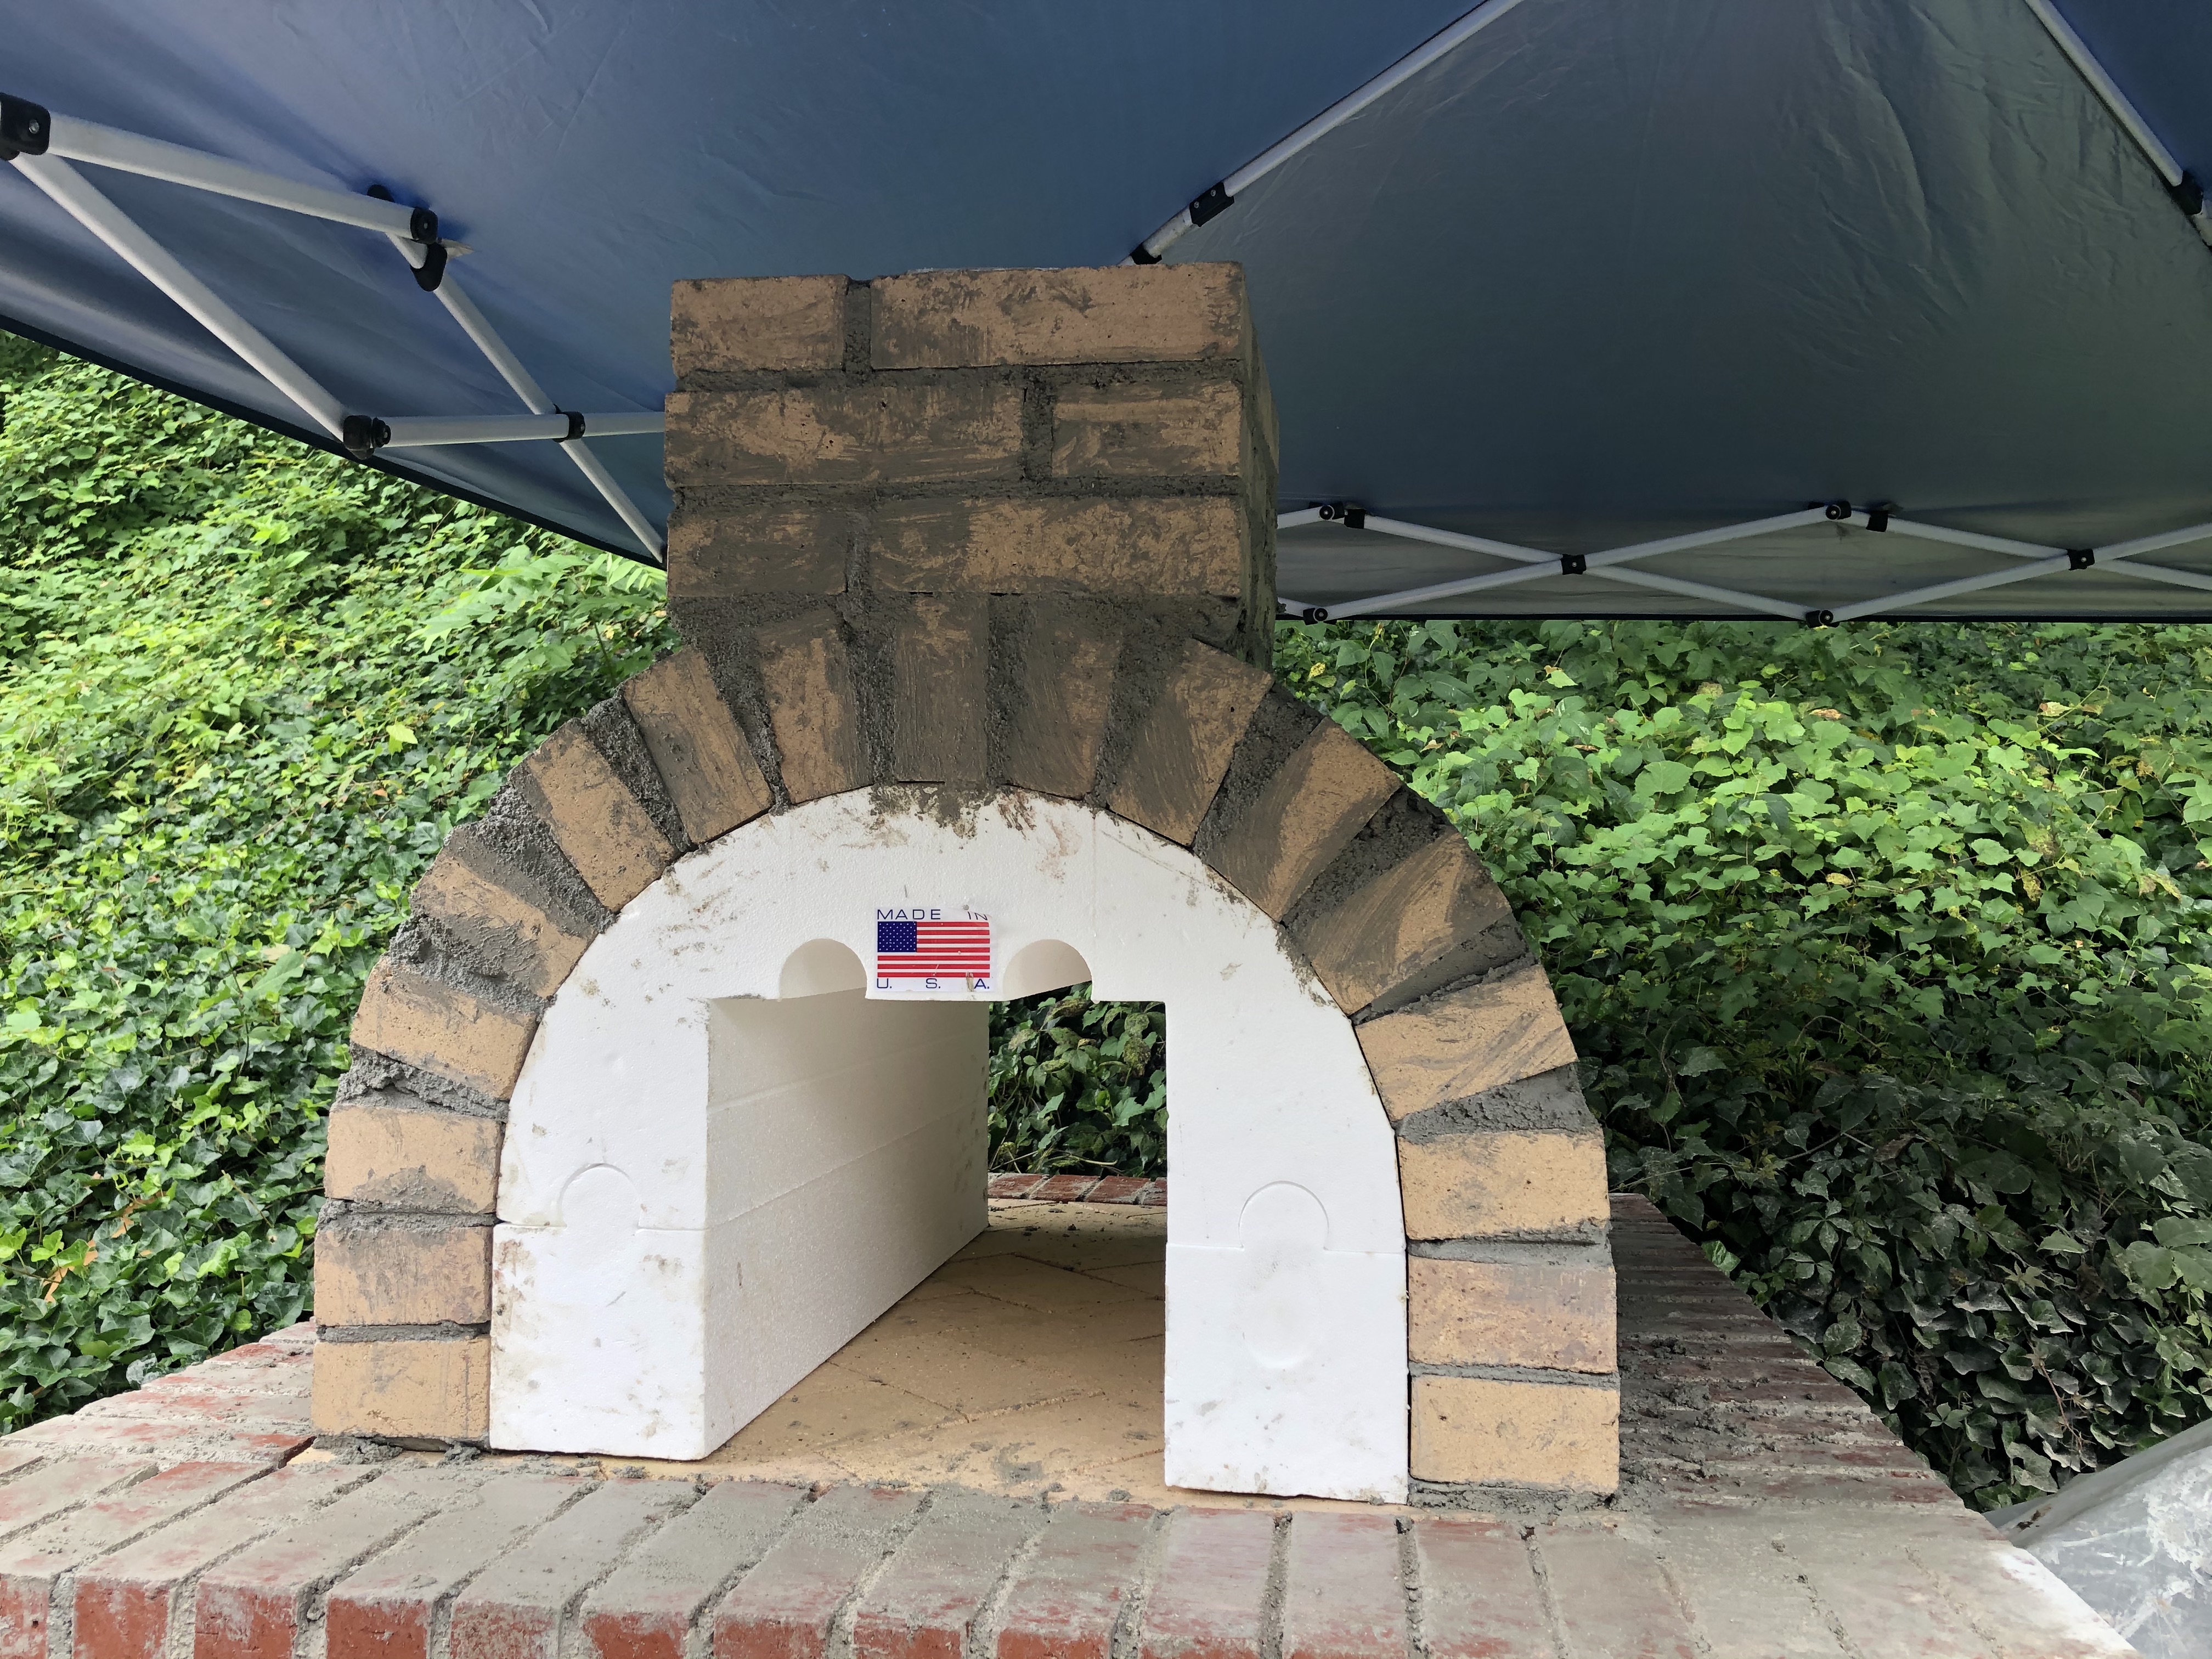
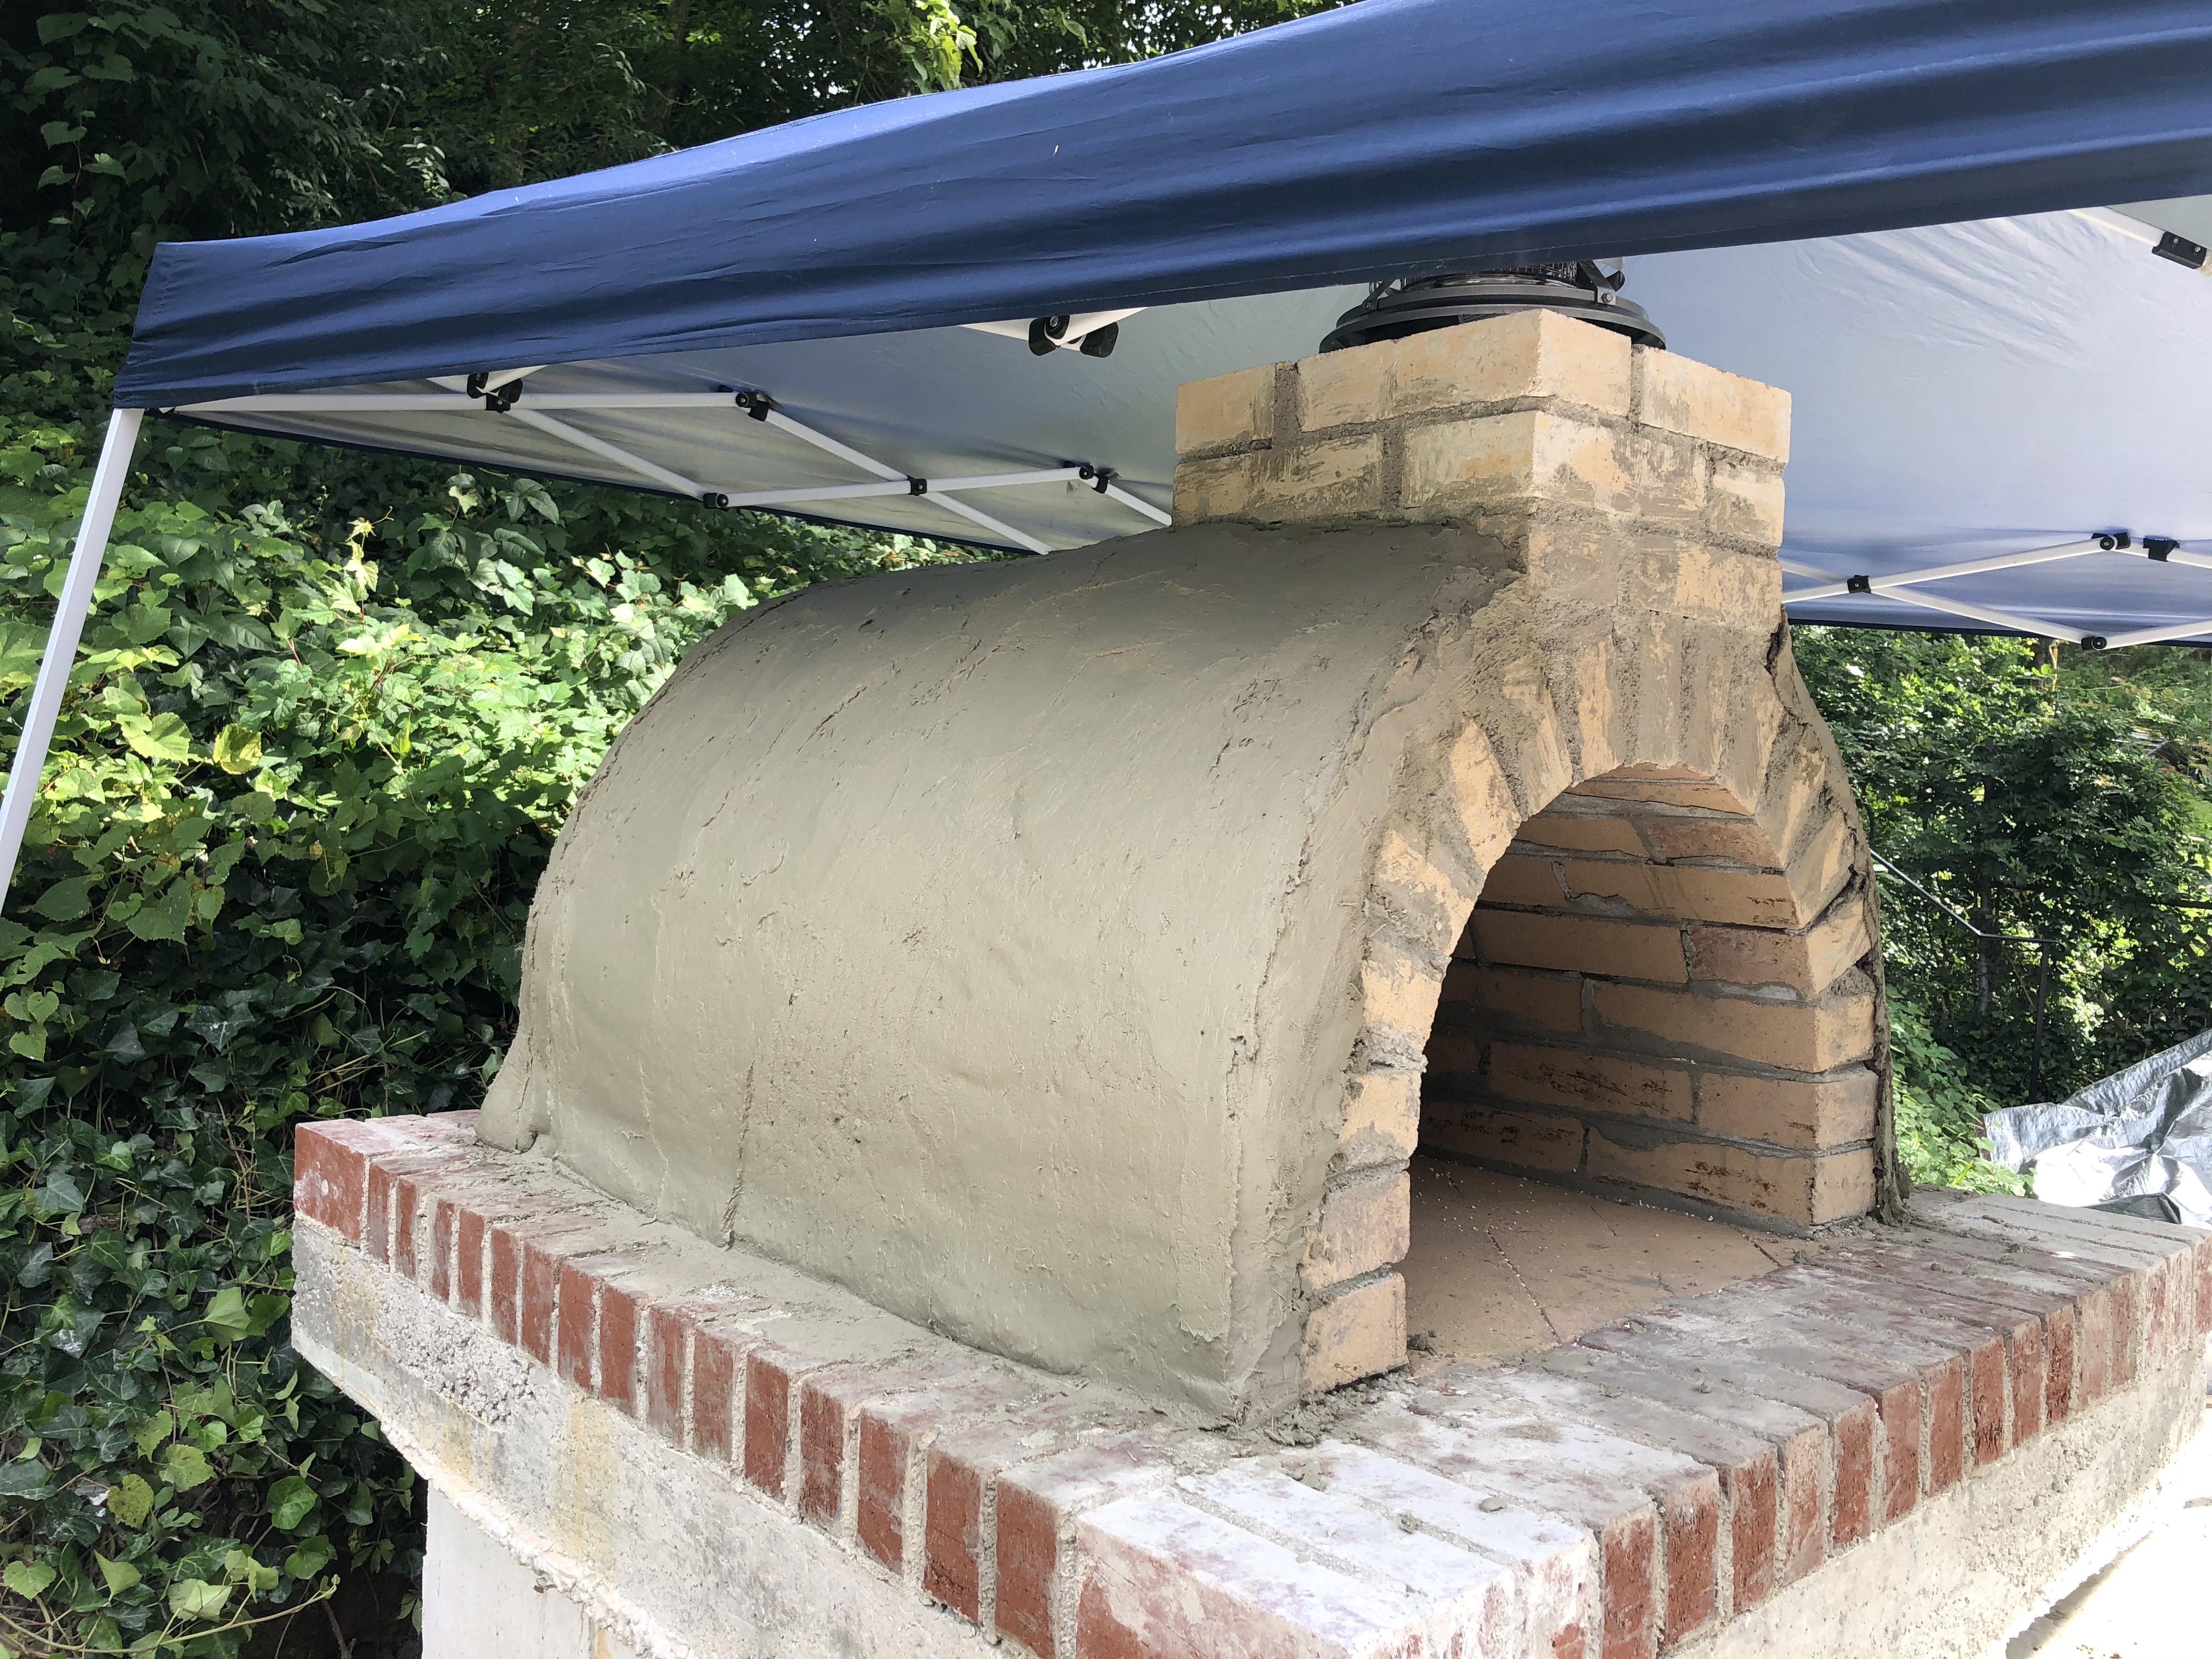
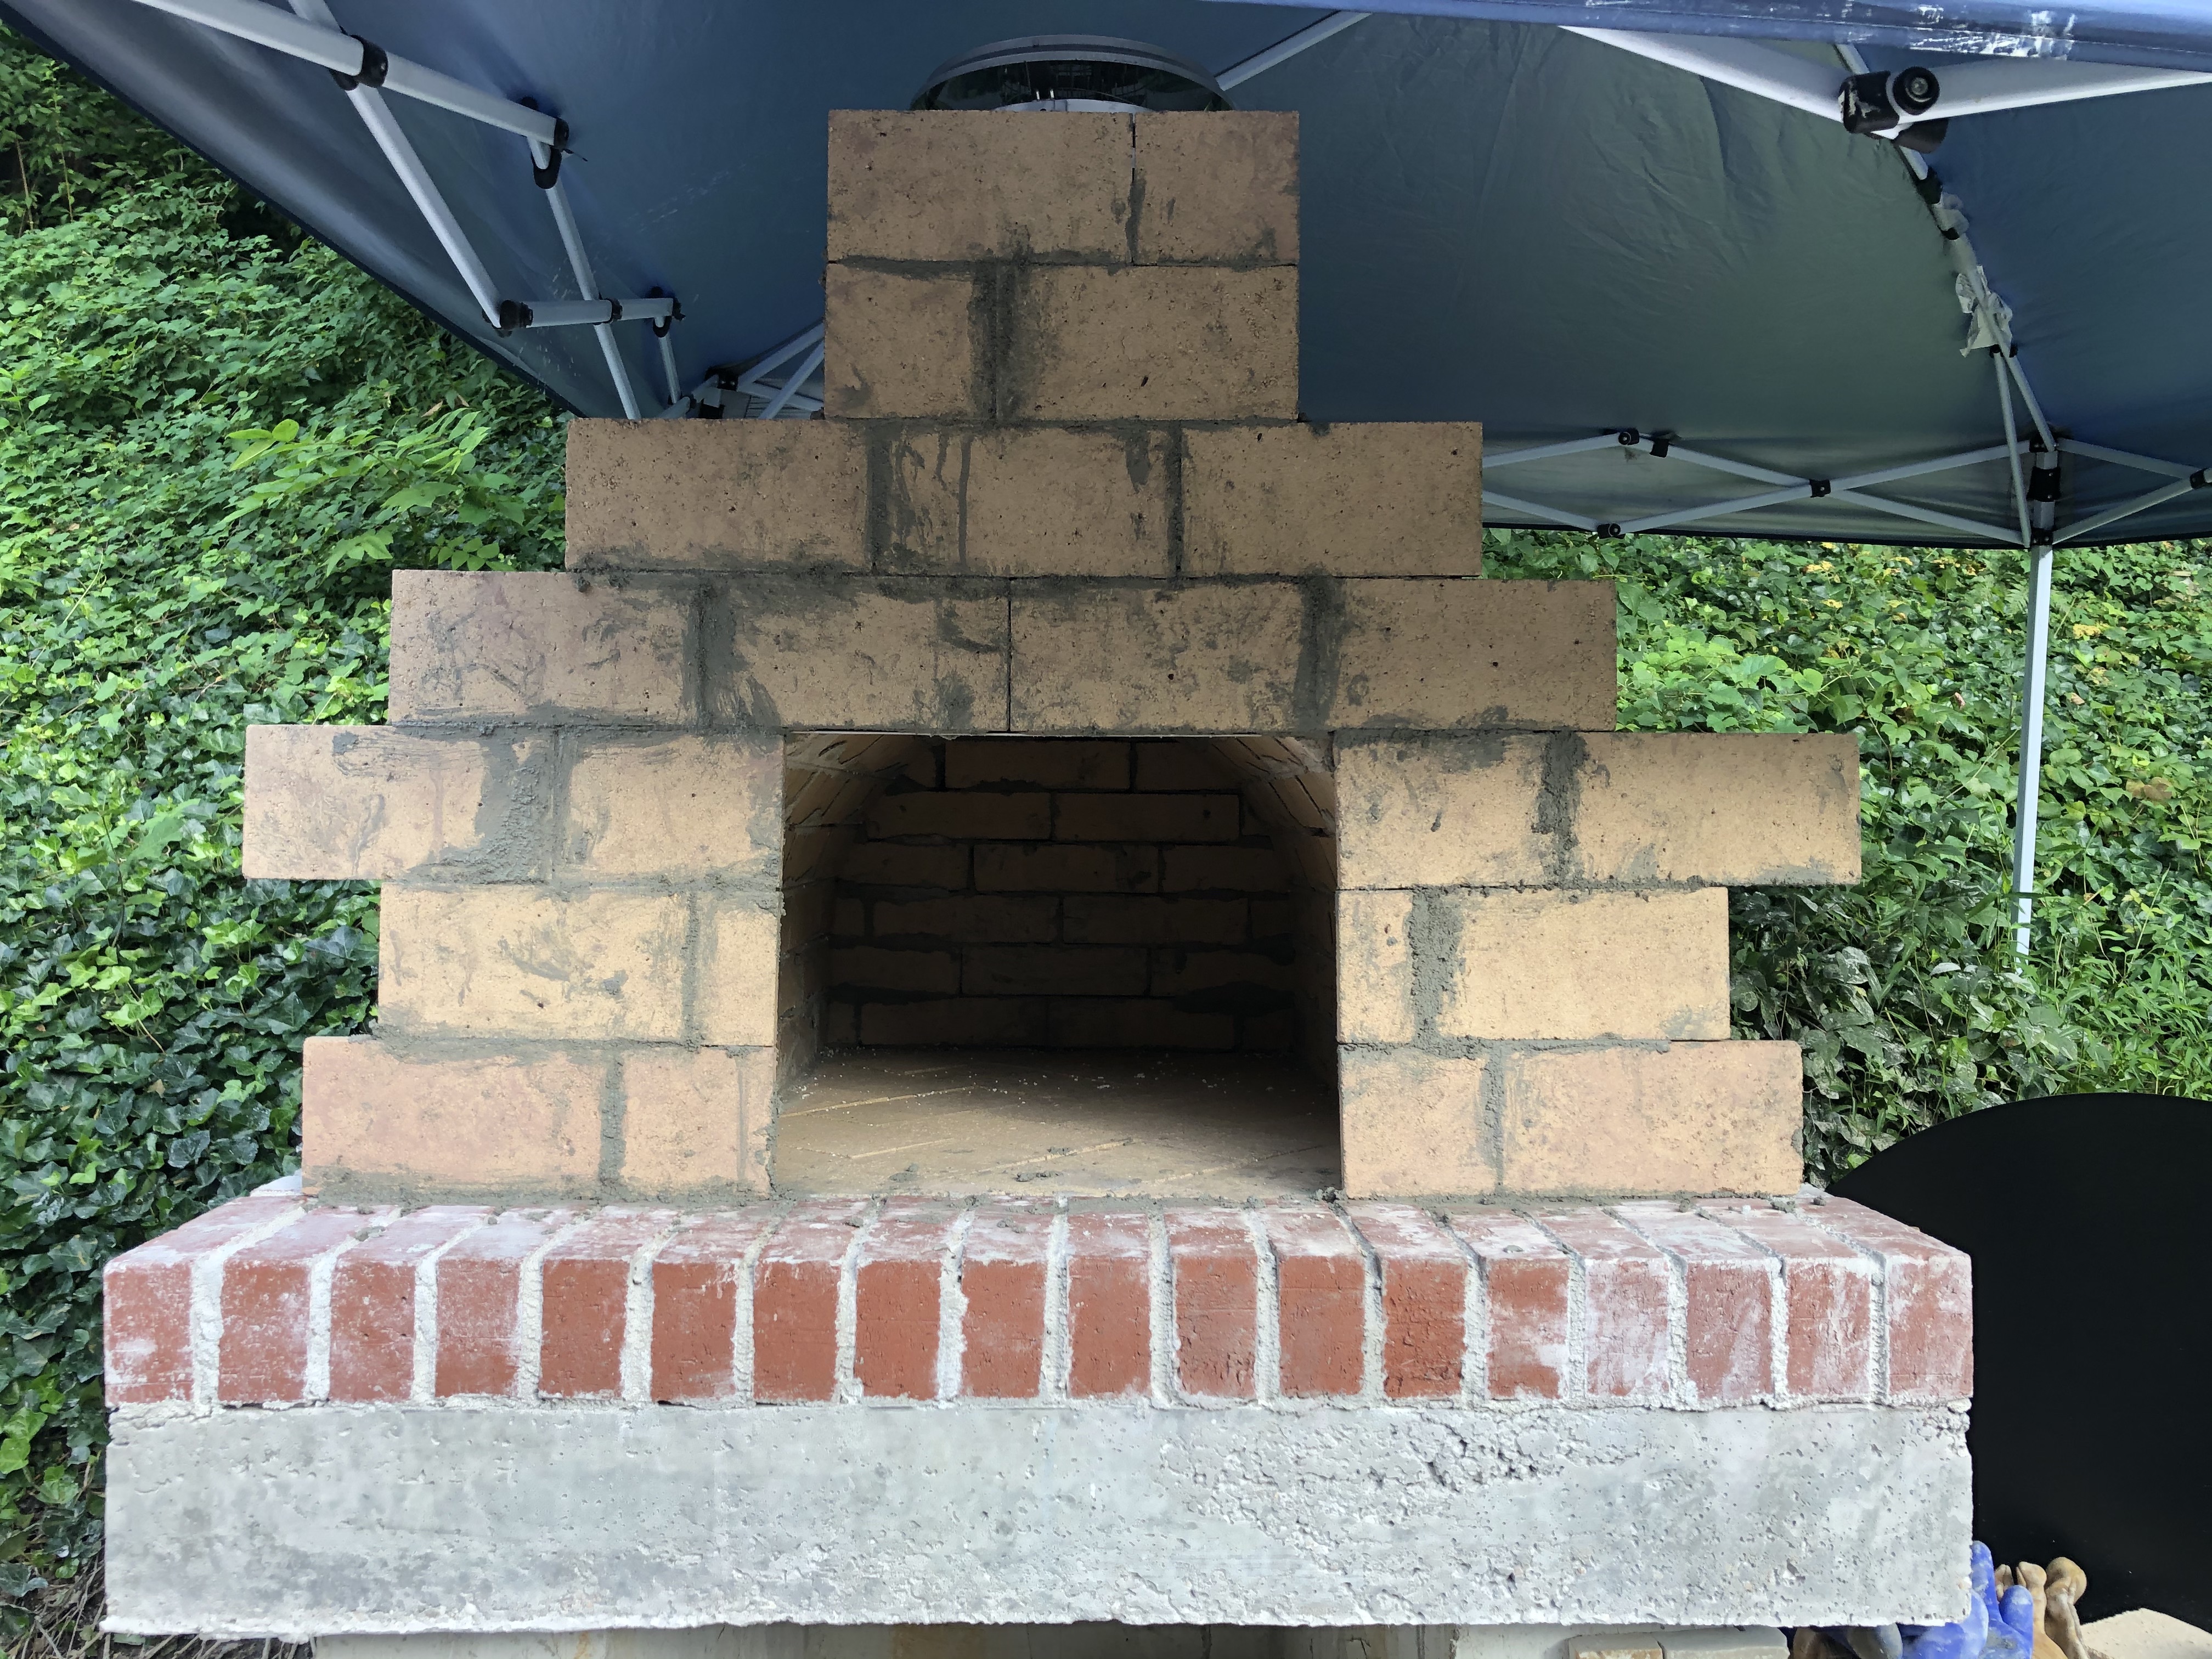
Got some smaller tasks done today
I will be cutting my leftover firebricks in half to use the finished faces to enclose the front of the oven. That should be happening this week.
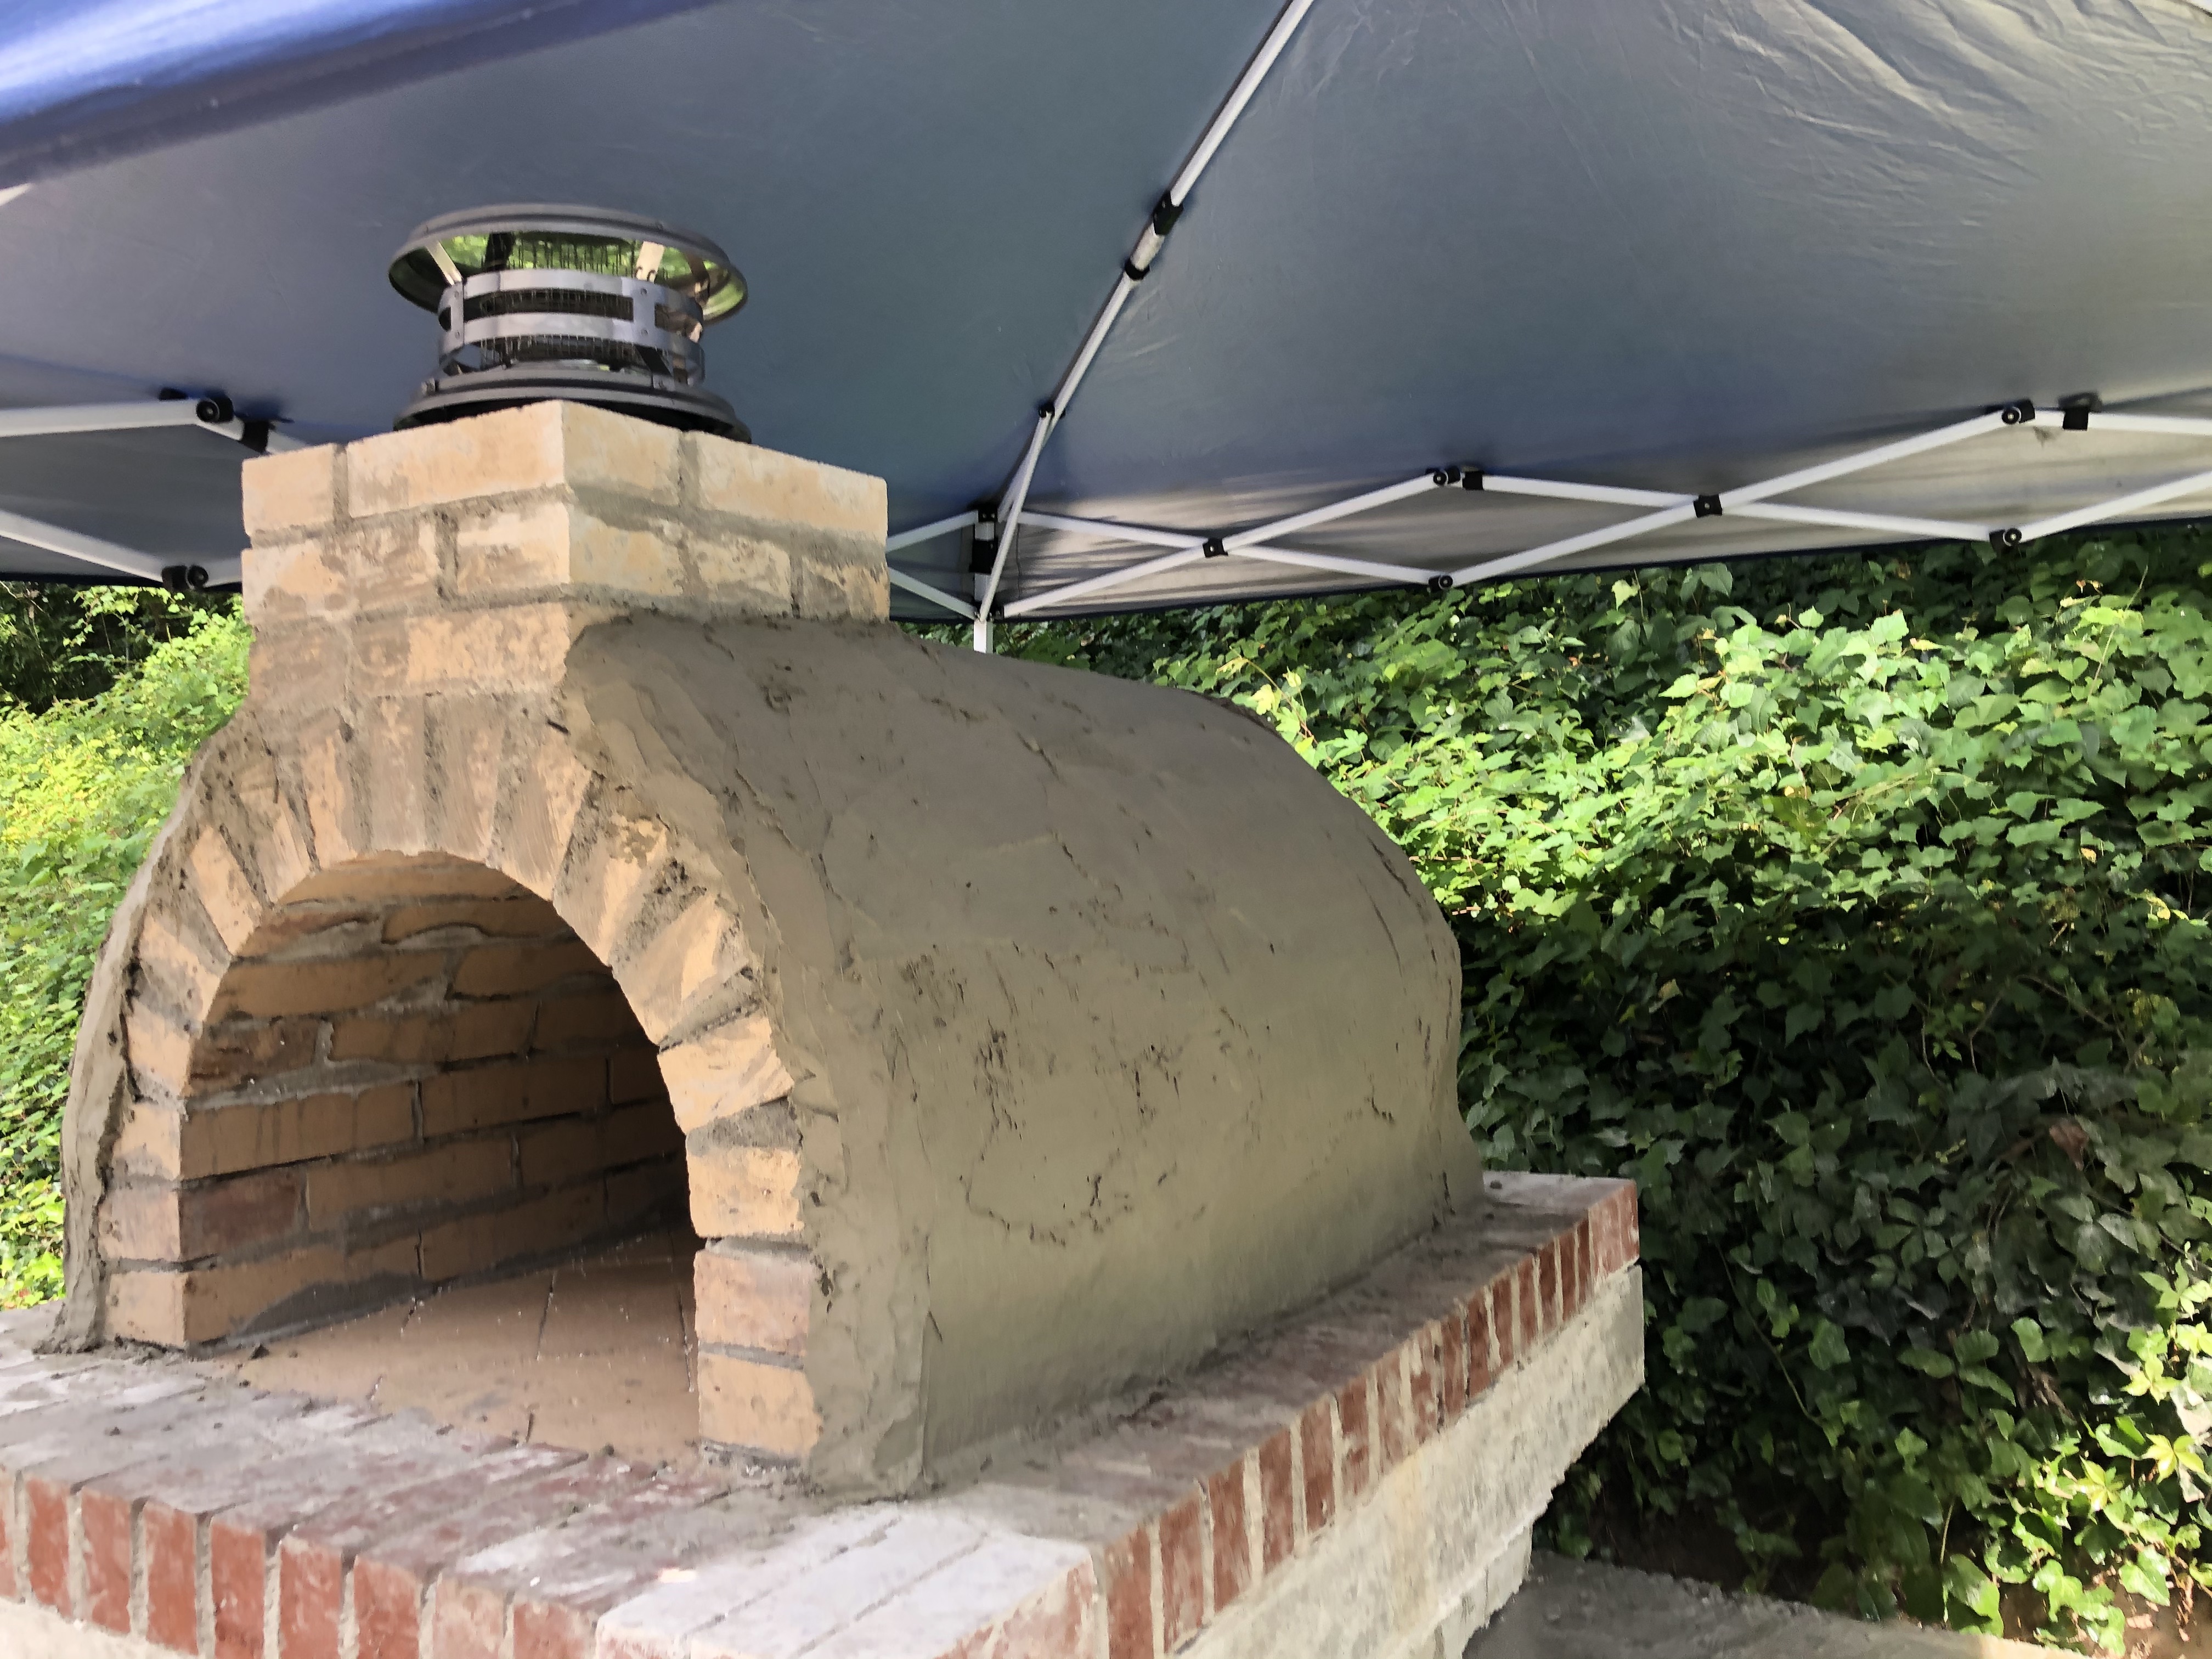
Getting close to done!
G
Looking great! And good idea on cutting your leftover firebrick. Turning it over in my mind just a bit, and it will be thinner than standing them on edge (you definitely don’t want to lay them on their bases because it would be way too thick and wouldn’t leave enough of a ledge for the door). But I believe it will do the job.
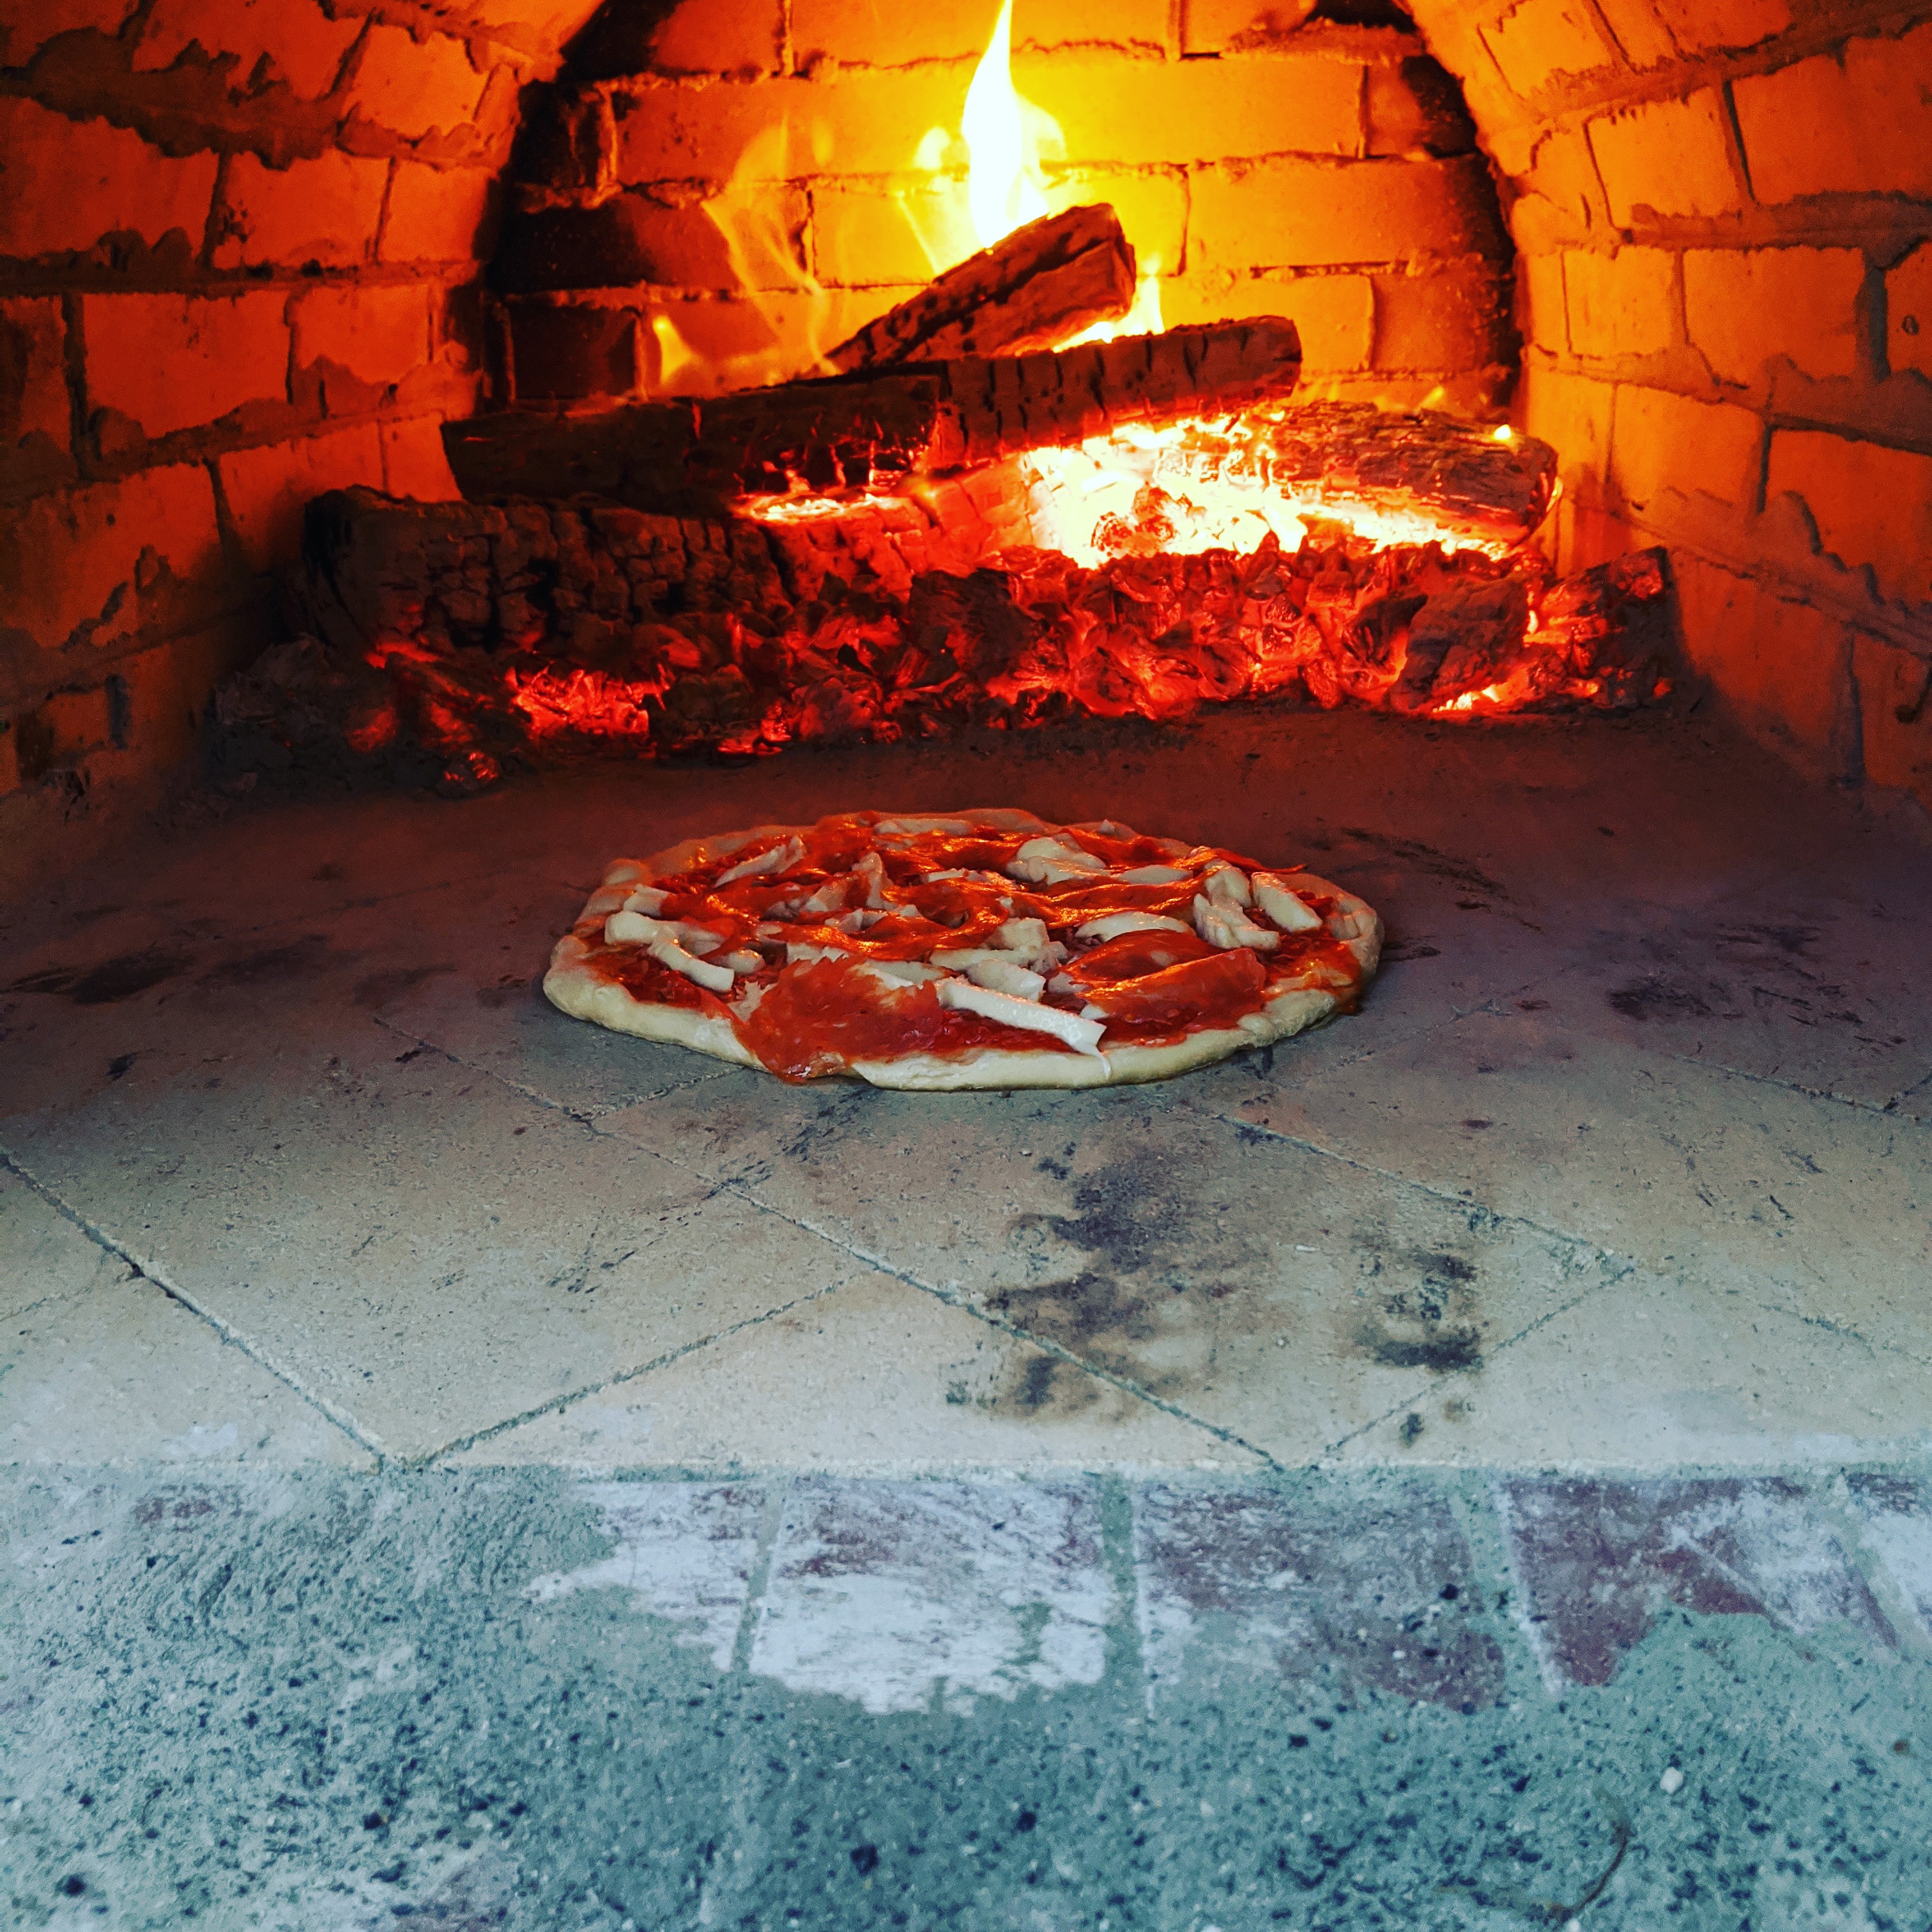
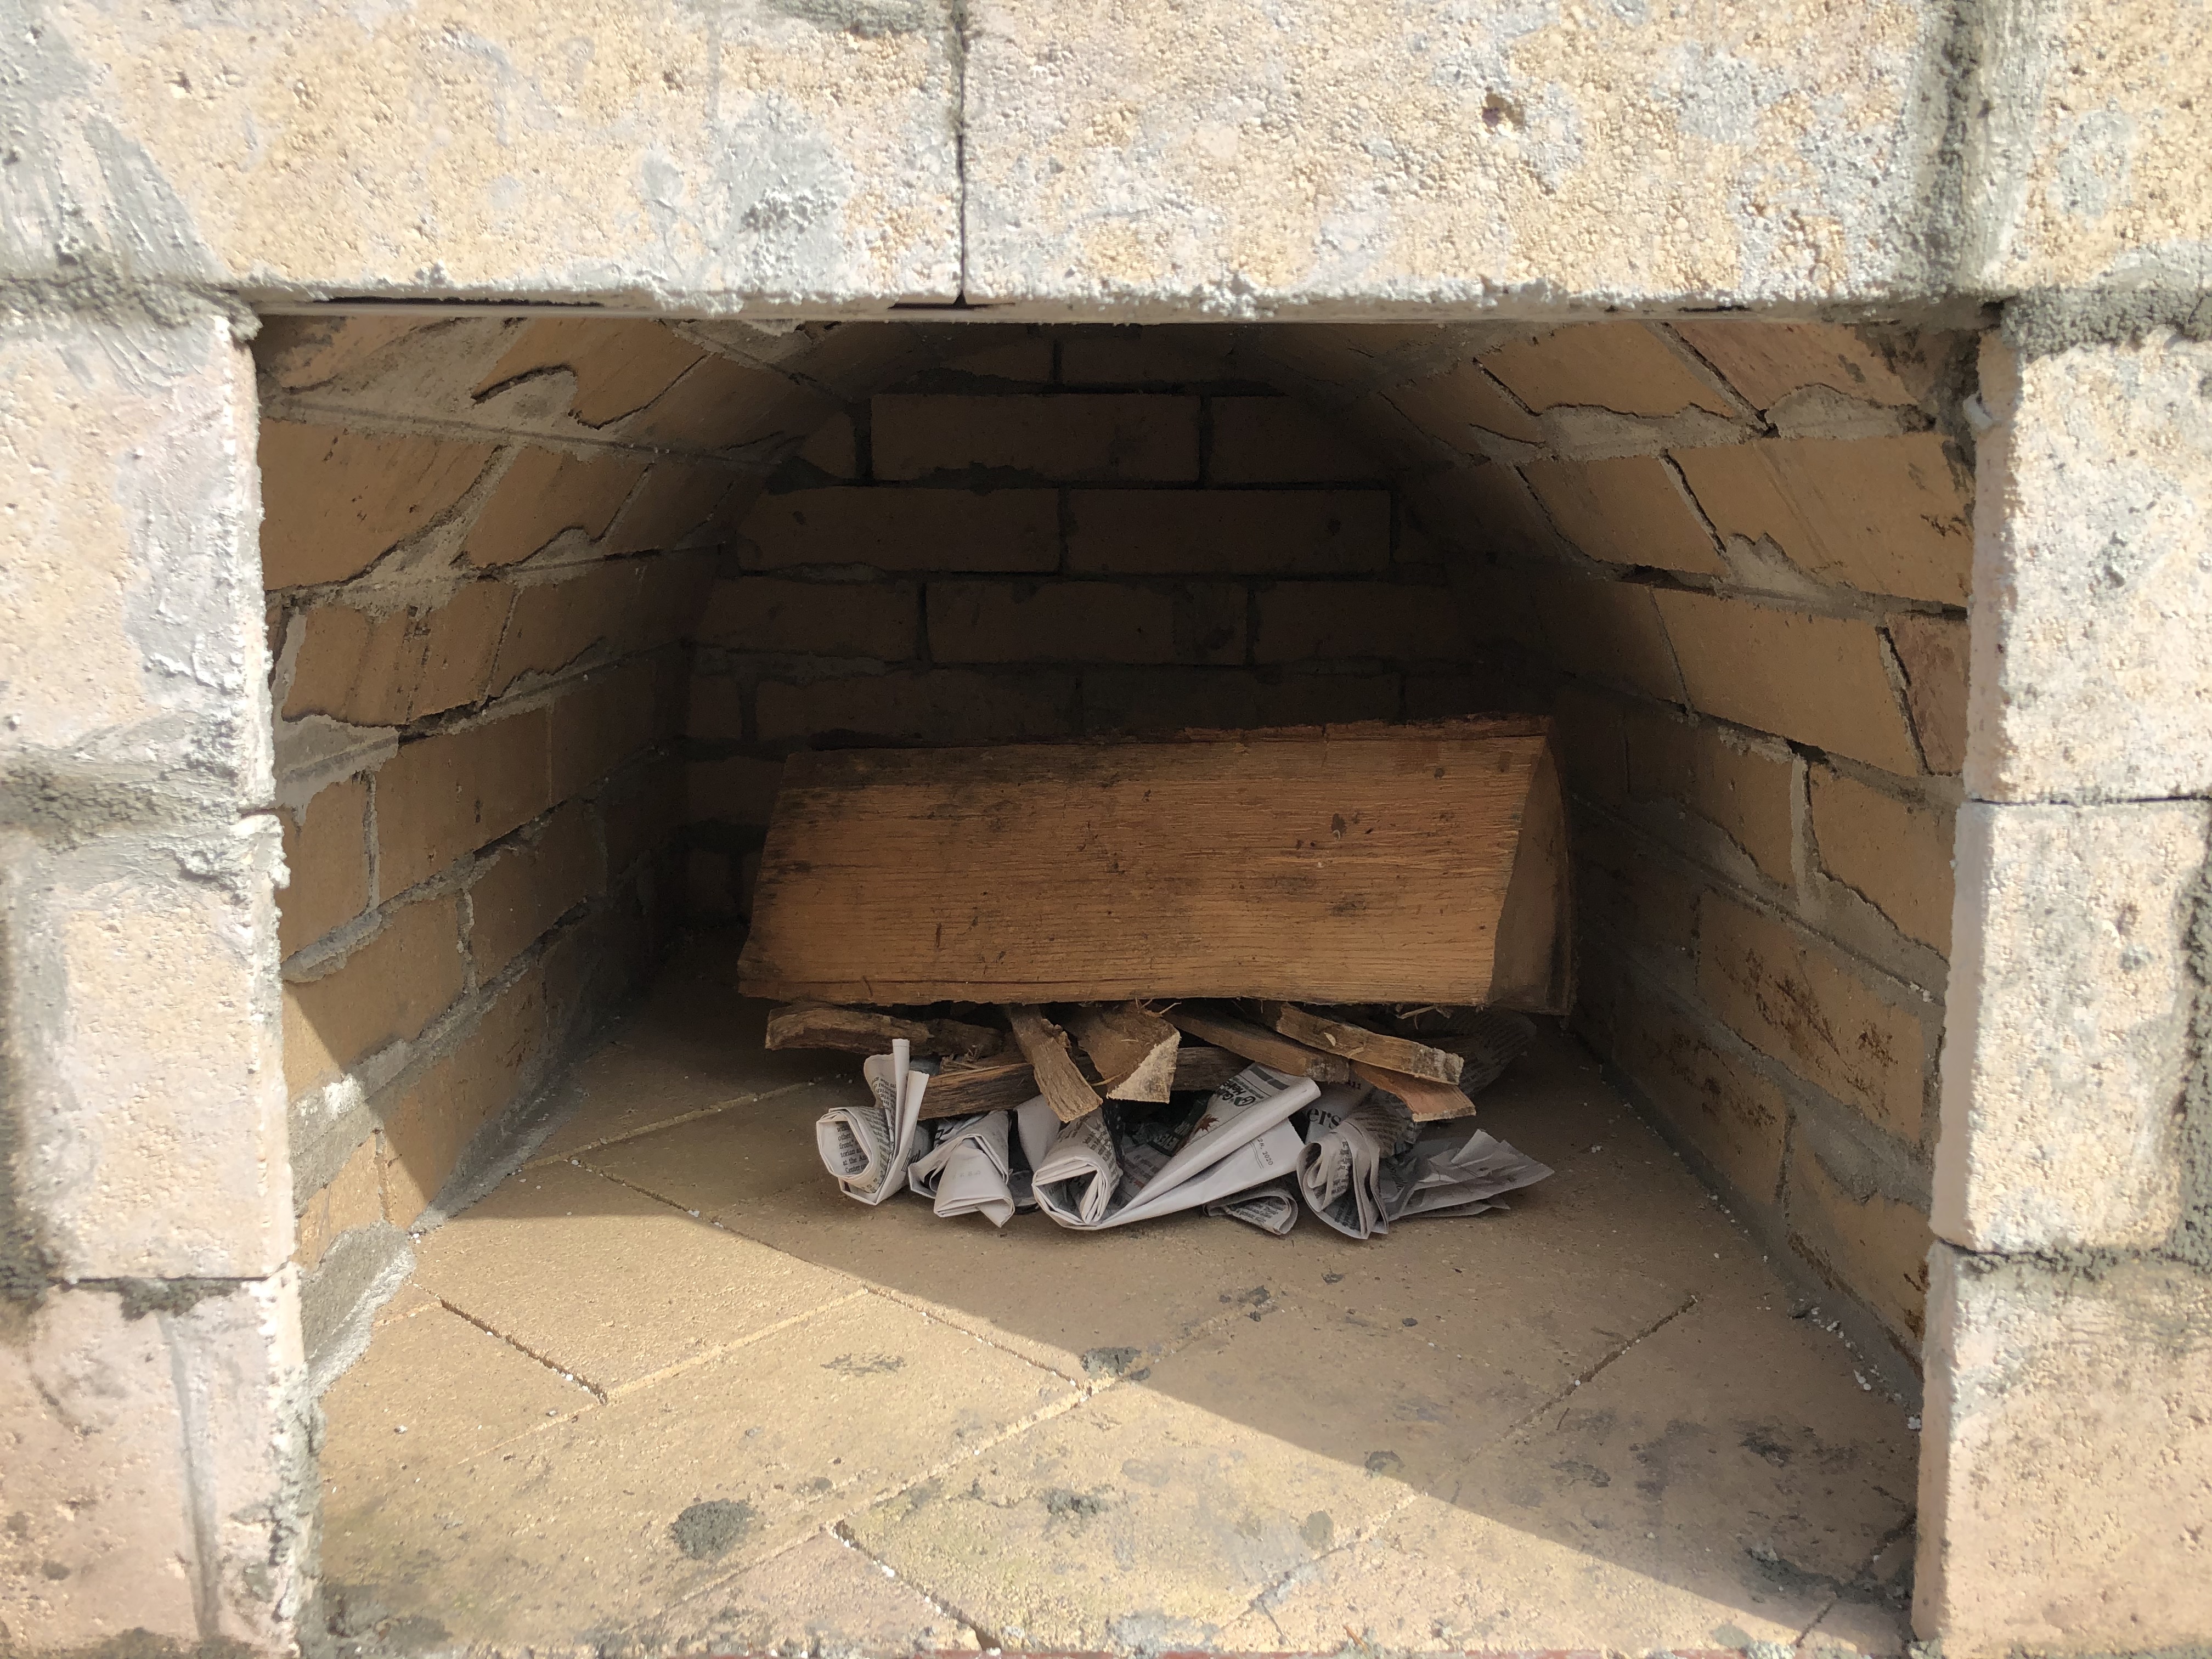
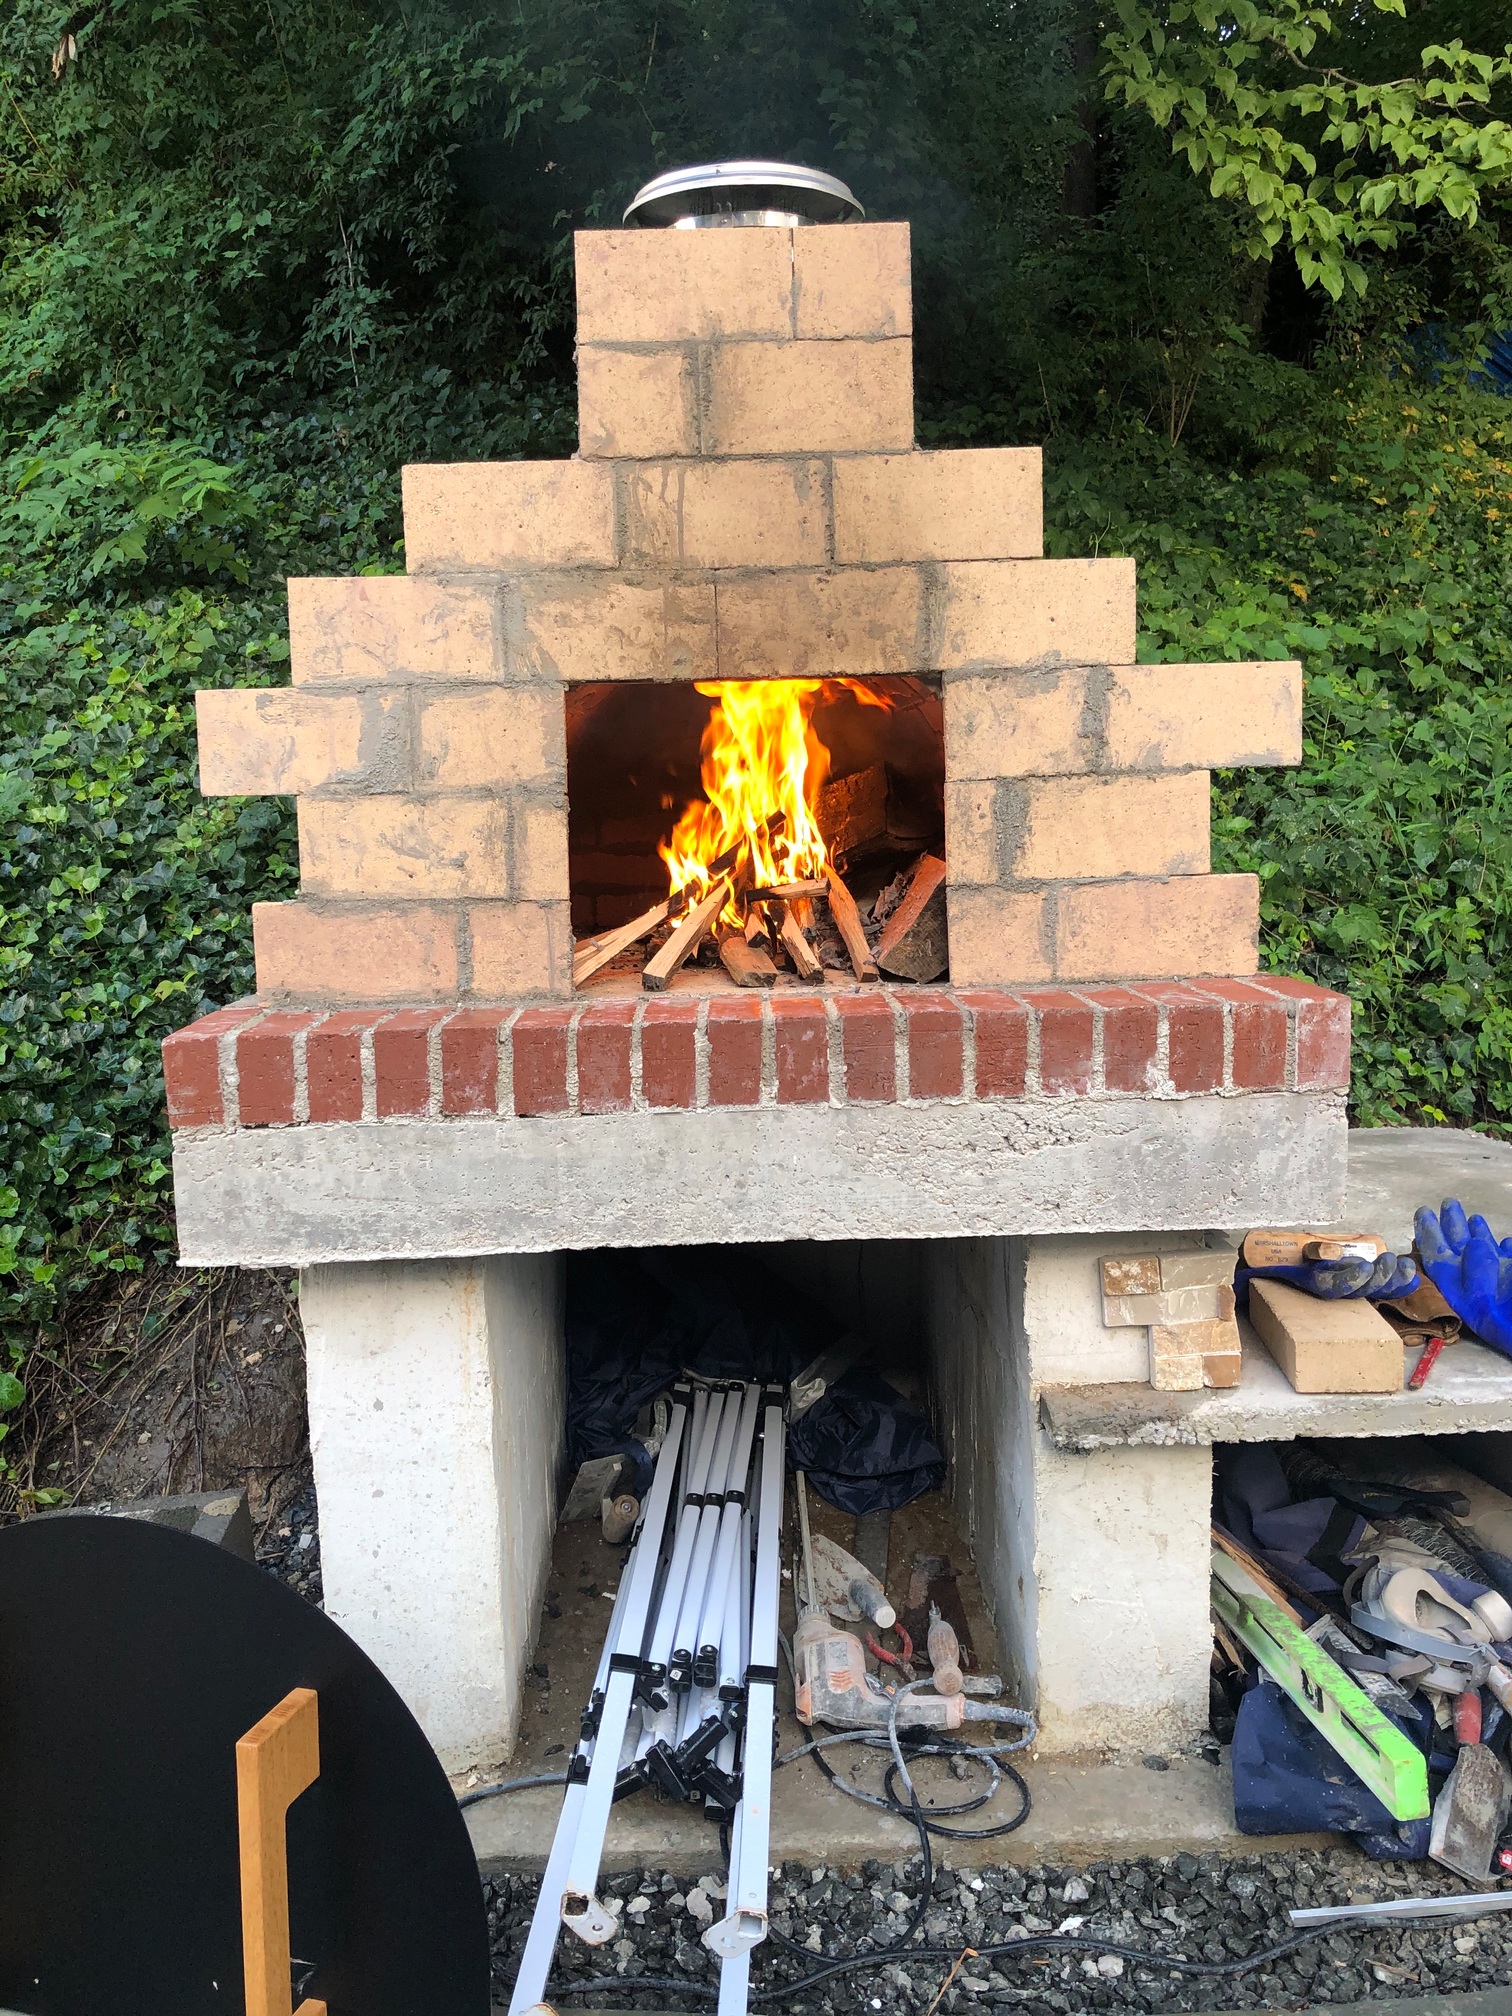
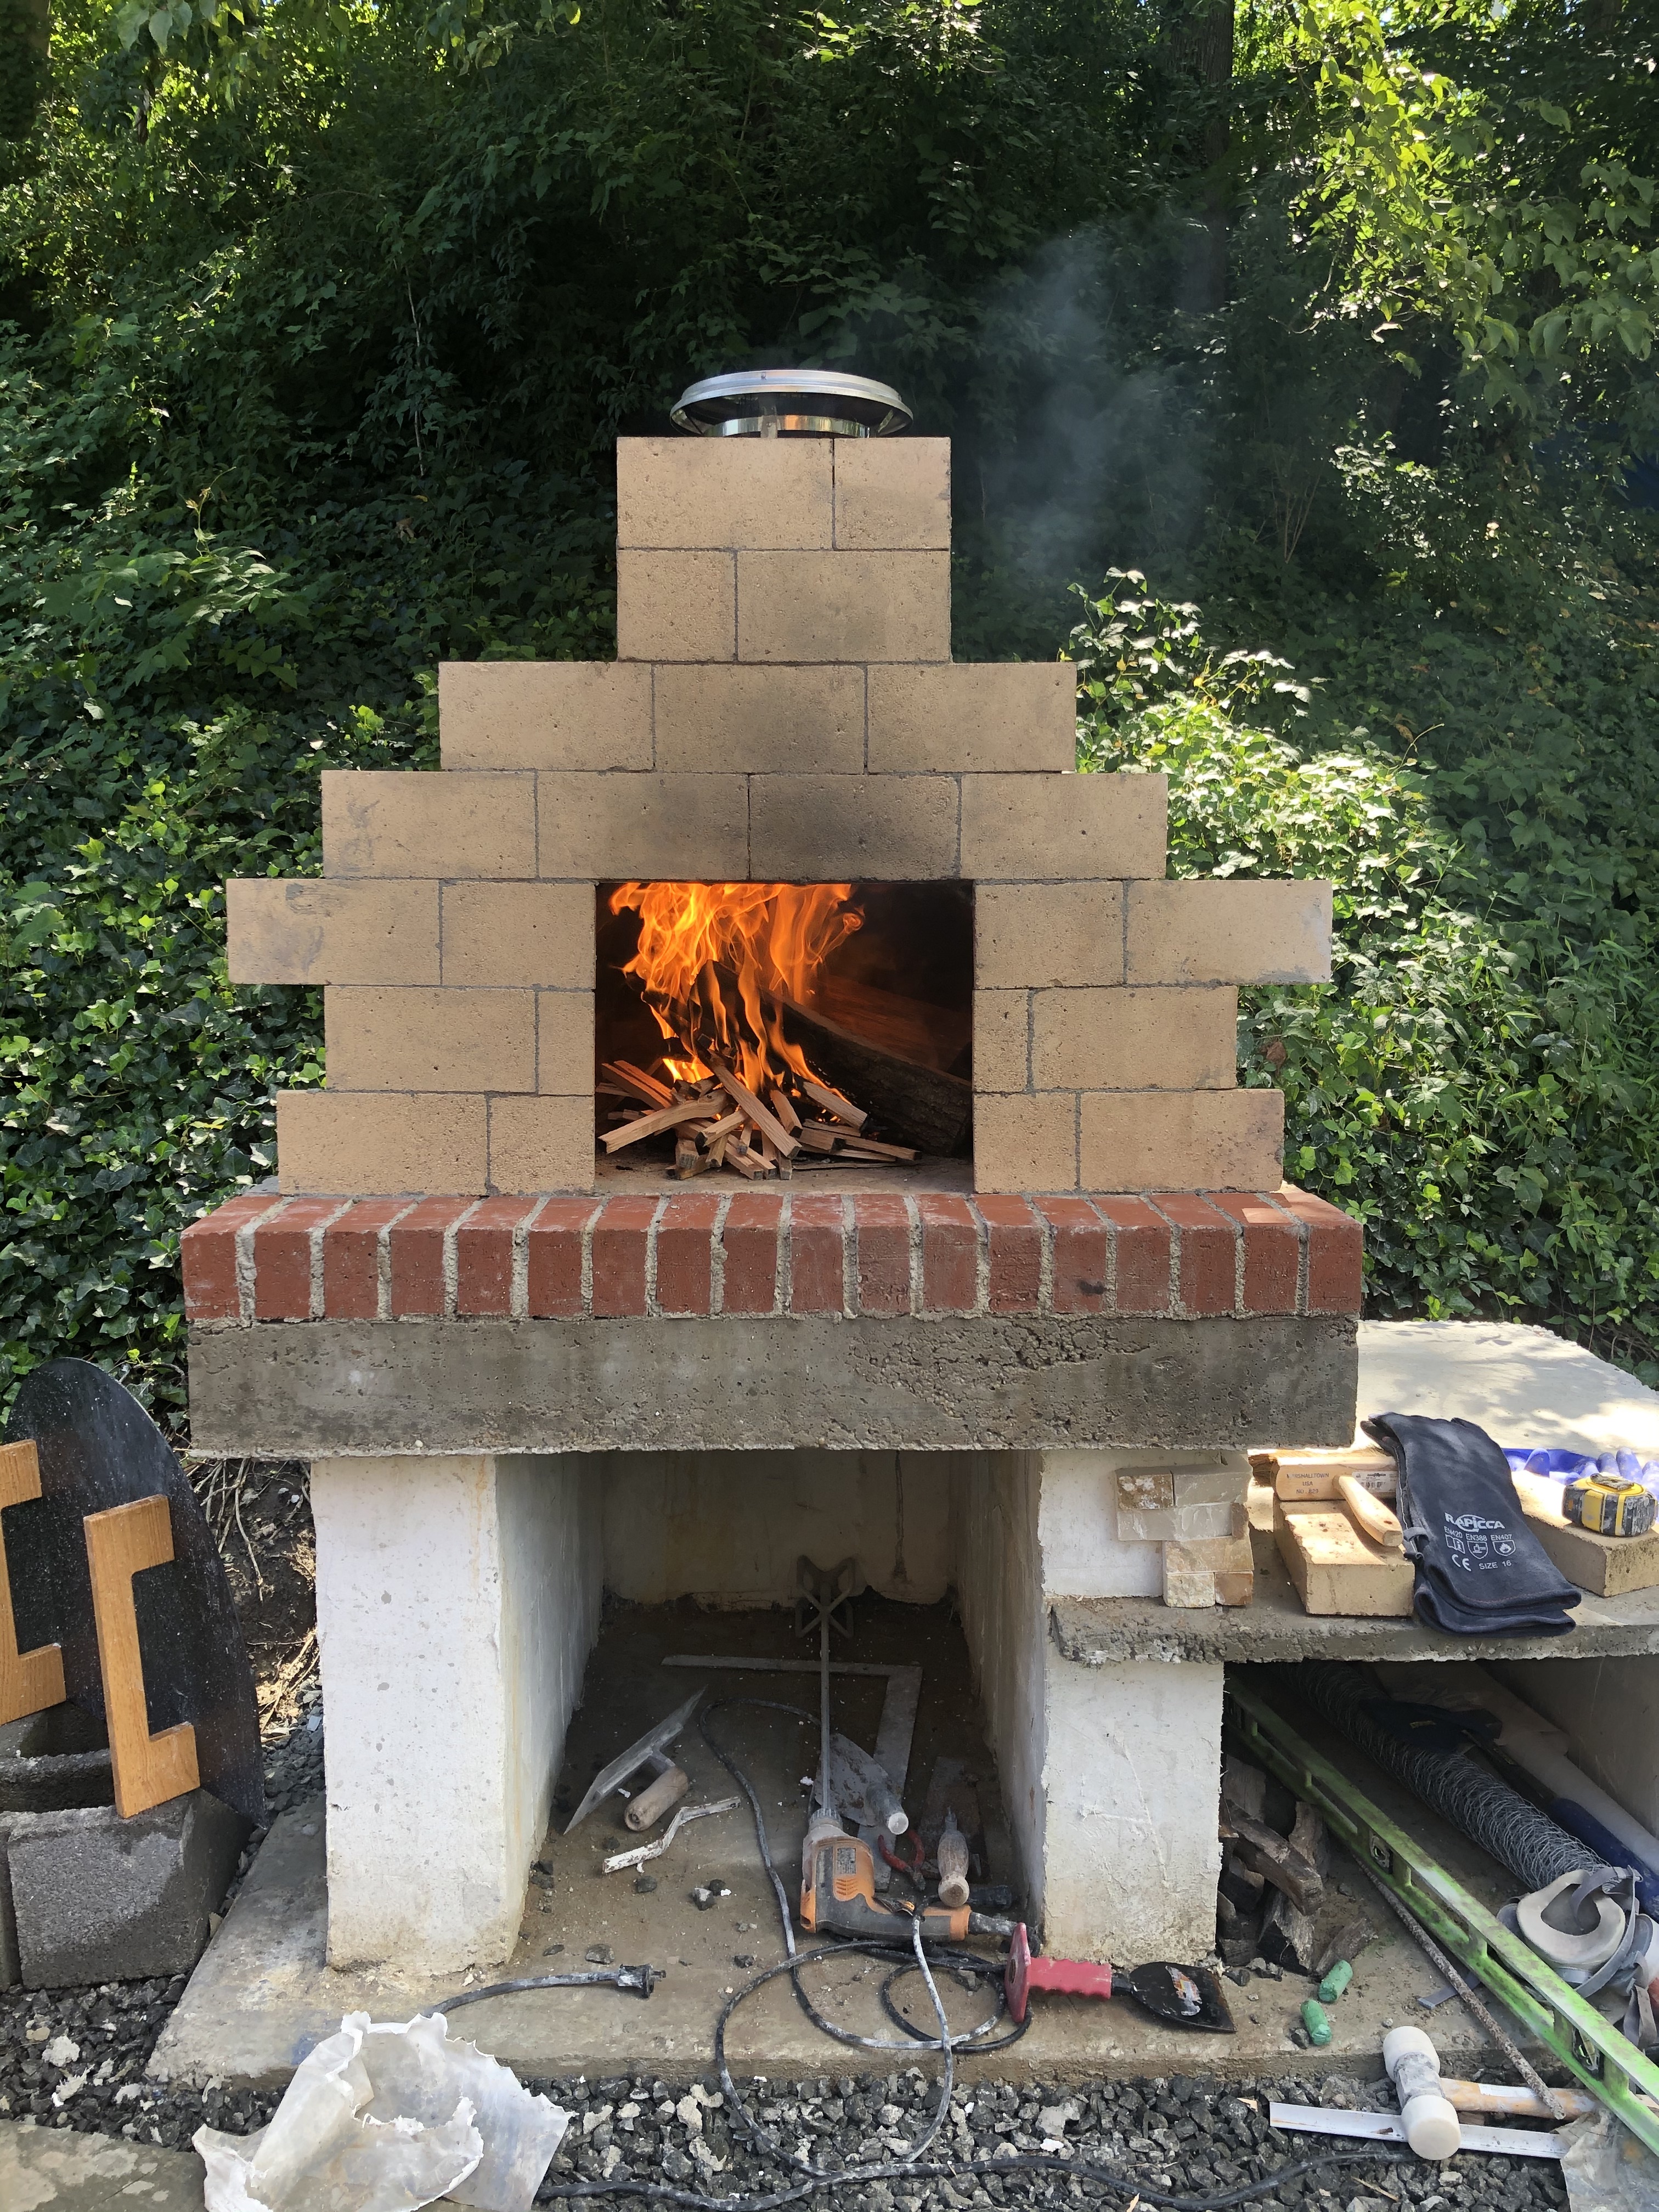
Got the front on, and did some of the burns
Three more fires to go before we start cooking, and Thursday we will go get the veneer materials and I will do my best to make the outside pretty…
G