Many of us recall playing with sand when we were kids. Sometimes it was in a dedicated “sandbox,” sometimes on a beach or playground. Since sand is simply ground-up rocks, it is plentiful (though there are signs that local shortages of construction sand are starting to become a problem).
One place you absolutely need sand is in the insulated base of your Brickwood oven hearth. Sand-setting your hearth bricks evens out the void, and brings the faces of your firebrick level with the concrete frame. Individual brick can be adjusted easily by adding or removing a little sand.
Sand-setting is a must. Your hearth simply will not perform if you decide to mortar your bricks in place. If you have decided to pay a contractor to build a Brickwood kit for you, you must be your own best advocate in this matter. A mason who is more familiar with building fireplaces may claim to “know better” than the instructions. Insist on this technique, or you will find yourself with a fireplace masquerading as a pizza oven.
If you’re not familiar with sand-working techniques—maybe there was no beach where you grew up!—it can be flummoxing. Unlike concrete and mortar, sand does not come with a complicated label chock-full of technical information.
So, here are some tips.
What to buy
And yes, you should definitely purchase your sand, in the same aisle where you find sacks of concrete and mortar. The major premix concrete companies process and package sand—and you may be surprised to see that a 50 pound sack costs about the same as a 60 pound sack of high strength premix. That’s because sand has to be sifted, graded, washed, and packaged just like any of the other materials they sell.
The kind of sand you want is labeled “all purpose” or “multi purpose.” It is mostly fine grained material, with some very small bits of stone mixed in. Multi purpose sand is primarily quartz, which breaks down into a rougher grain that works better with concrete. For this project, you don’t care.
Although the instructions for your oven may call for two 60-pound bags of sand, it’s a good idea to get three. My base took 150 pounds to bring the firebrick up to level.
How to work it
Unlike most of the tasks involved with building your oven, working the base takes just a handful of tools:
- a utility knife to open the bag
- a hoe
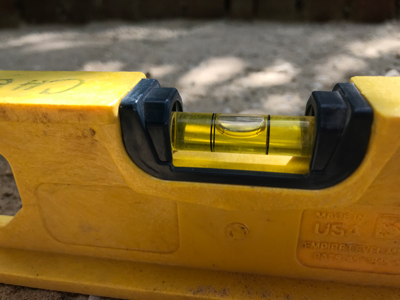
- your cruddiest 2 or 3 foot level
- a tamper (okay, that one is more like two handfuls because of its weight)
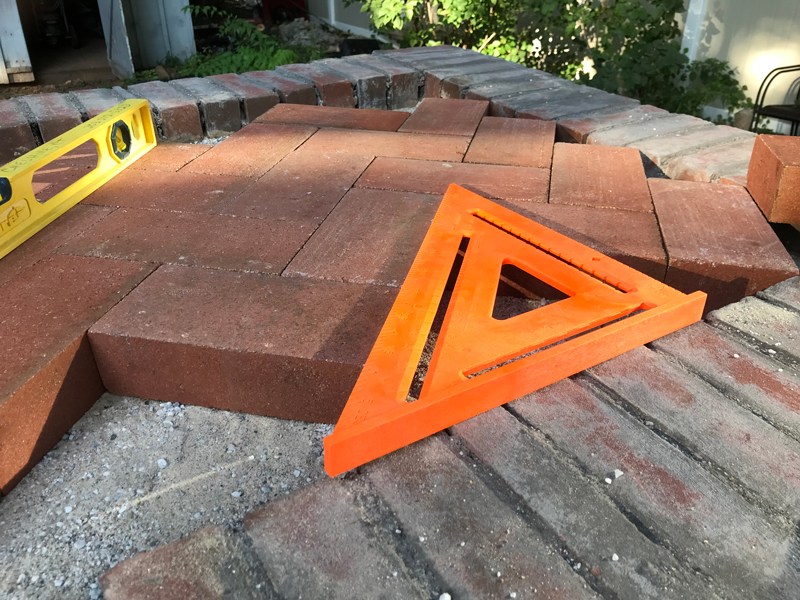
Although you should always be striving to get your structures level, leveling the sand is critical. This is what will make your cooking hearth (the firebrick) level, and it’s worth taking a little time with it. Sand is not self-leveling in the way concrete tends to be, so you may think it’s a tough job.
It’s not.
Hoist two closed sacks of sand atop the insulated base, inside your brick frame. Cut them open and dump the sand out into the frame. Use the hoe to spread sand evenly around the frame. Don’t worry about leveling it with the hoe. Use more sand from the third bag to get the surface approximately where it needs to be to bring firebrick faces up level with the frame.
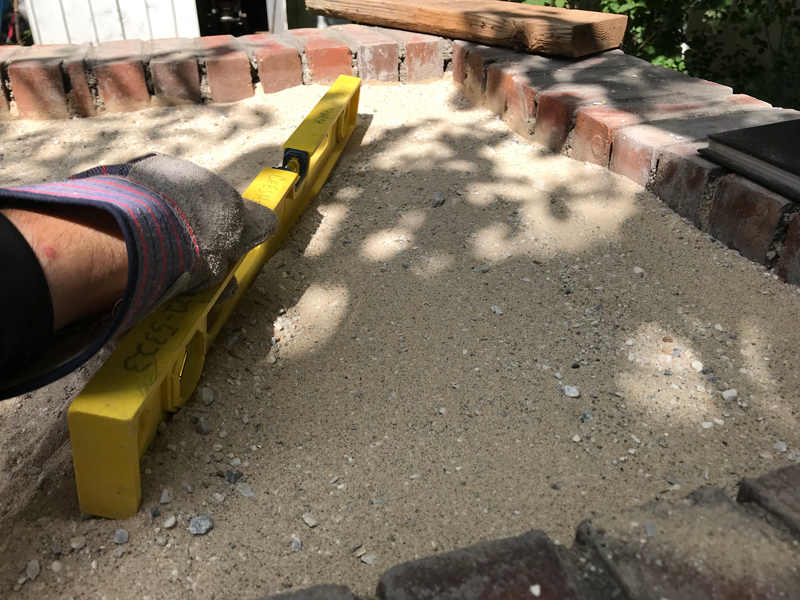
Use your level as a screed-board to even out the surface and start making it level. Sand will tend to “crown” near the middle of the space, so don’t be afraid to cut down those little humps and work them out evenly. Check your bubble occasionally; you will find that screeding tends to make a horizontal surface. You’ll also see that sand tends to pile up at the edges of the space. You’ll fix that next.

Use the tamper to flatten out and compress your sand. My 9-inch tamper has a long handle and is heavy by design. But, when I hold it close to the business end, it actually feels much lighter and I find it easy to bring it down exactly where I want. The tamper will also tend to level out hills and valleys in your surface.
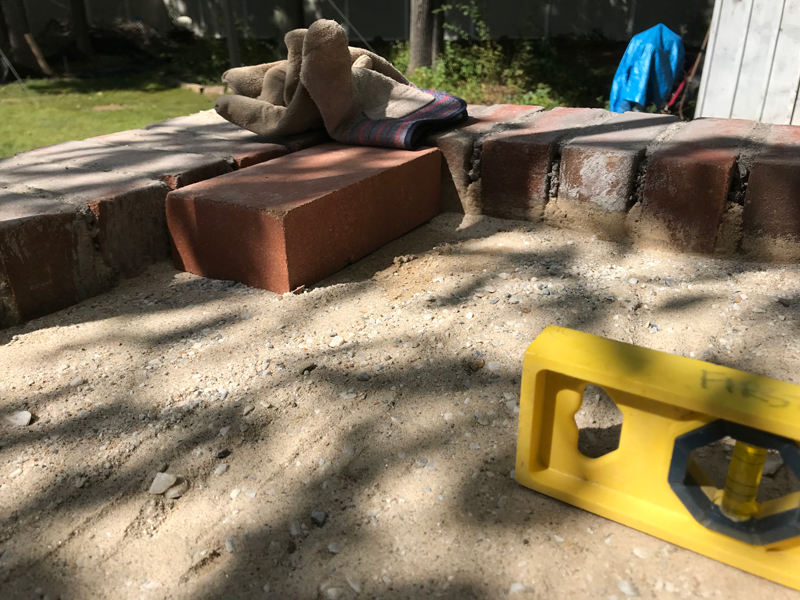
Check again with the level. Screed out any ridges; you shouldn’t have to do much to make this work. Use a firebrick to check that you’re at the right height for the herringboned hearth brick to meet the frame. If you’re not, add more sand and level again.
Next steps
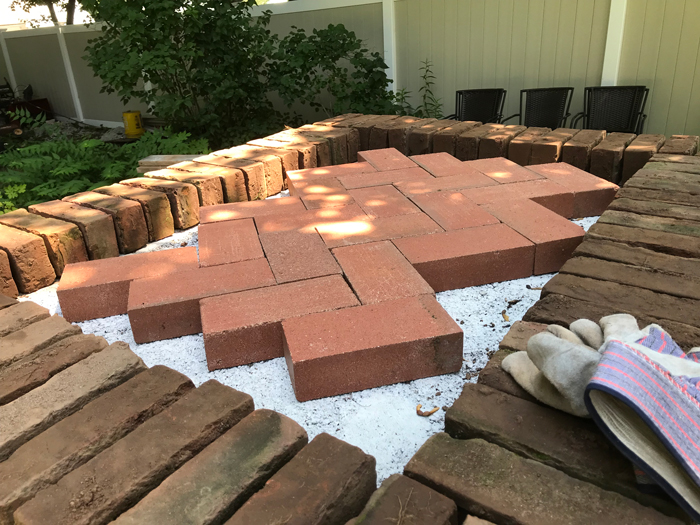
Now that you have a solid and level base, your firebrick can be laid in. You can make minor adjustments on the fly if you find a brick is not laying the way you like. Getting everything level is accomplished by gentle taps with a deadhead rubber mallet for a high corner, or sprinkling a little more sand under a low brick.
And, if you ever find yourself with a shattered or cracked firebrick, replacing it will involve nothing more than prying out the old brick, smoothing the sand underneath, and inserting a new one.
For that, you can thank one of the humblest and simplest building materials on earth.