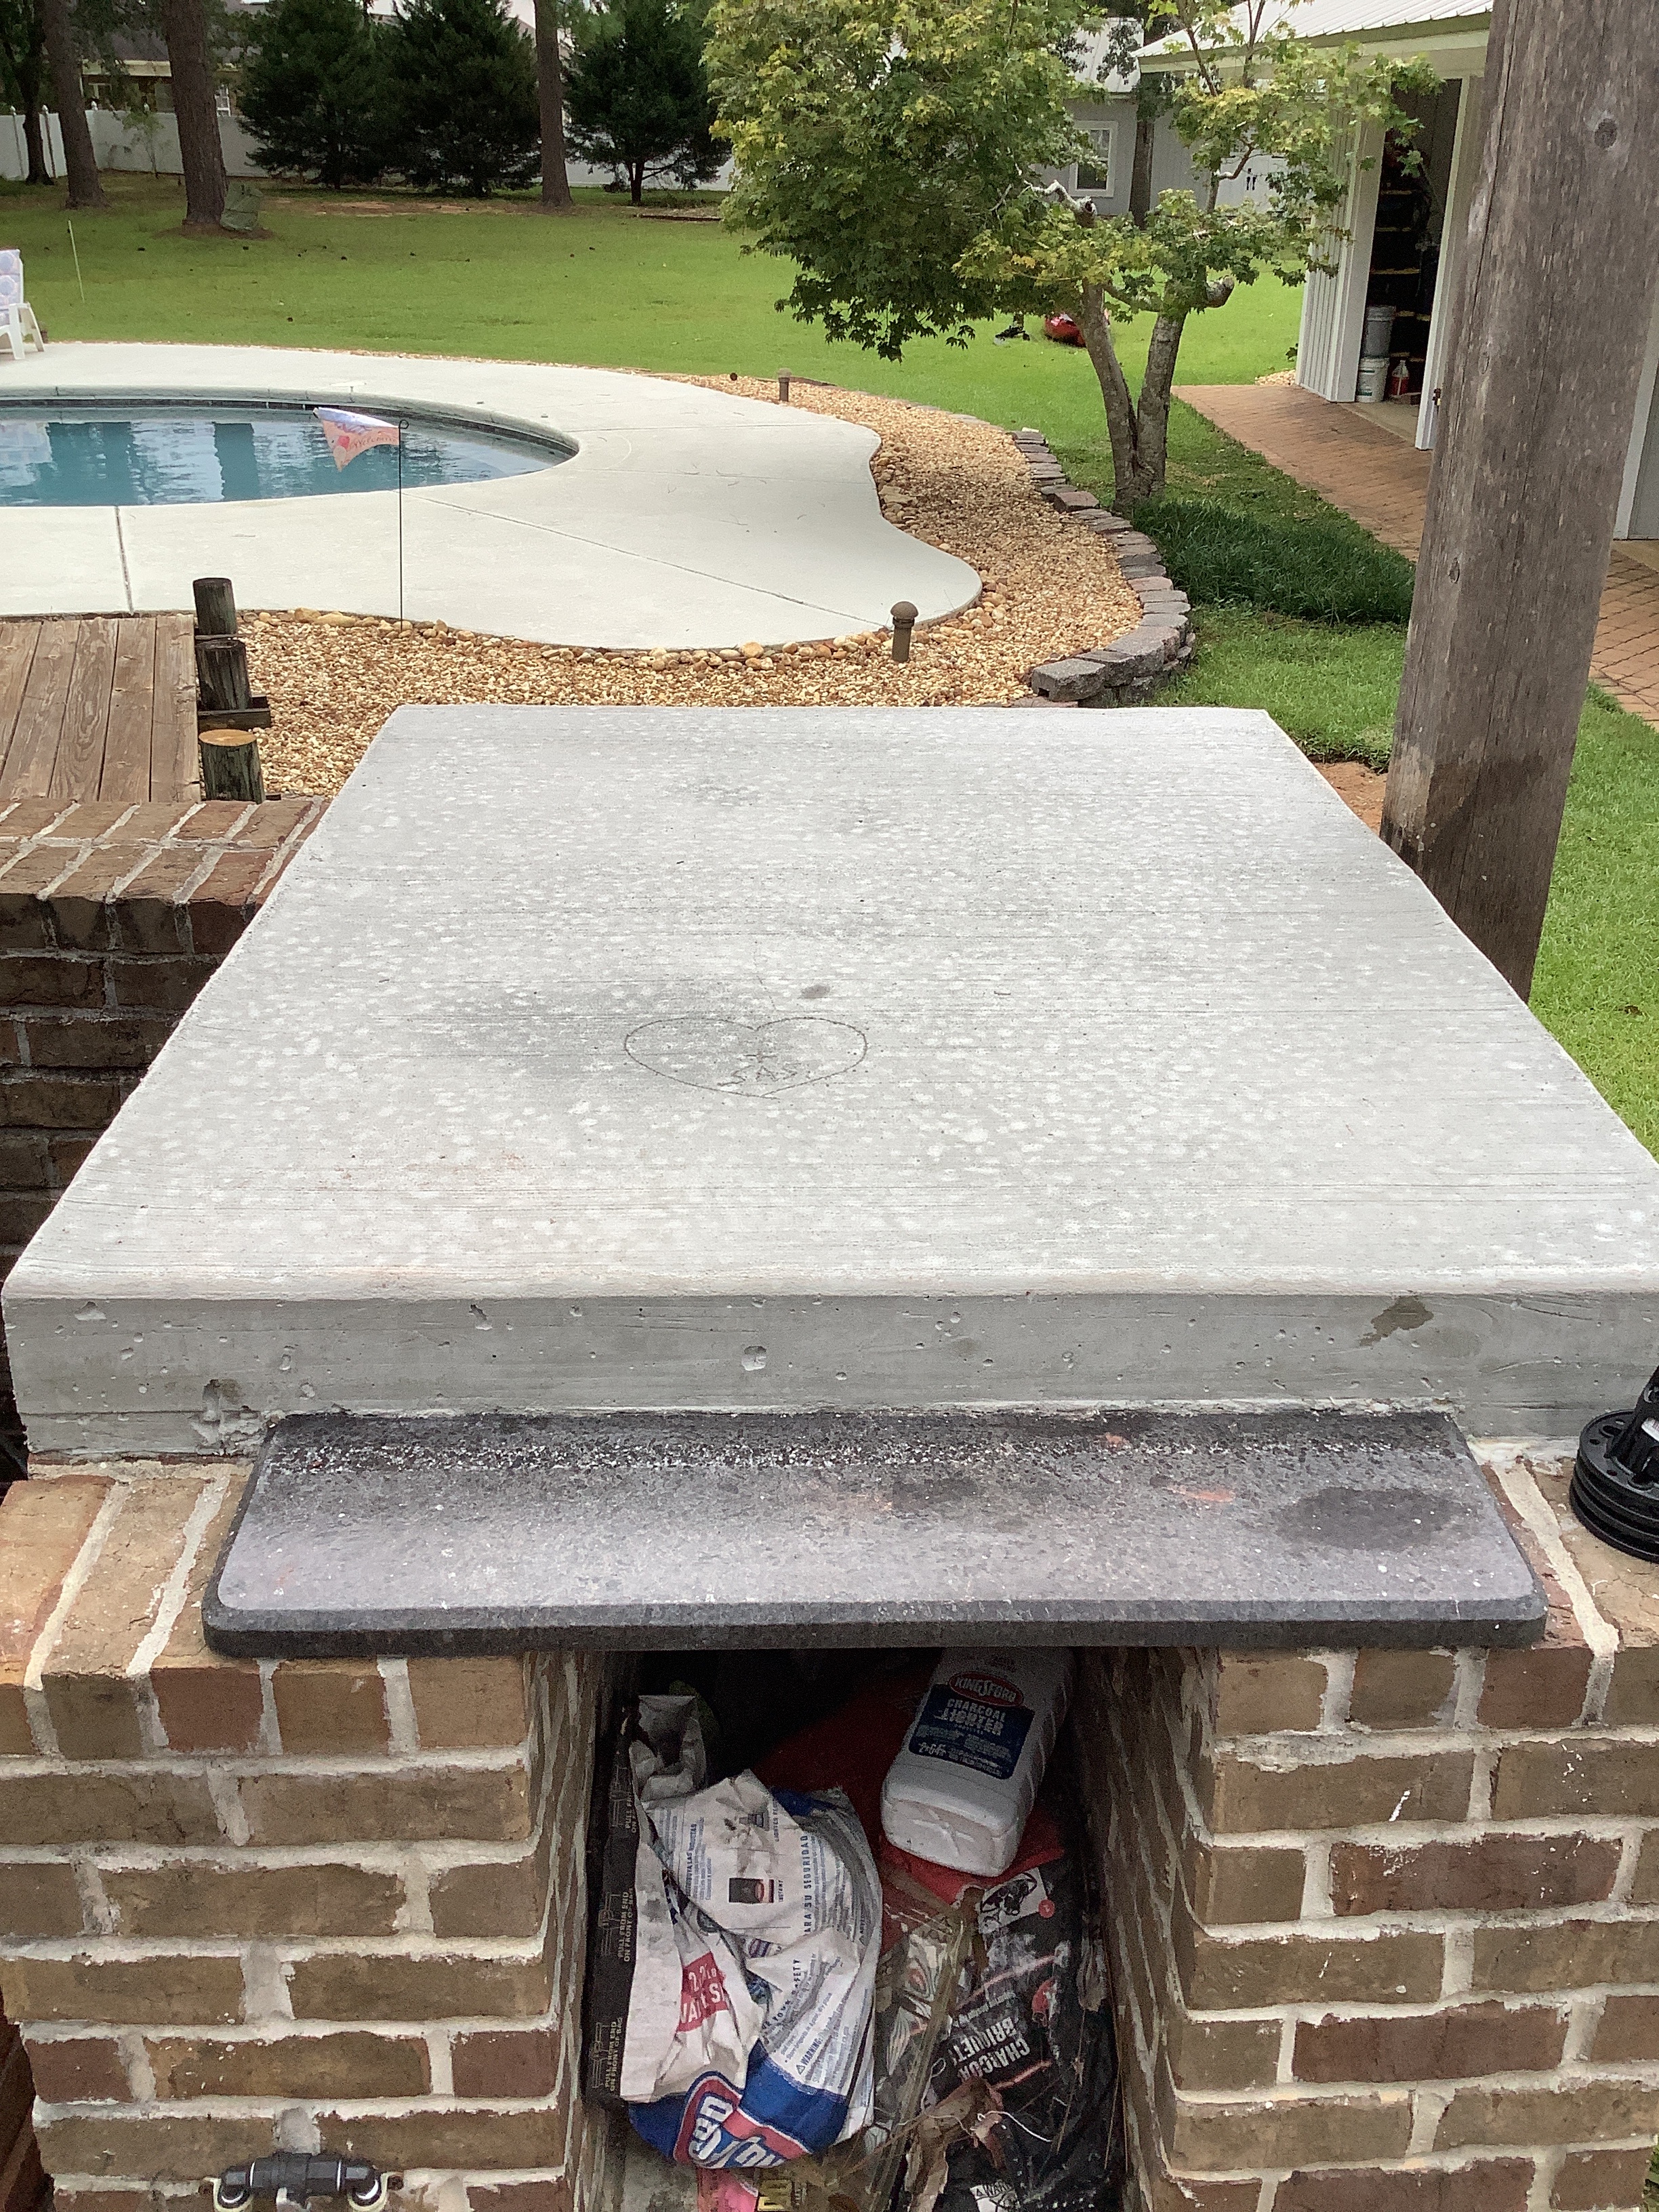
I had the hearth slab poured last week and due to language barriers and frustration, I allowed a straight 5.5” concrete slab to be poured, with me thinking, I can figure out the rest later. Well, now, I can’t. I have a whole lot(200+) of vintage red brick laying around that I plan on using on the hearth , but can’t figure out how to make the void for the insulating material and the sand. My firebrick are the 2.5” thick variety.
Could I use 2 levels of red brick with one layer flat and one on edge? I’m afraid it might look odd. I’m hoping I don’t need to pour more concrete. I’d appreciate any help.
1 Like
Hi Kevin,
Hmm… I would have to say the easiest way to fix this is to use fire brick with fire rated mortar and lay it to the size of the indentation ( a square) for the insulated cement. You’ll have 3 inches for the insulated cement but that’s not a bad thing. You can then go out to the end slab with regular brick so you can lay the bricks that will hold the sand on the next level. Like you would do in step two in the plans to start building the oven. Keep in mind that you harth will now be at a taller hight.
Hope this helps.
2 Likes
Good to see you again Kevin. And ouch.
I don’t want to complicate this picture more than it already is. But in addition to holding in your hearthbrick, the slab also serves to support the oven arch. It has to be very, very solid.
So, everything that our friend @423tommy said, plus of course high temp mortar. Look closely at the dimensions for the original slab, and adhere to that. When you start building your arch, you’ll find that the first course of brick “straddles” the outer brick frame and the inner hearth. You want to make sure your improvised void is the same dimensions as it would have been, built as designed.
So no, you don’t need to pour more concrete, and I’m sure you are thankful for that!
This is one of those projects where posting additional photos would be extra helpful. Your experience will help future builders as you work your way forward.
Good luck and let us know how it goes!
1 Like
I agree with bikerbudmatt. Was try to pit it in lesser words. Lol
2 Likes
Thanks for that information. I think I know what you both are advising. I guess as long as it’s adequately insulated underneath, and that the arch edges are supported by the attached hearth bricks to share the load, it should work out. I’ll recheck the floor dimensions for the grande oven and make sure I don’t go larger. I’ll be gone for a week, but will jump on the brick laying upon my return. The forum was one reason I chose BrickWood. To me, the friendly help and experience offered here is invaluable.
2 Likes
It is a big help. I appreciate it. I’ll move slowly to get it right. I’ll mock it up first
2 Likes
Matt, I cannot find the exact dimensions for the void for insulation and firebrick for the Grande oven. I’ve searched all my printed material and the forum. If I have that, I can proceed with the given advice. I’m seriously trying to rough out everything so that I don’t box myself into an unworkable corner.
You’re right, it’s never spelled out exactly in the instructions for the insulated base. But it’s in steps 5 and 6. (Page 4.)
The width is 29 inches.
The length is 20 + (10.5 x 2), or 31 inches.
That gets centered in the hearth (see page 5).
If you look at the CAD drawings there, it should give you a good idea of how to frame your makeshift brick void.
Hope that helps!
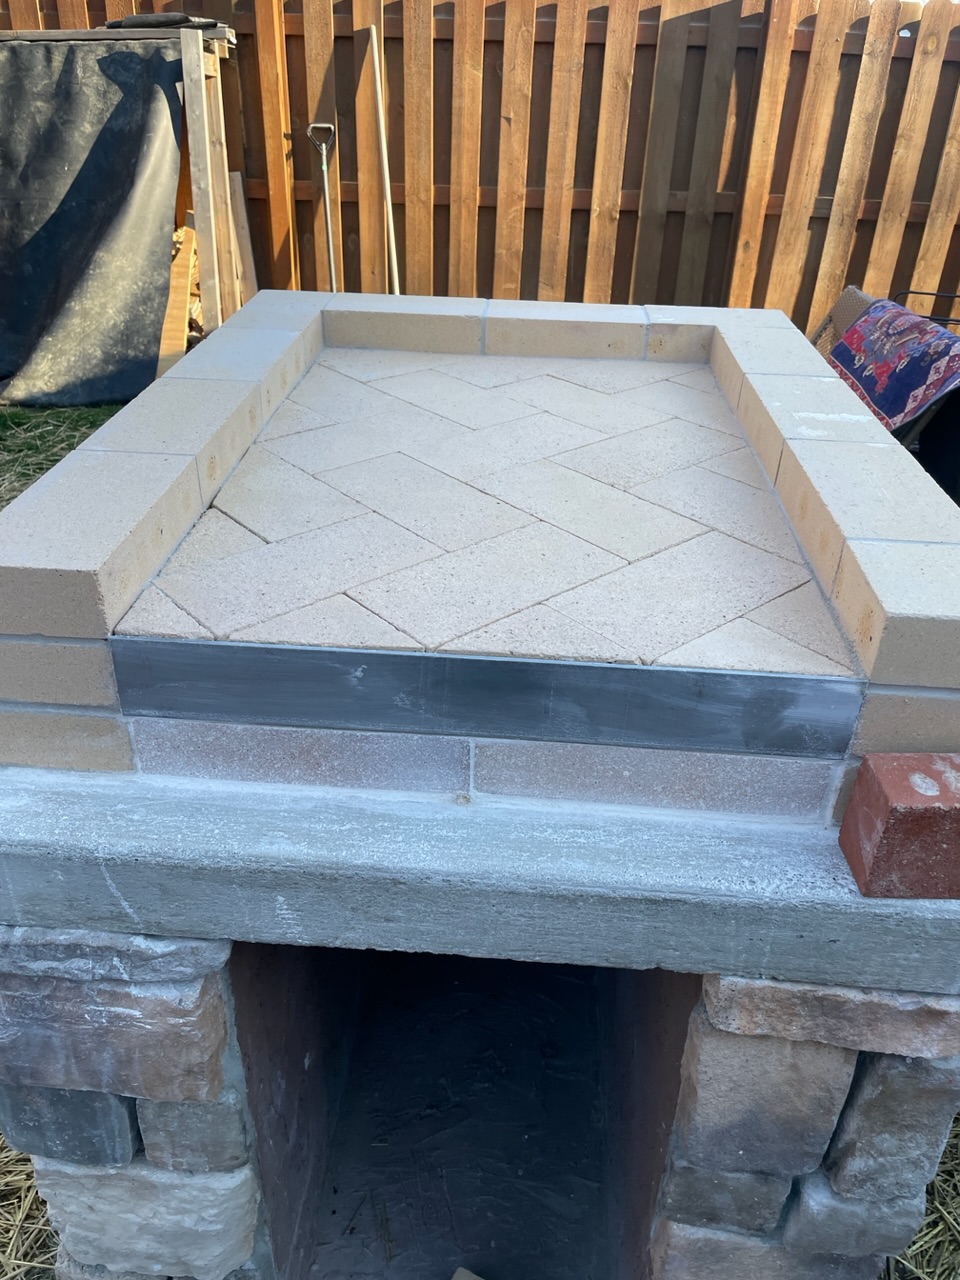
That looks great. It’s very similar to how I’m proceeding. Your masonry skills are fare superior to mine though.