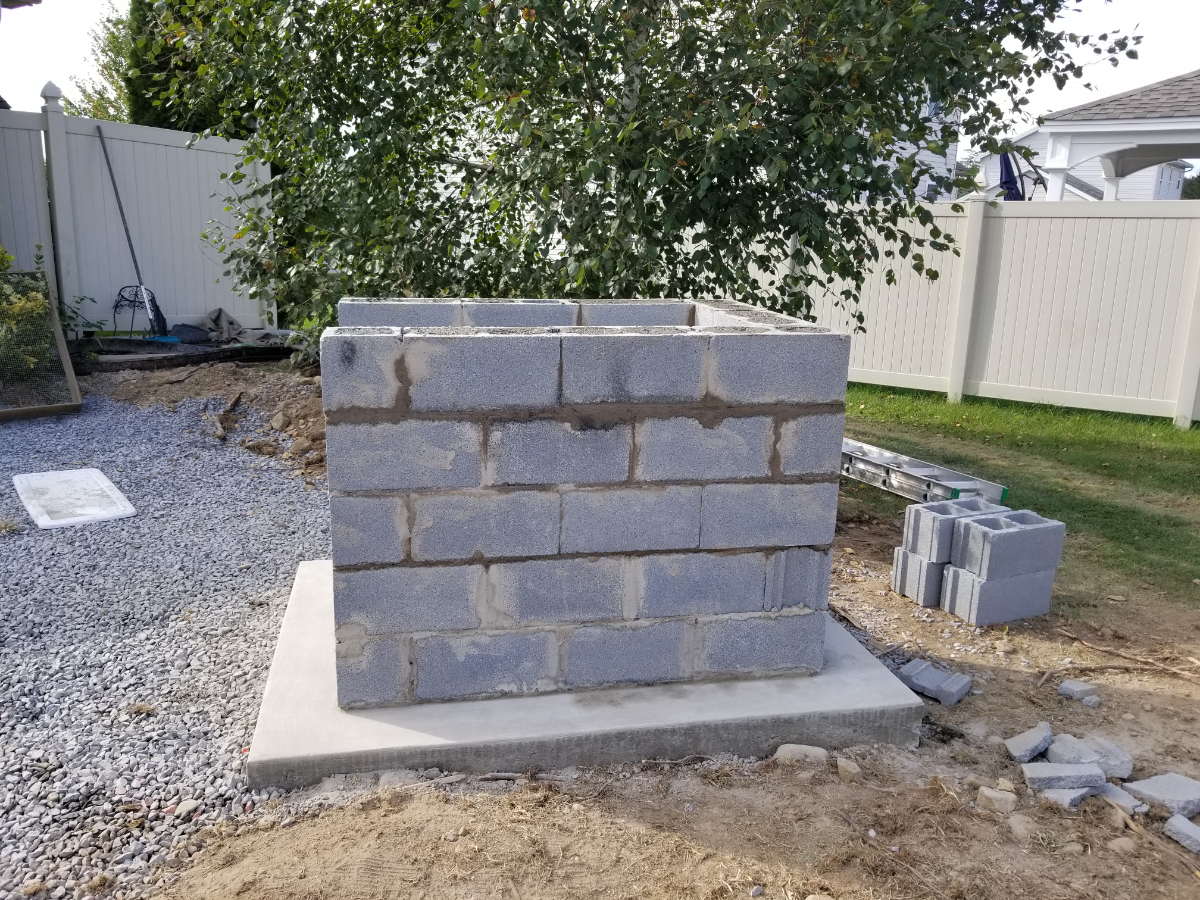
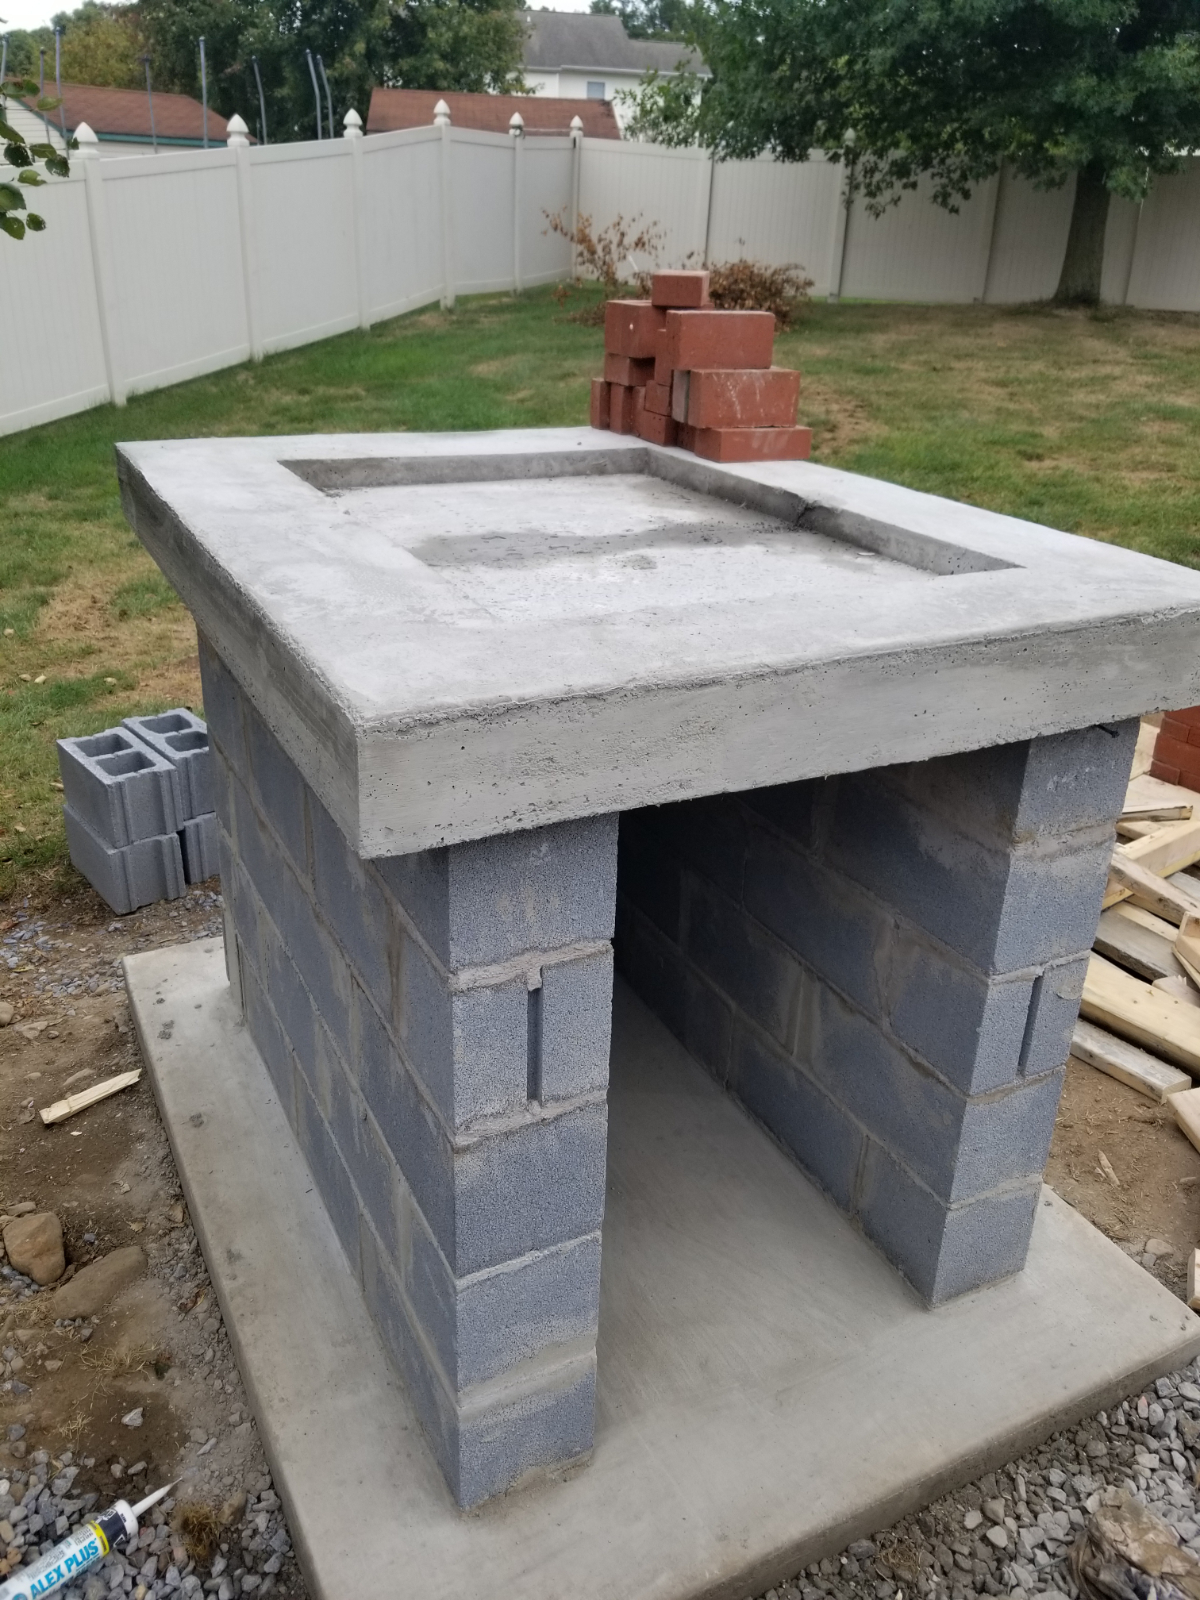
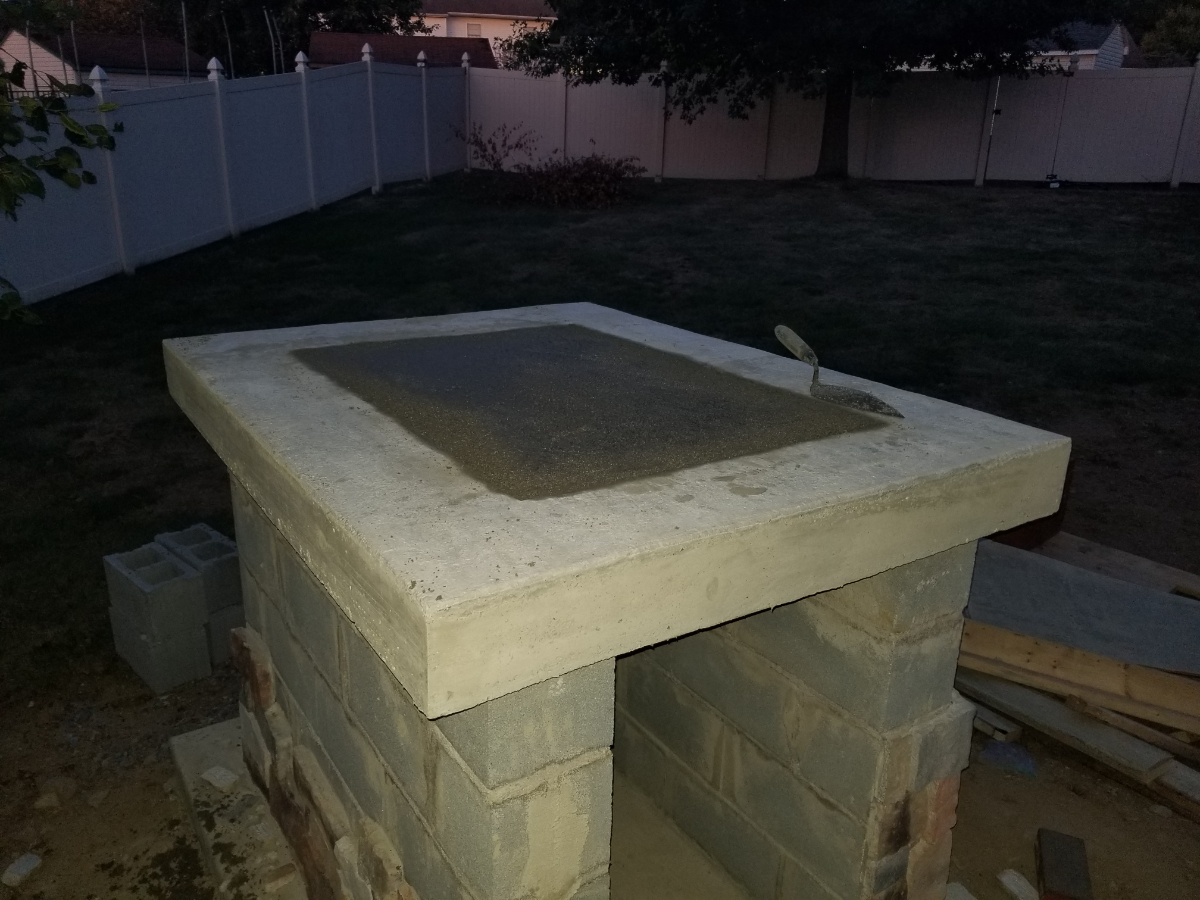
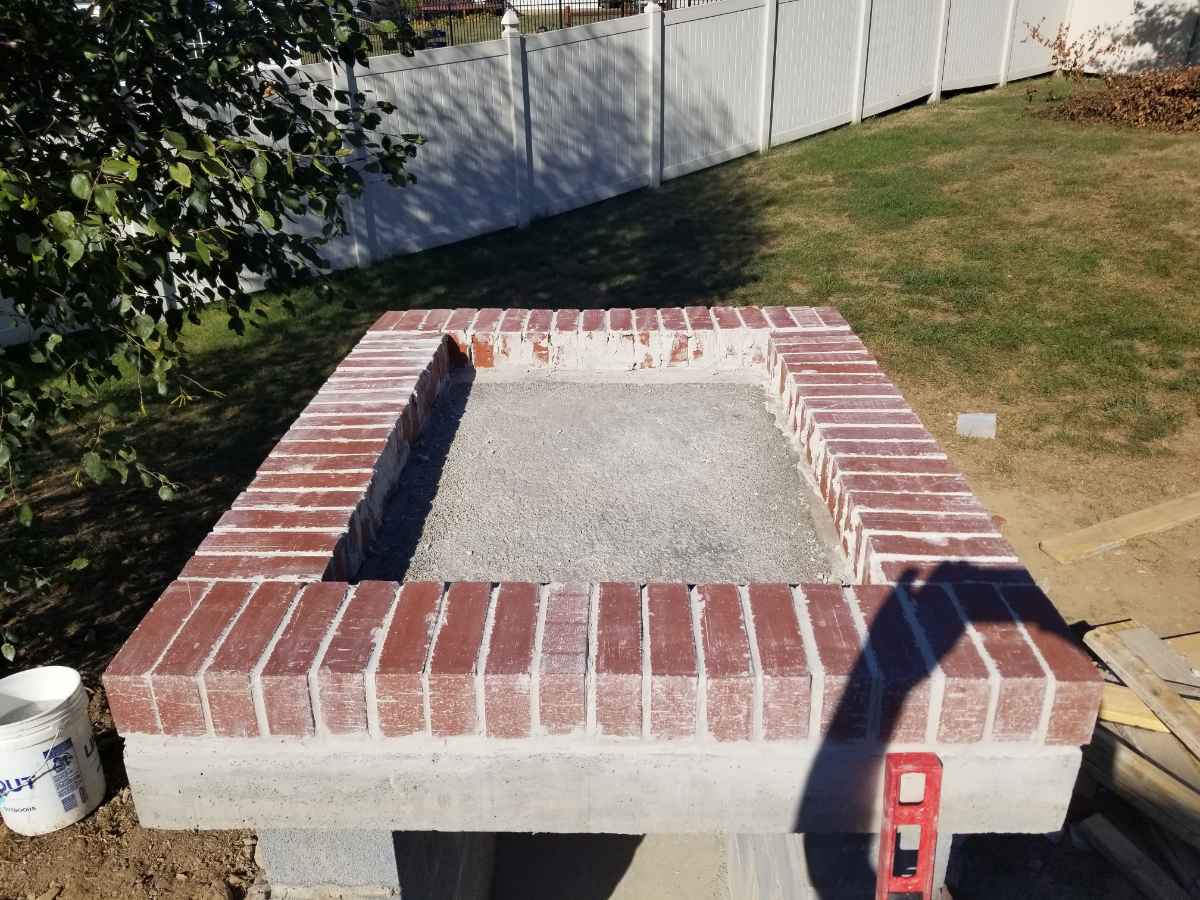
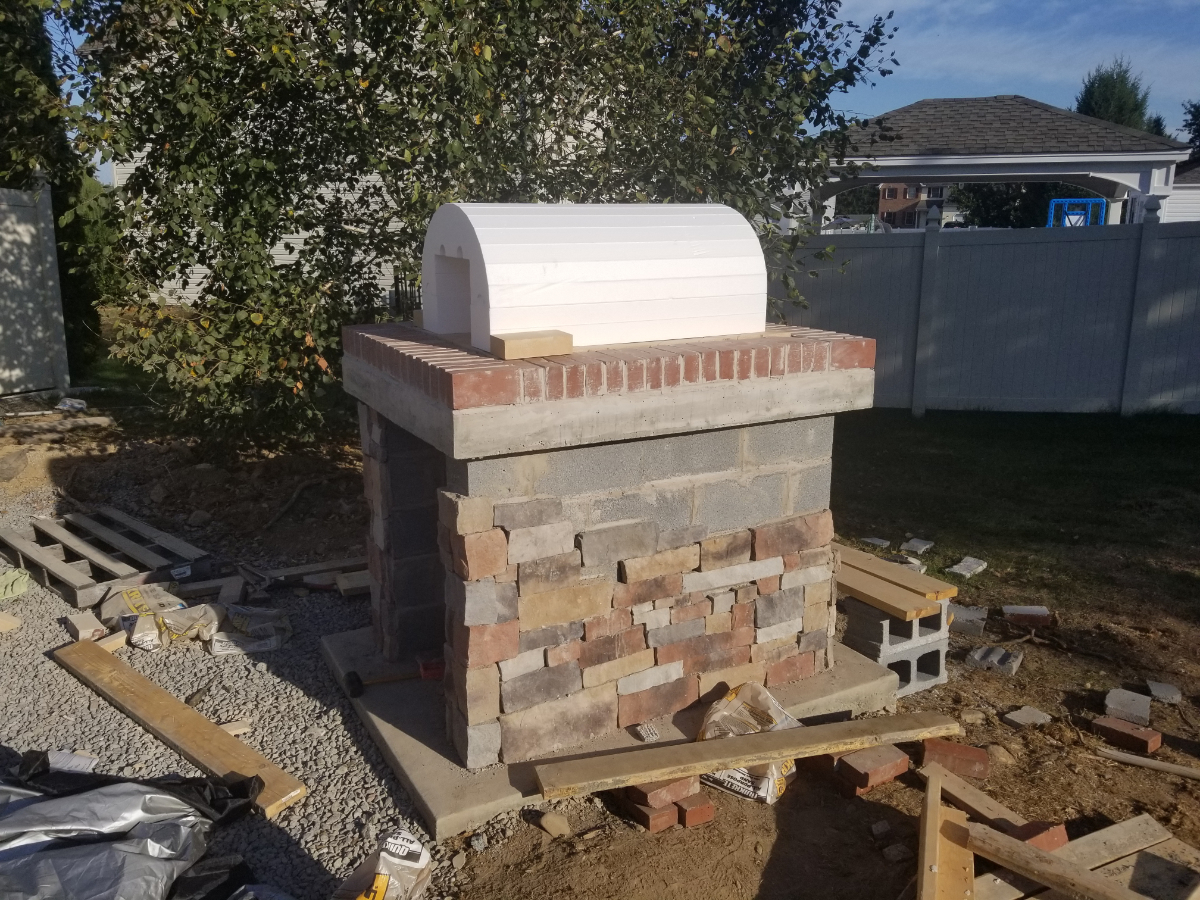
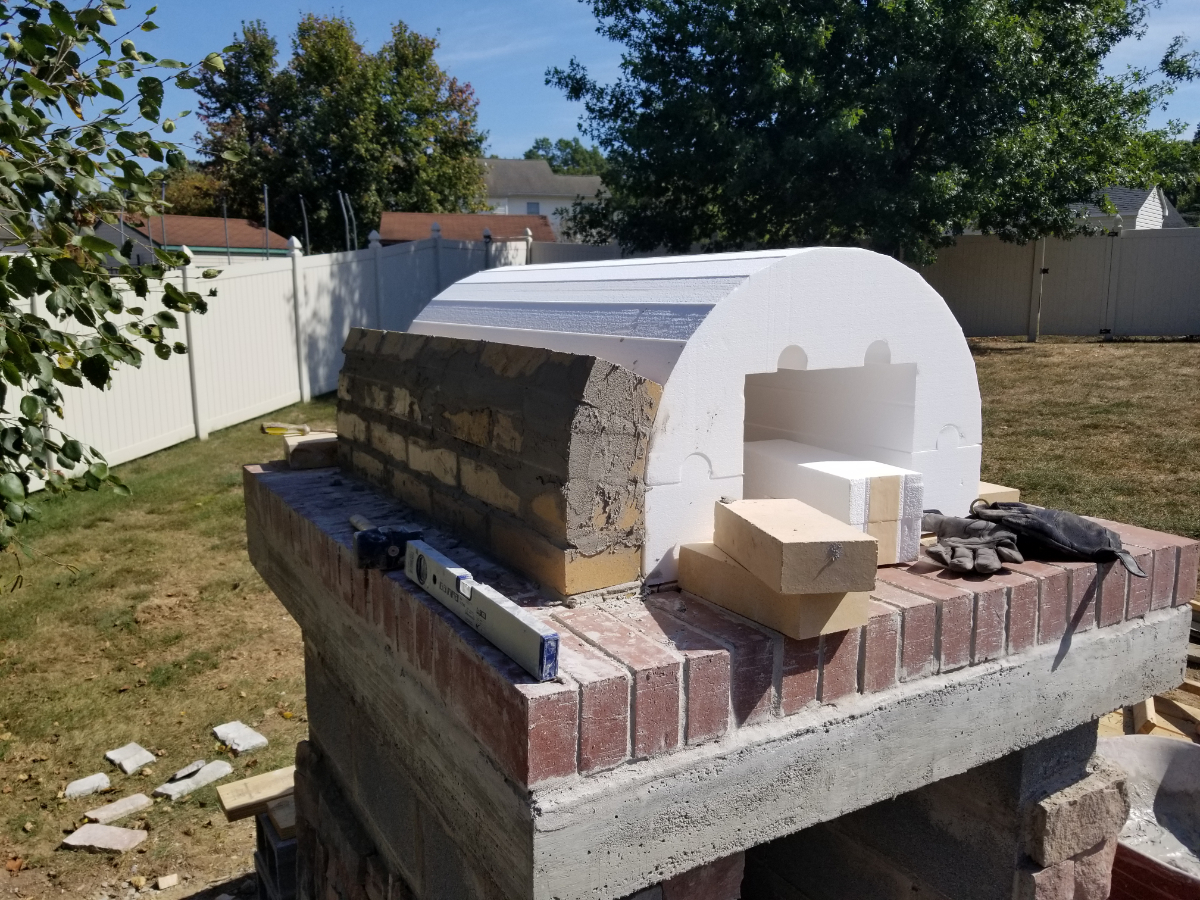
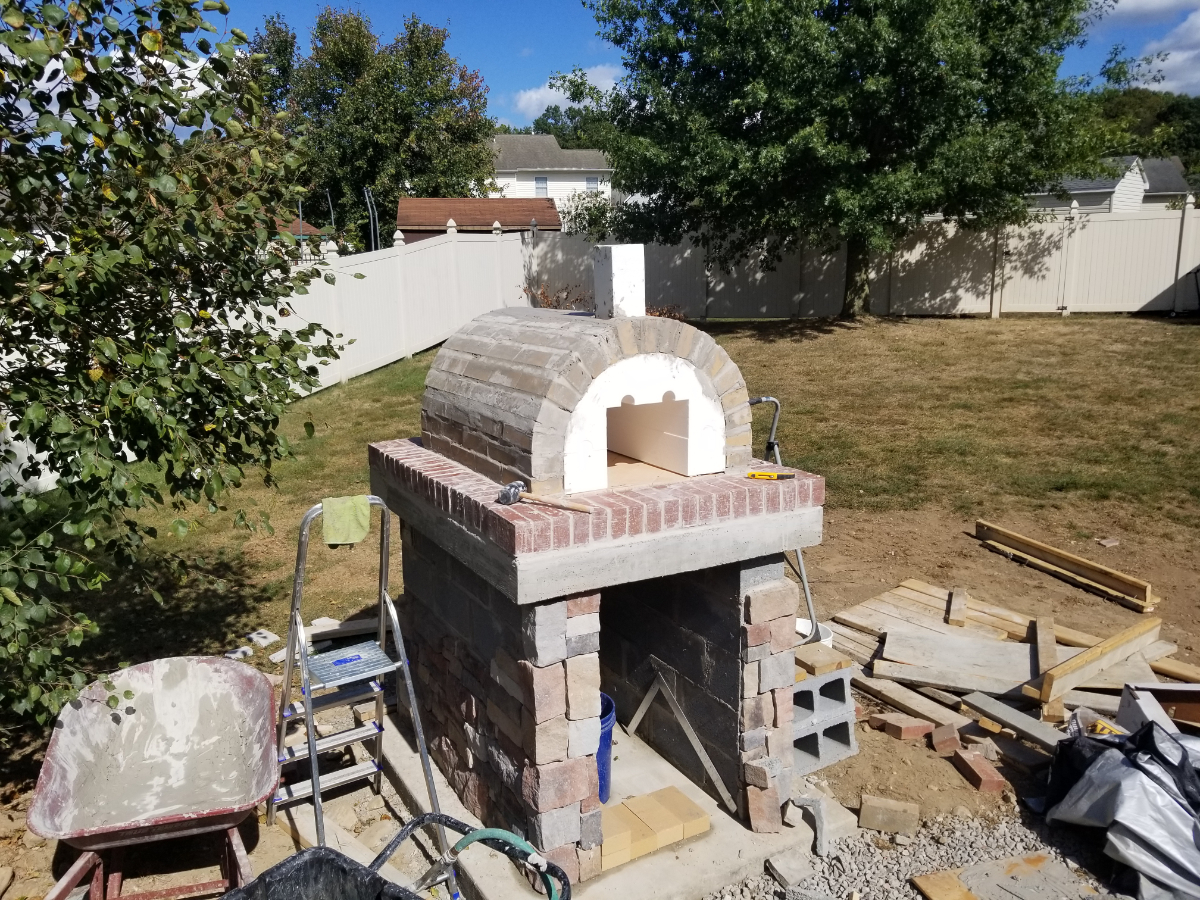
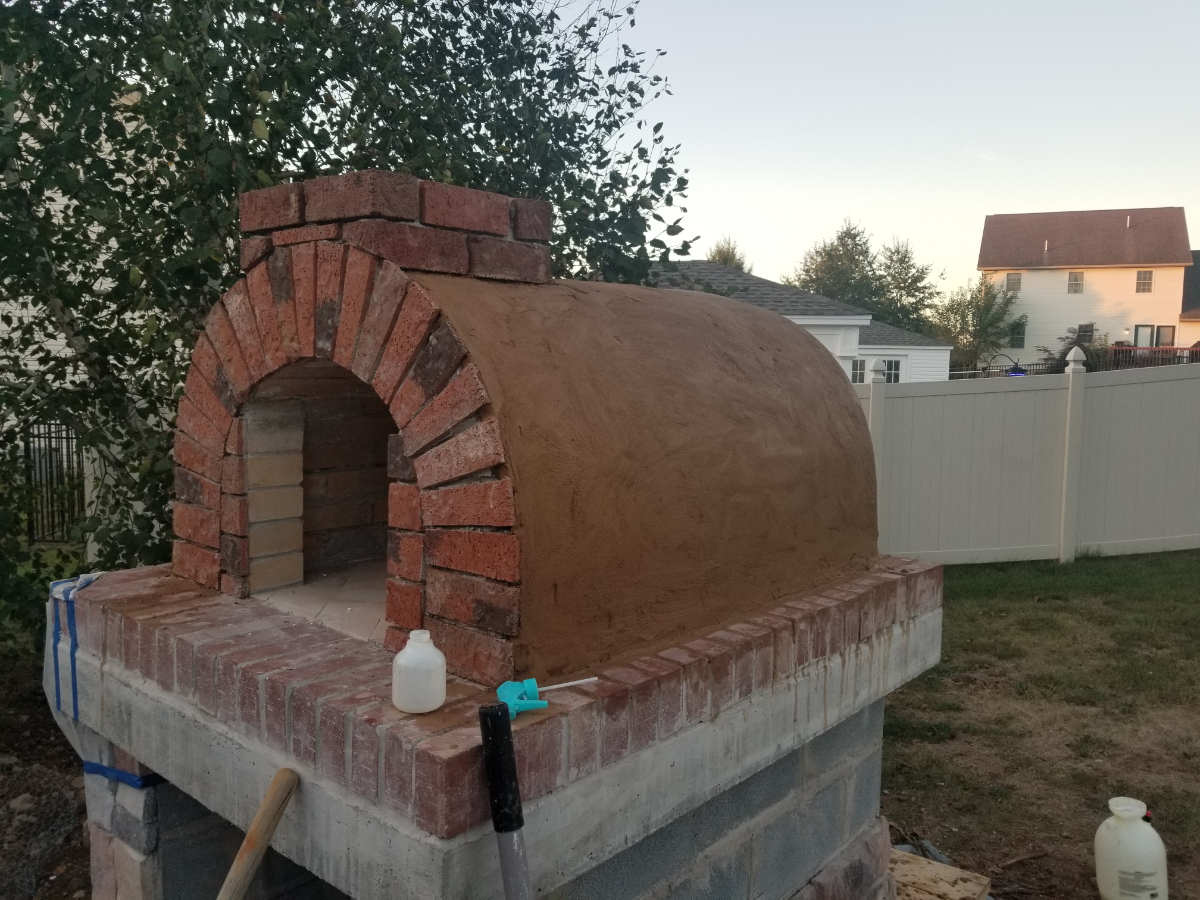
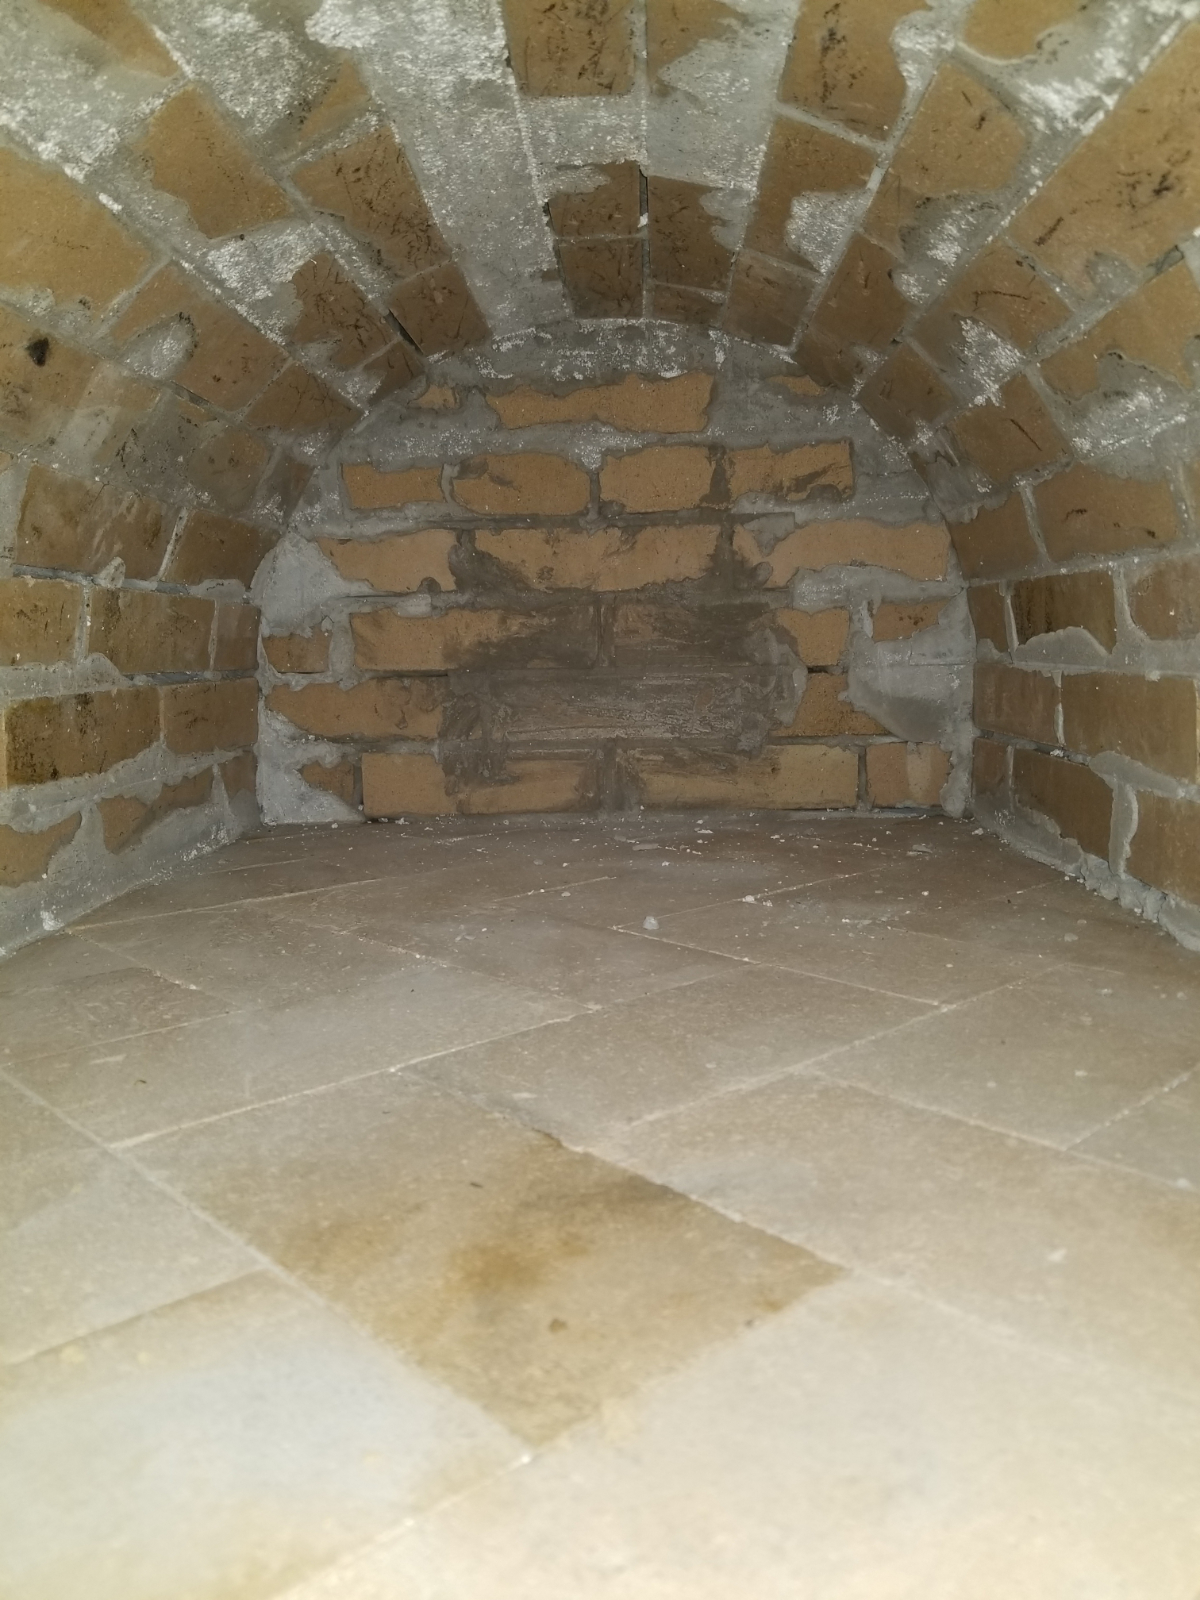
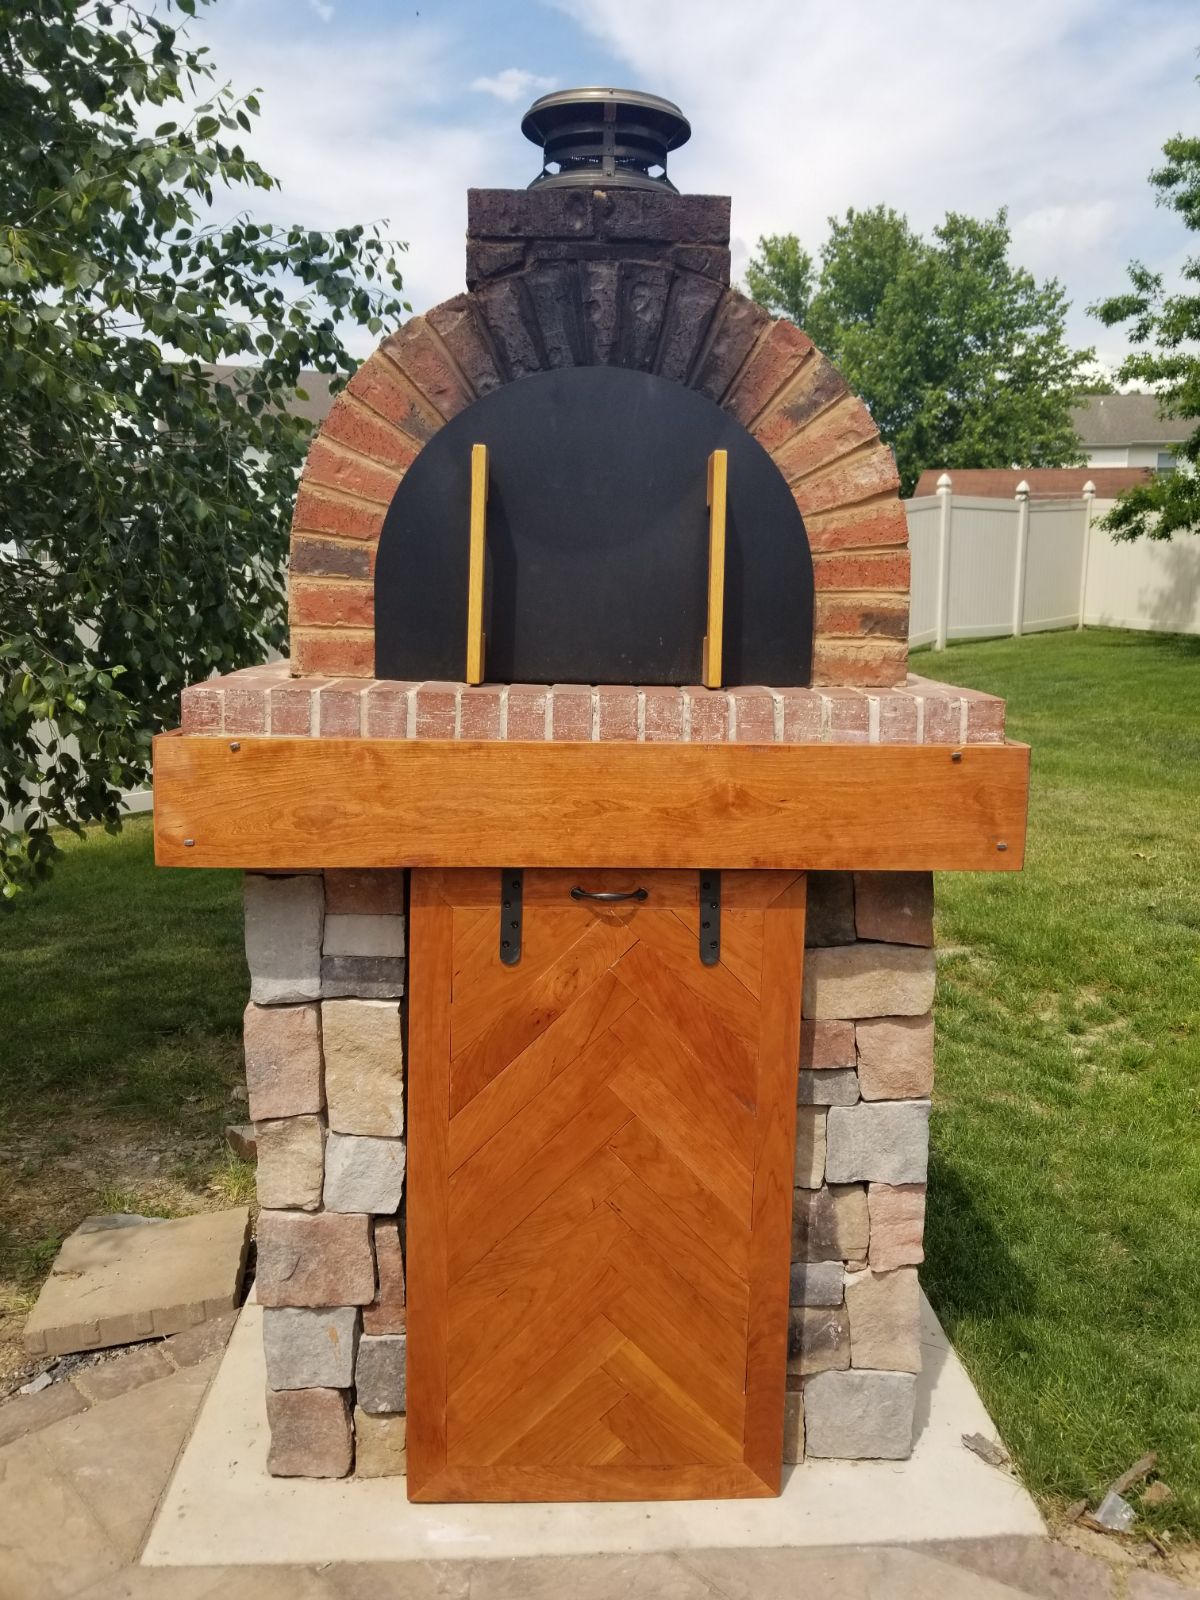
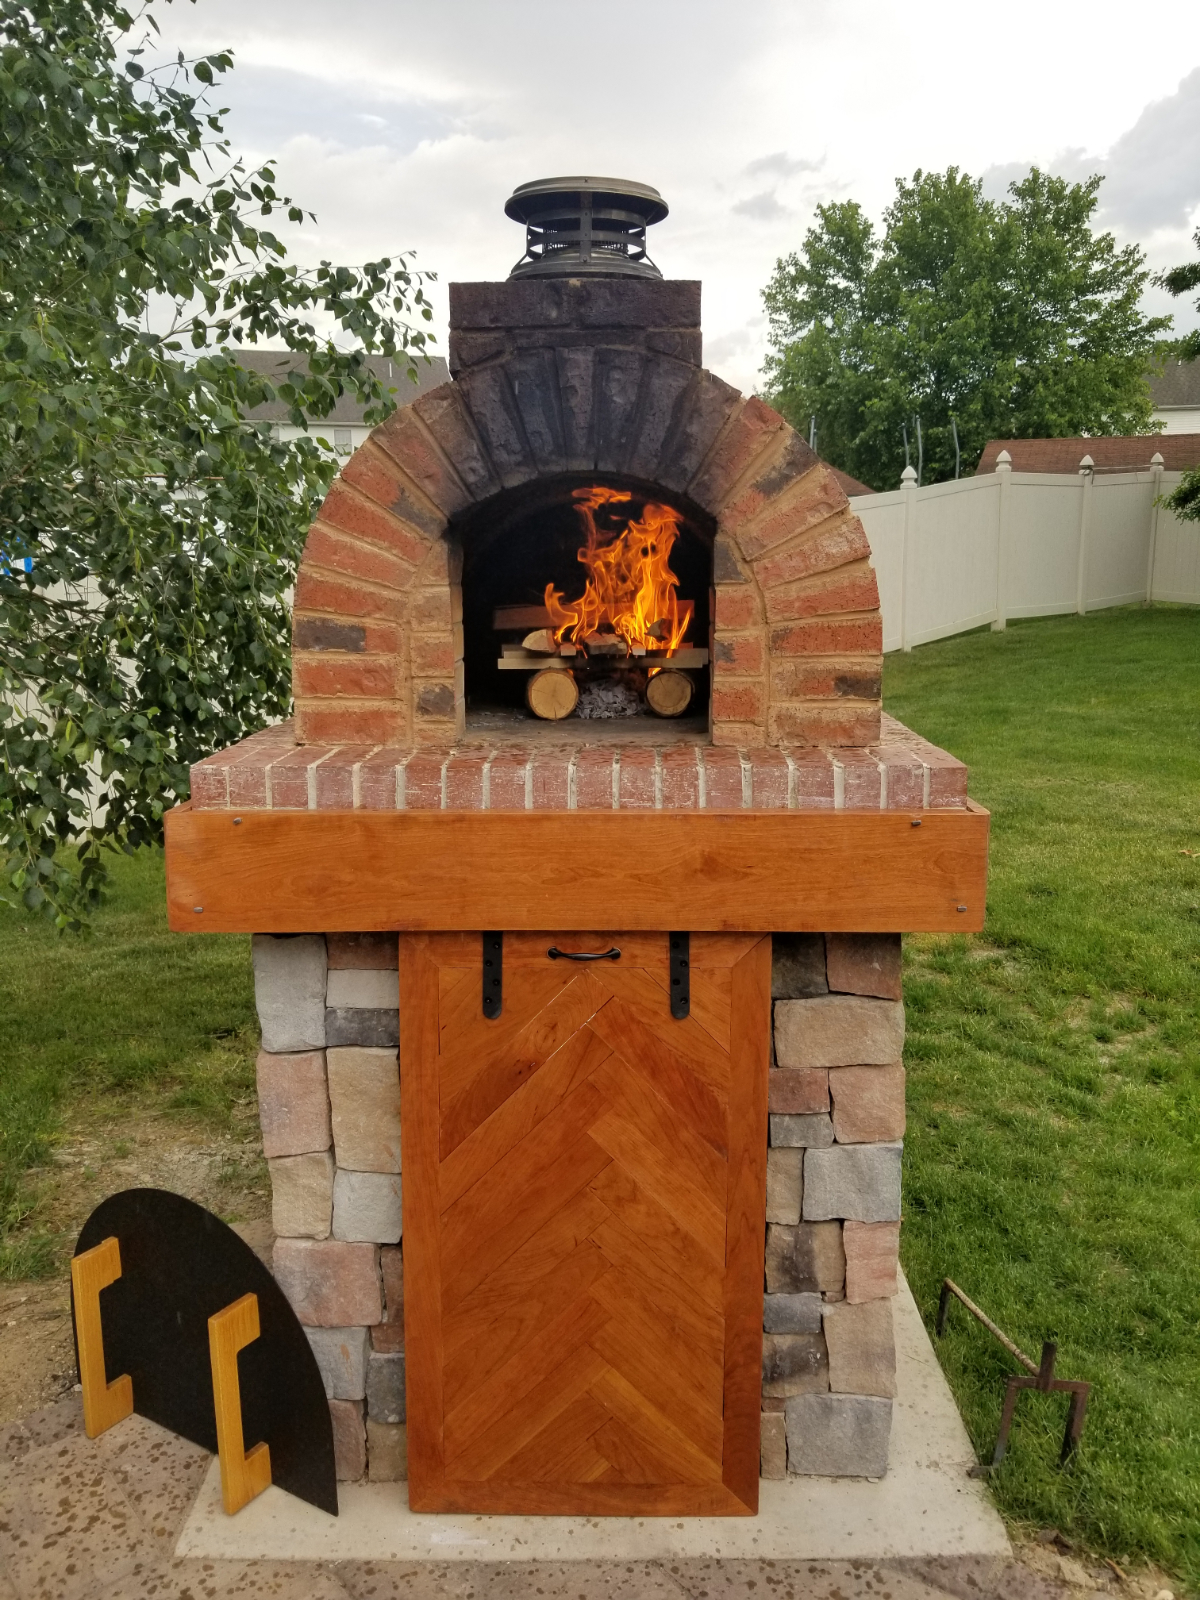
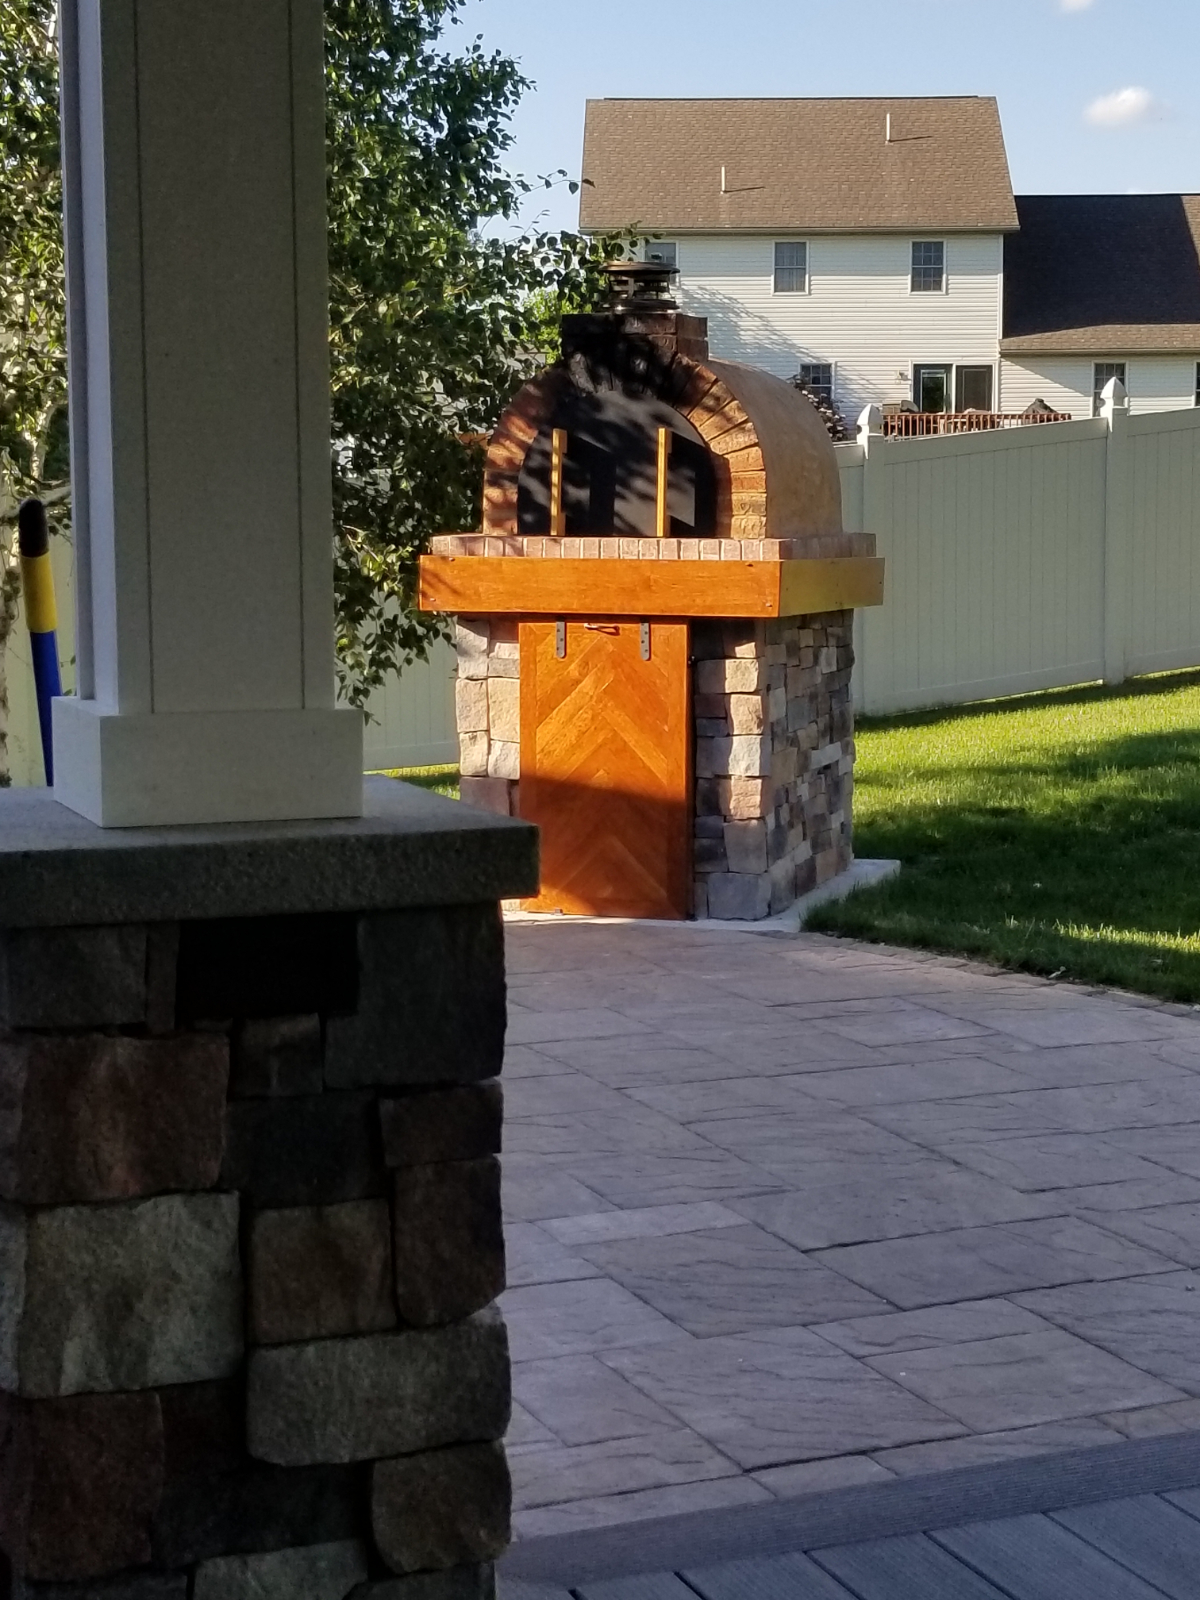
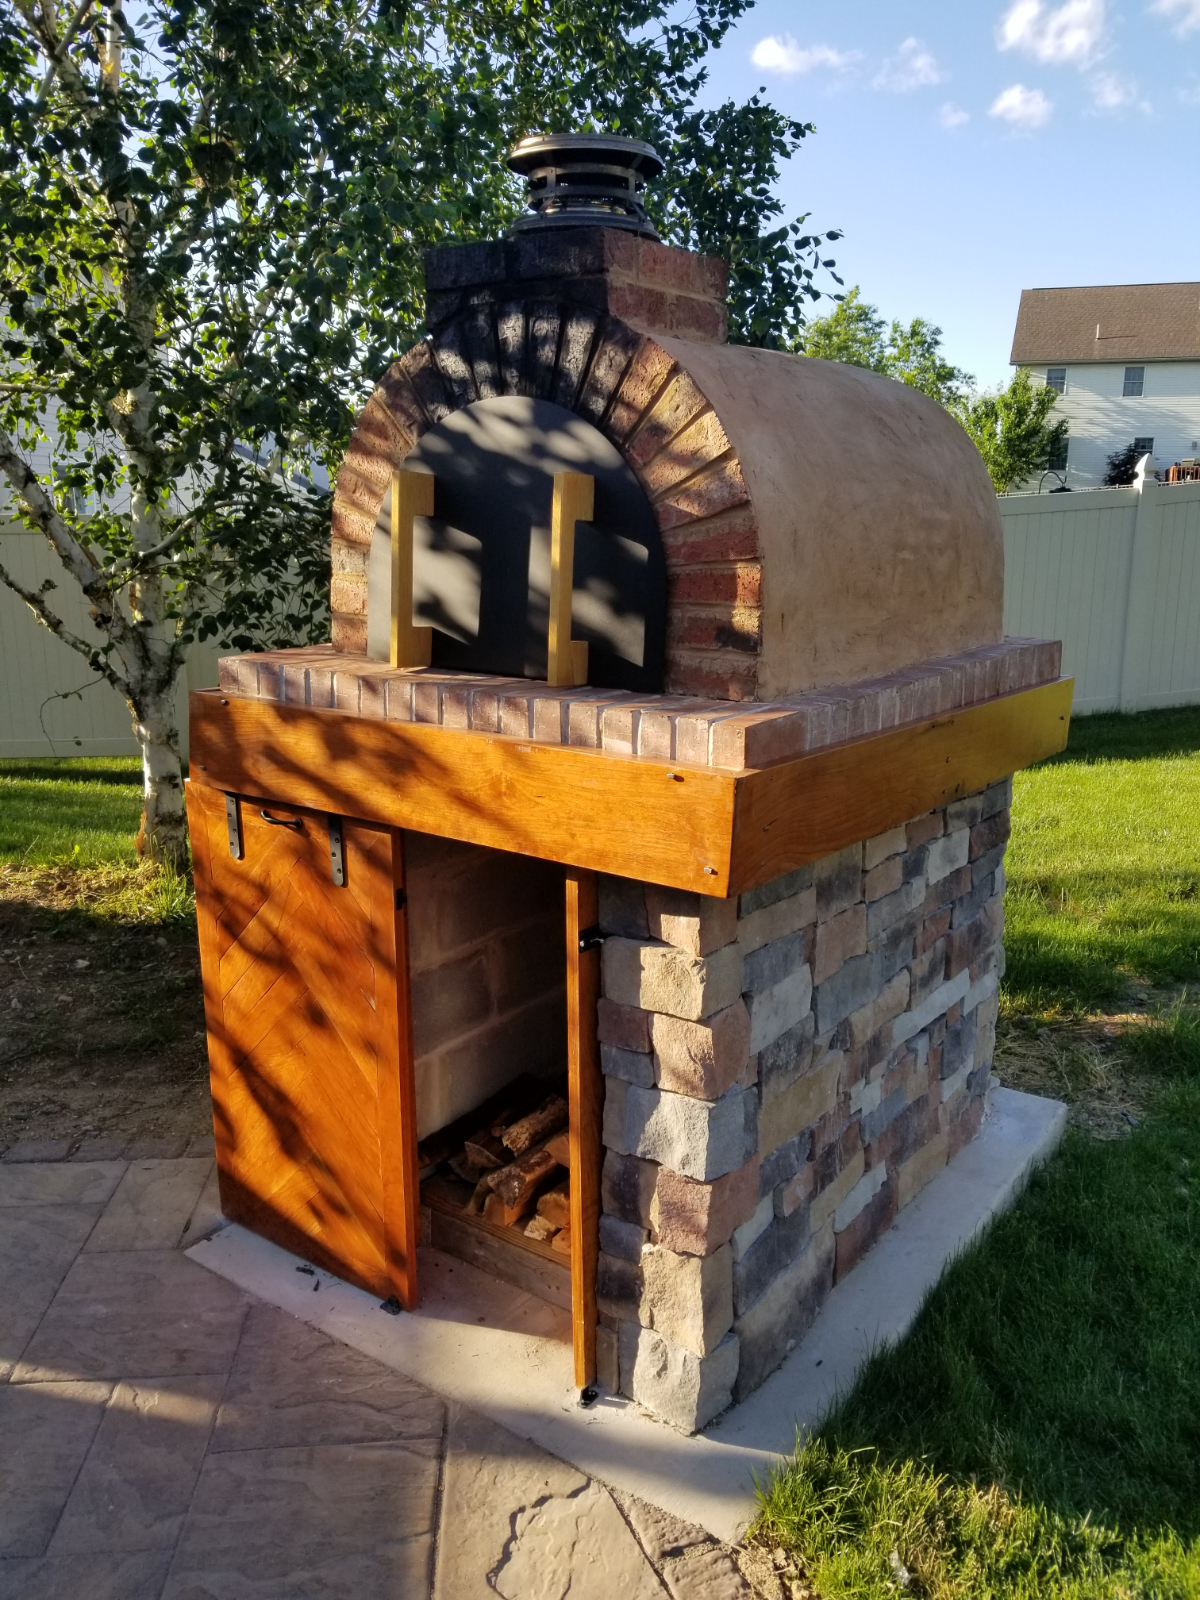
Opted to pour the hearth slab for this pizza oven - and the results are OUTSTANDING! If you wish to create a single / monolithic hearth slab, here’s a winning design!
Opted to pour the hearth slab for this pizza oven - and the results are OUTSTANDING! If you wish to create a single / monolithic hearth slab, here’s a winning design!


5 Likes
That’s a beauty, Mike. Congratulations!
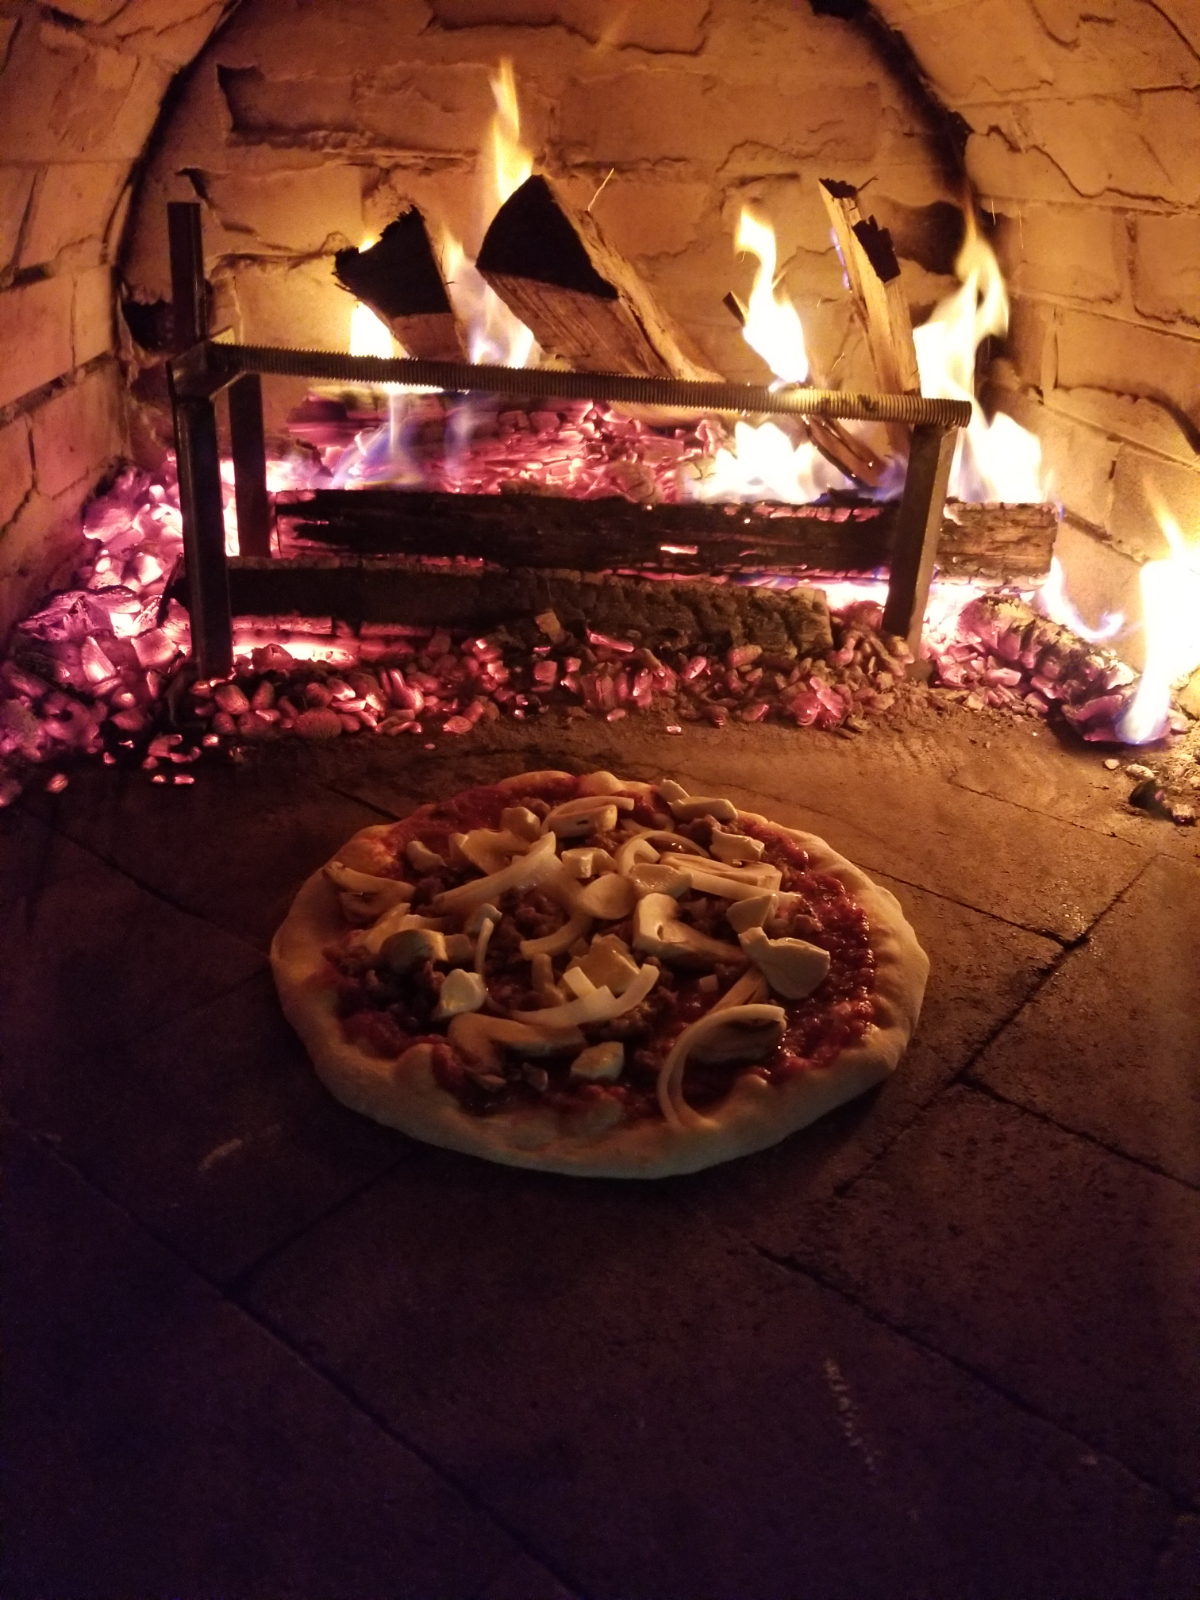
The proof is in the pizza, of course. But we know the work that went into casting that slab, and it’s an outstanding job that you’ll always be able to point to with pride.
Thanks for these great photos!
2 Likes
Outstanding build!
For our own oven, we are going with a wider footprint (64"x64") and like the idea of a single slab for the floor. I’m thinking a couple pieces of angle iron slotted into the block for support under the floor would be a good idea. Beyond that, two questions:
- How did you design your forms? Were they screwed into the concrete block? Supported from underneath?
- Is there any insulating material like vermiculite in the mix? Is it necessary?
4 Likes
Hi, Eric, and welcome to the BrickWood forums!
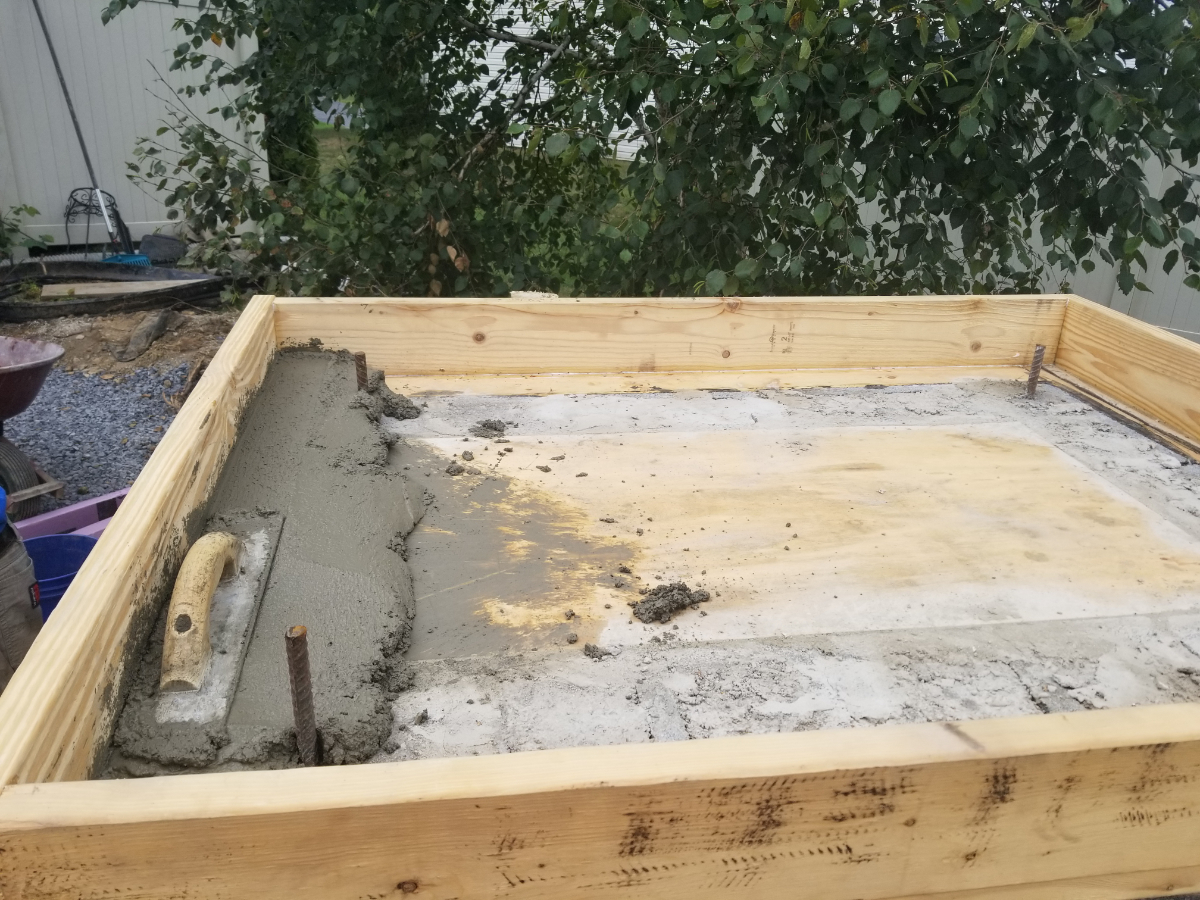
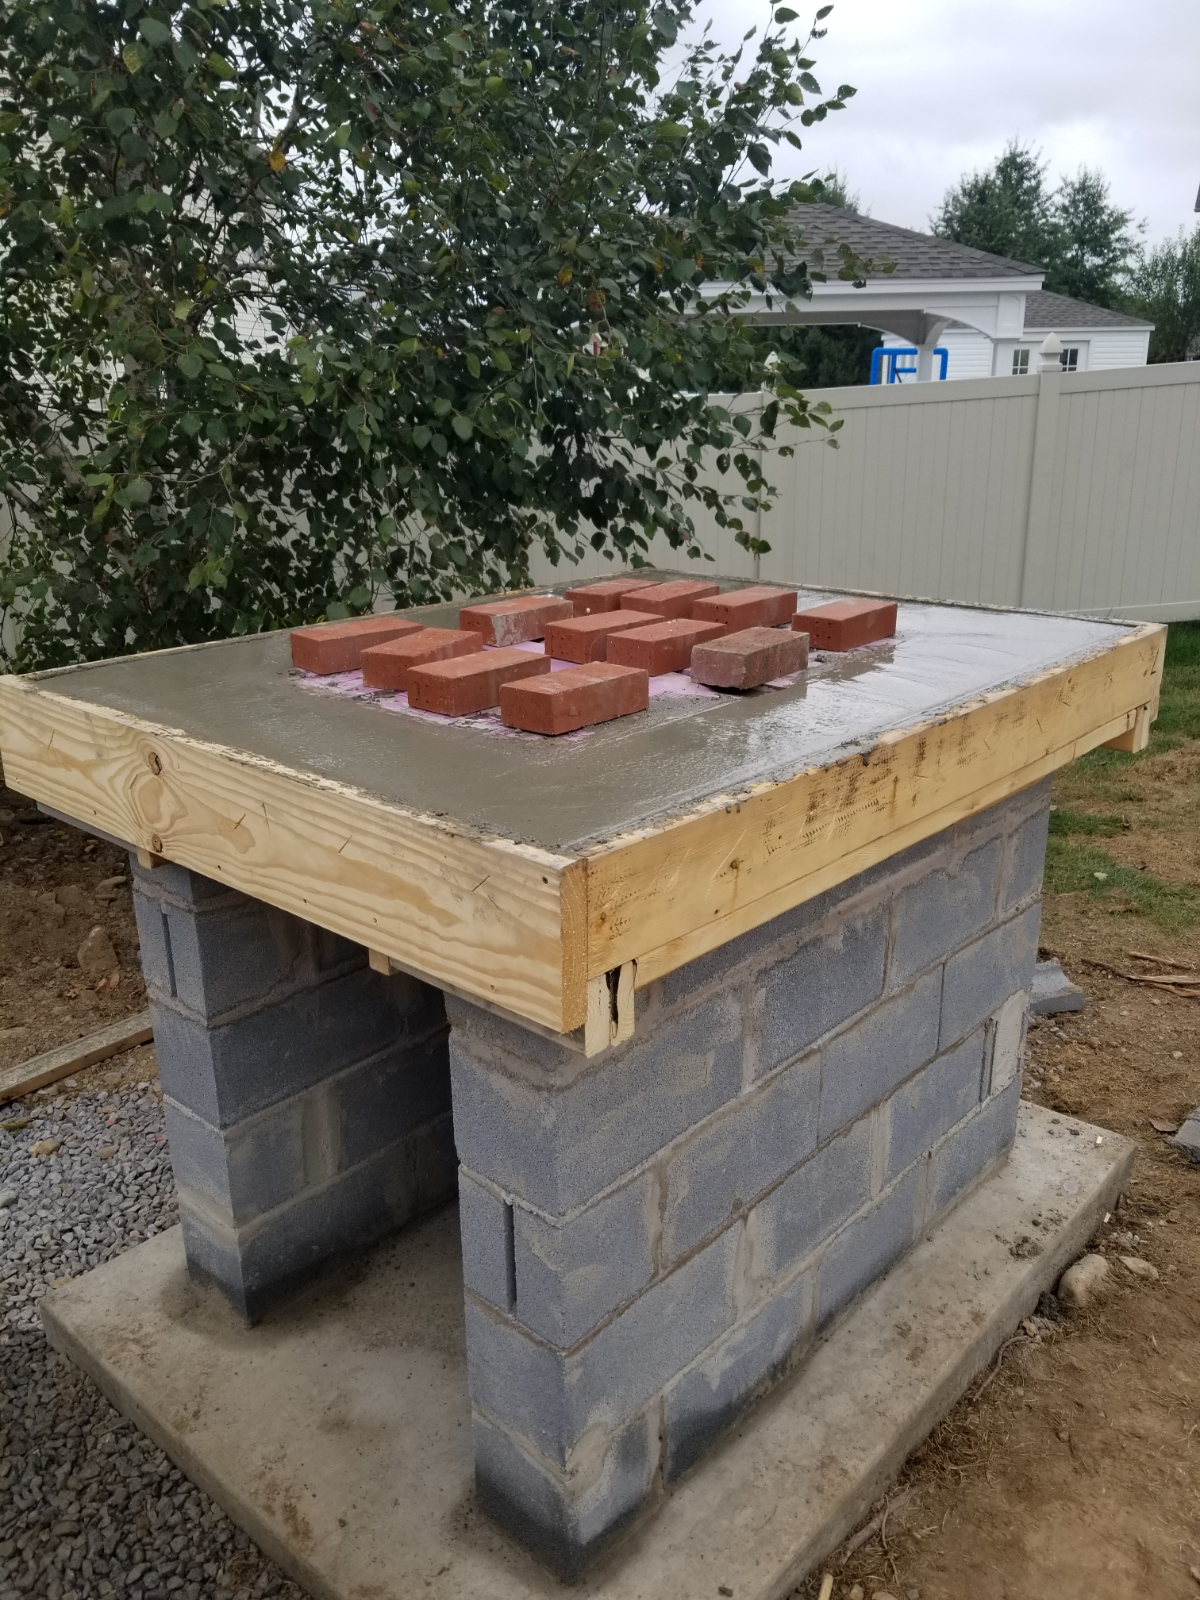
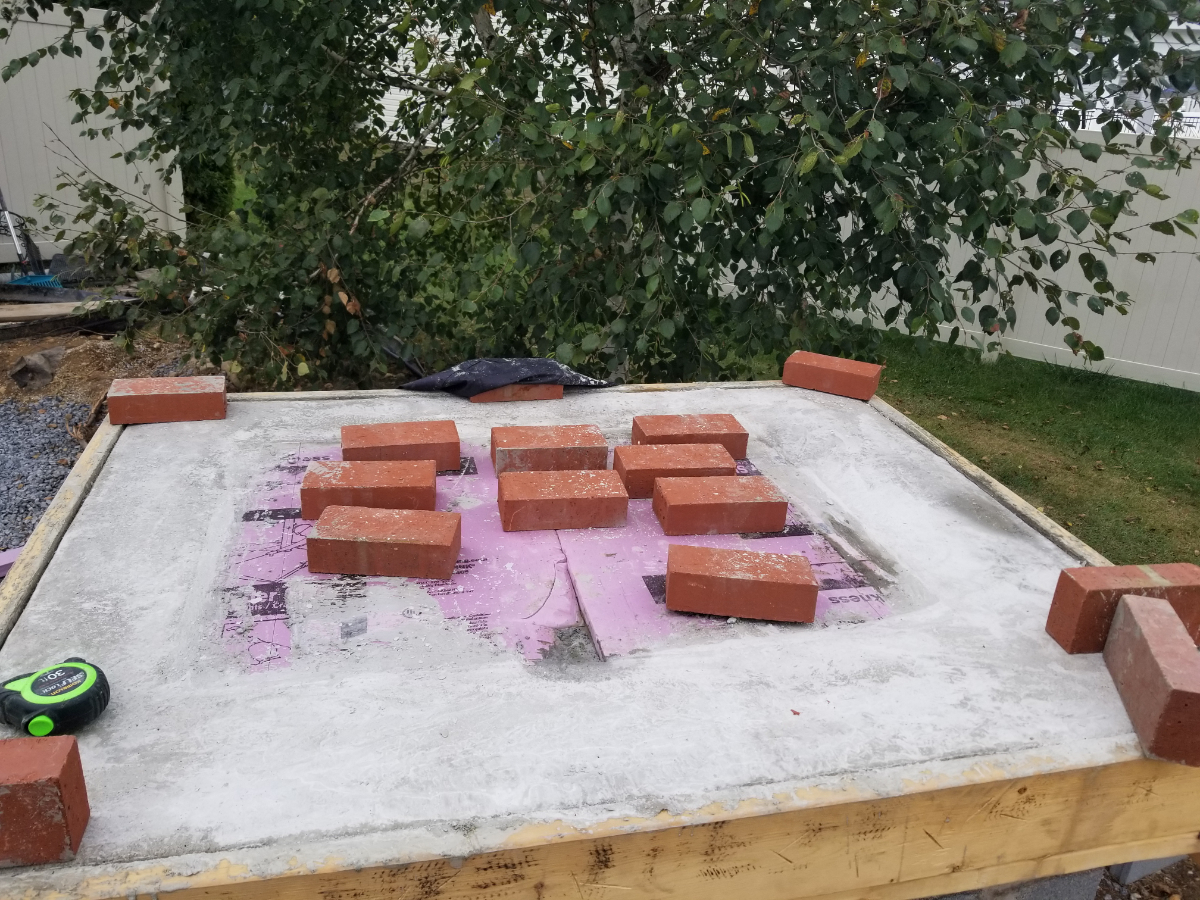
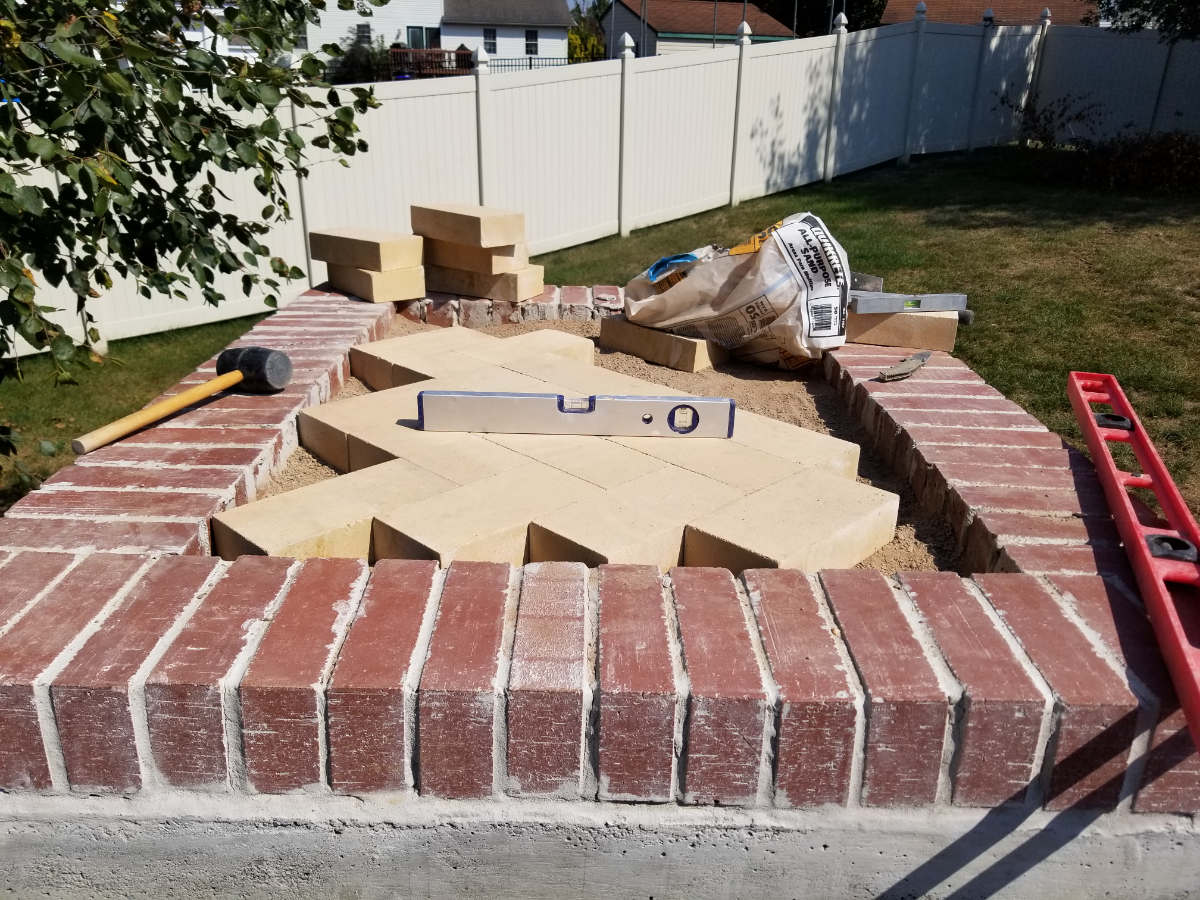
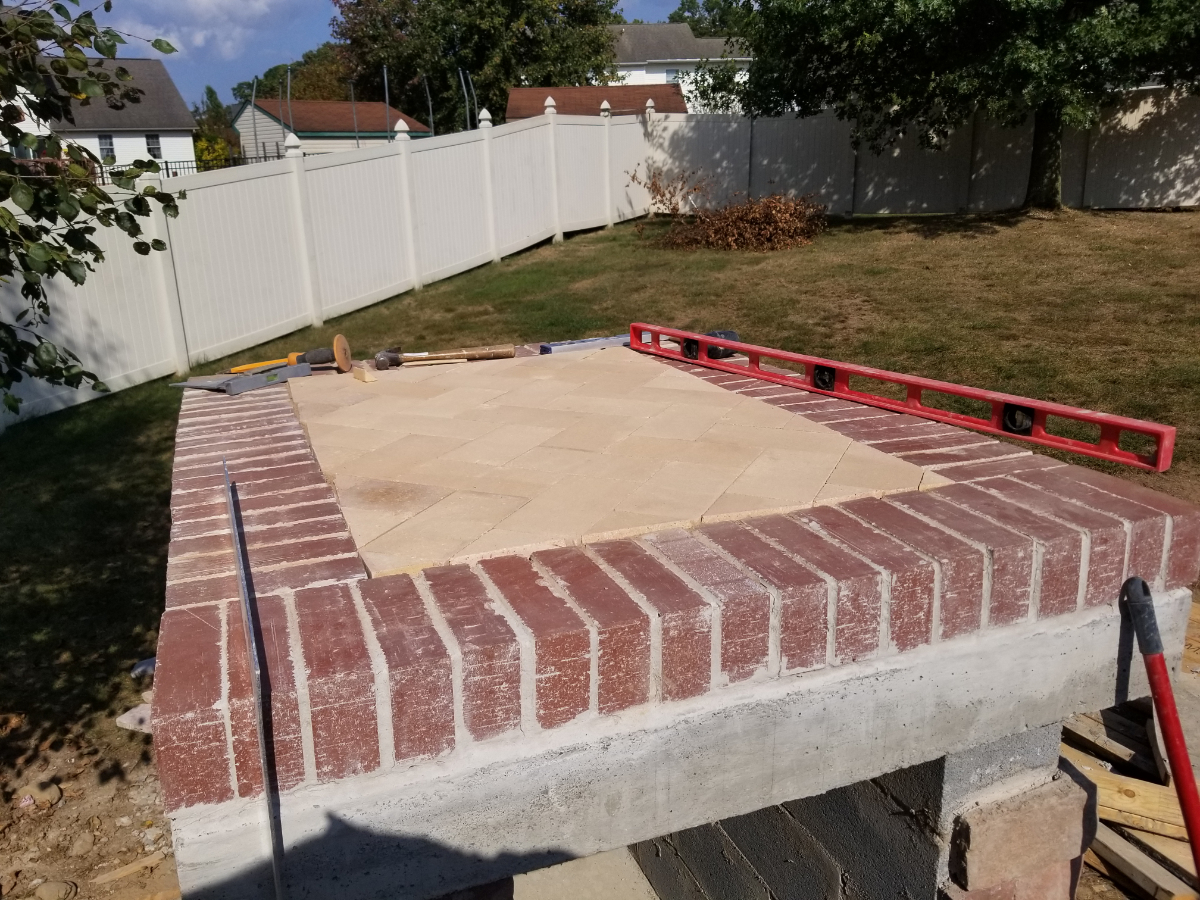
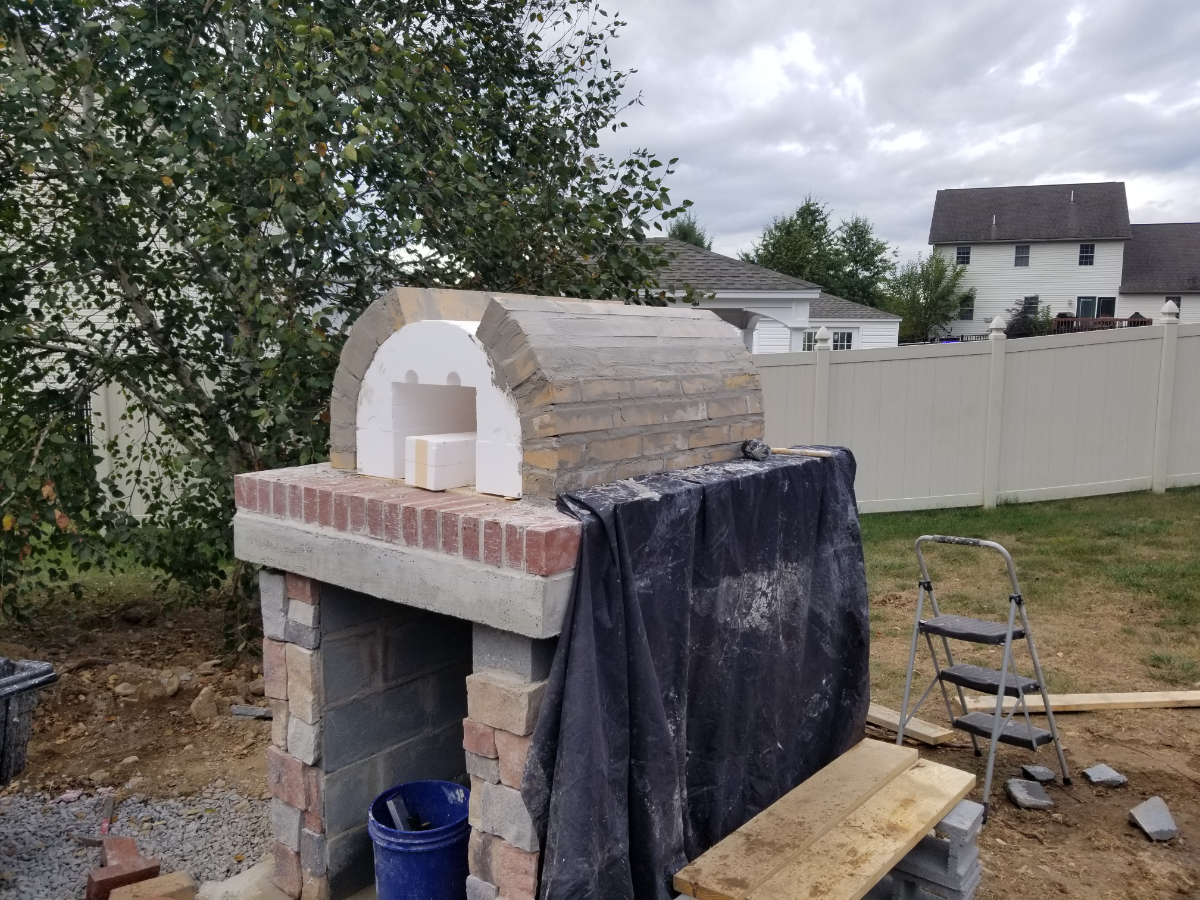
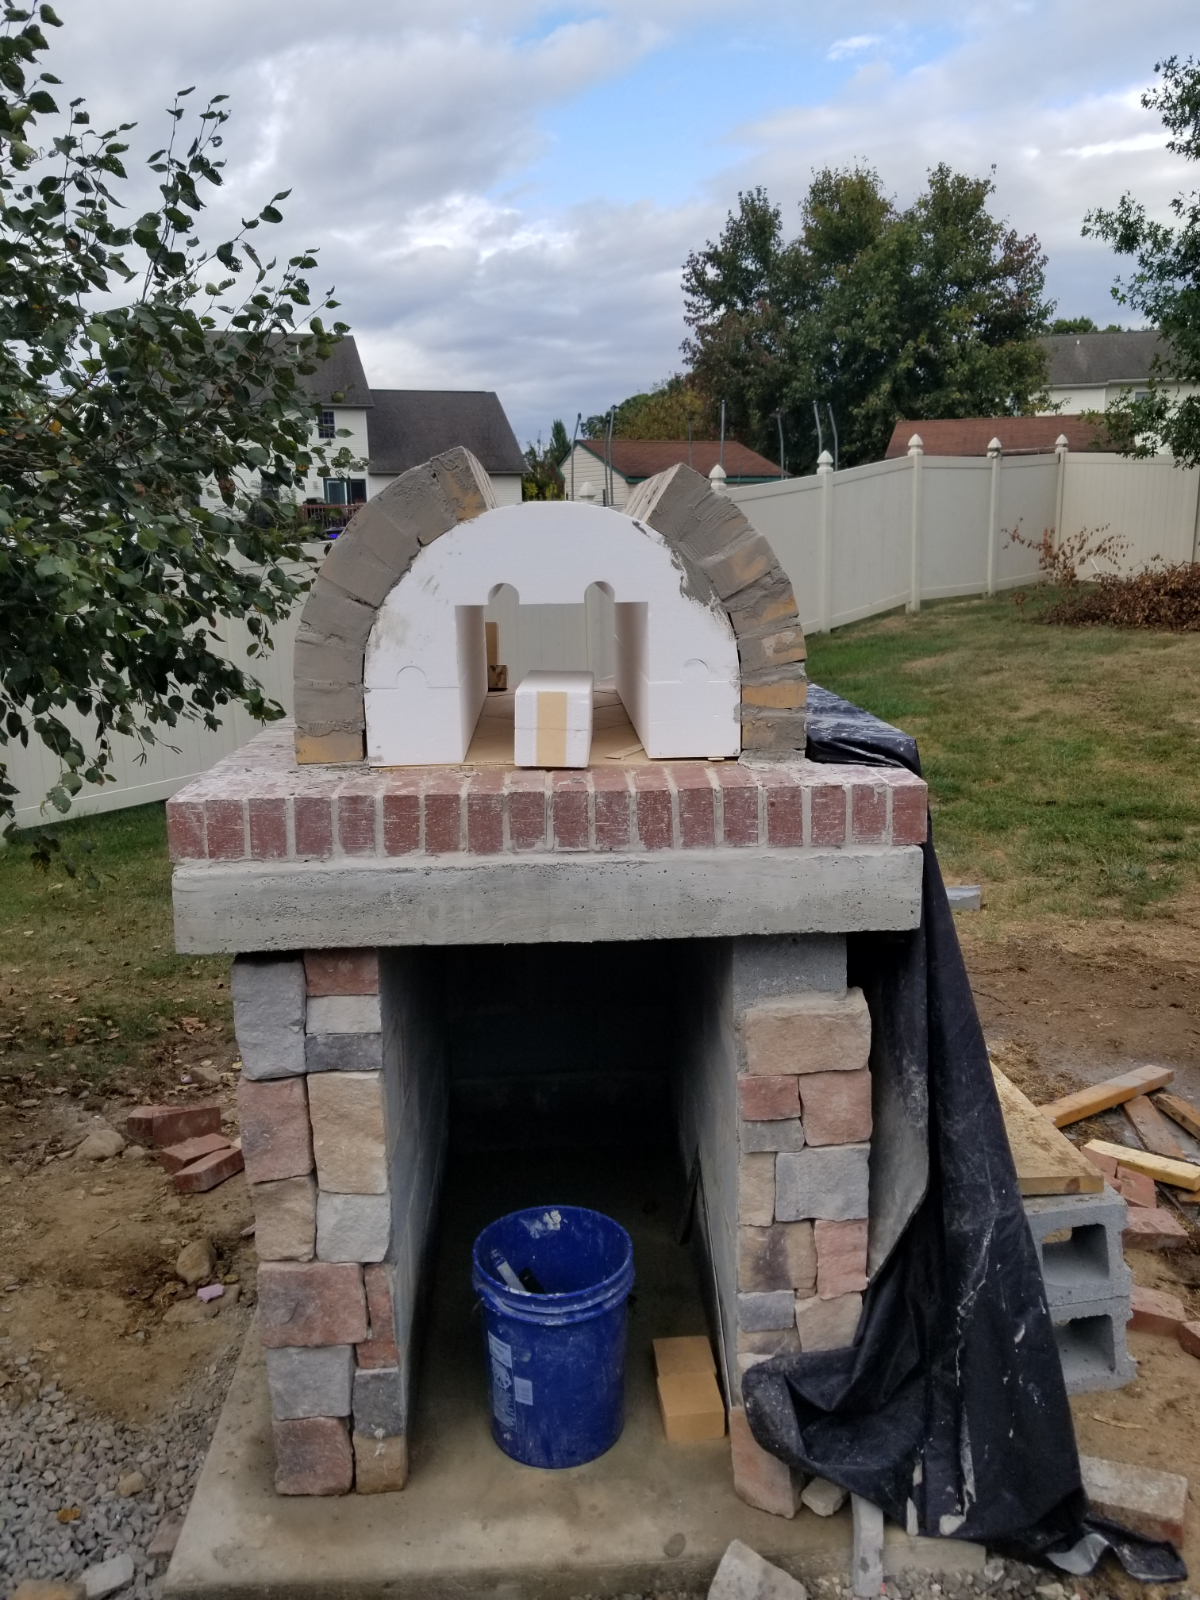
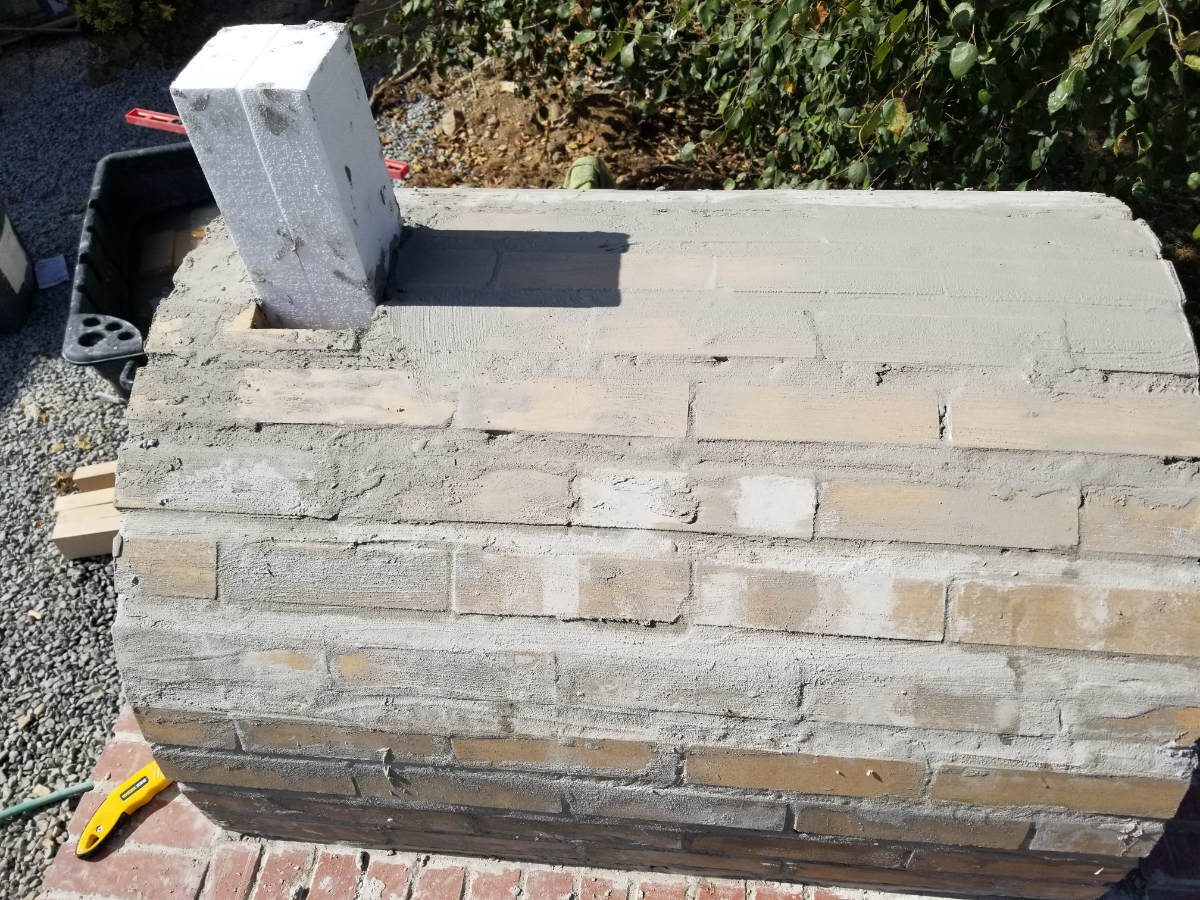
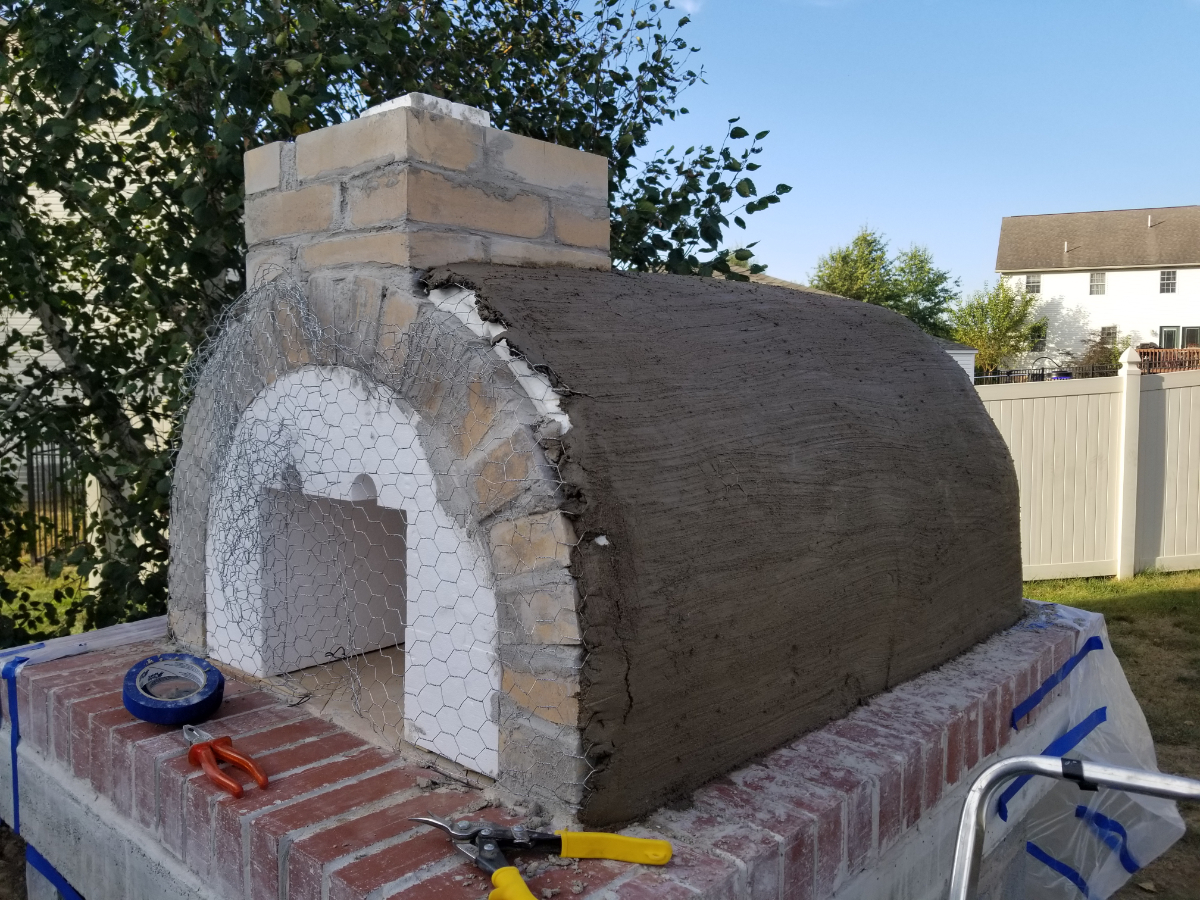
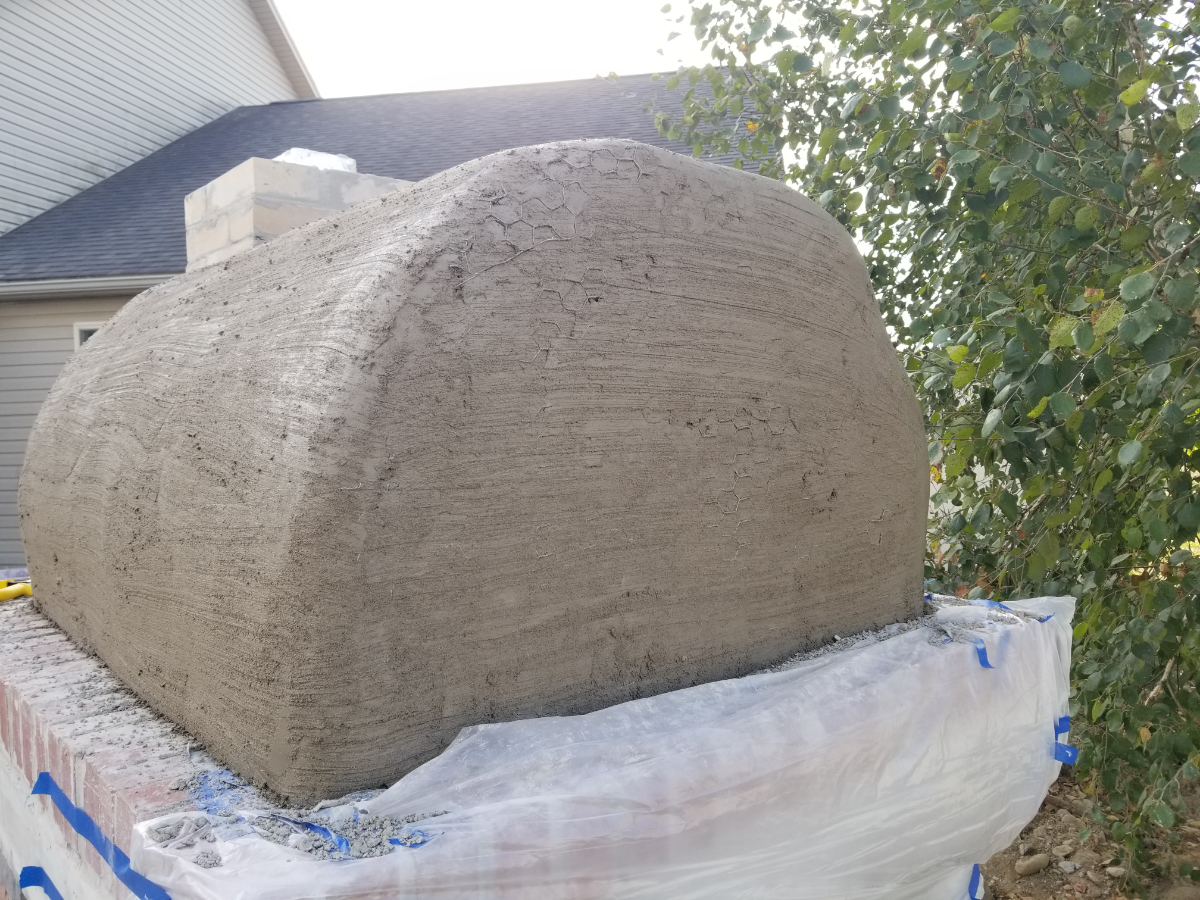
If you look at photos 4 through 10, you’ll see that Big Mike installed the pink polystyrene block on top of the first layer of concrete, weighted it down, then poured more concrete flush to the top of the polystyrene. That was the end of the slab pour.
From there, he pulled out the pink and poured in the Perlite/Portland cement mix per instructions.
The insulation in the slab is absolutely necessary, whether you are casting-and-hoisting a three part fab or casting in place. @Big_Mike did this the smart way (no hoisting), but he still followed the spirit of the design.
You must have the insulated section under your hearth floor or the oven will not perform as designed. Thankfully, mixing and pouring the insulating mix is one of the easiest steps of the process—it can even be relaxing! And using the recommended mix, with ingredients you can get for a song at a plant nursery or a big box store, is also very inexpensive.
Looking forward to your next steps, Eric, and hope we’ll see you here often!
3 Likes
Thanks @bikerbudmatt!!! It was an amazing experience! there were some bricks thrown across the yard in frustration, but we got it done! Cheers!
2 Likes
@Eric I wish i would have taken more pictures of this part to share with you and the forum.
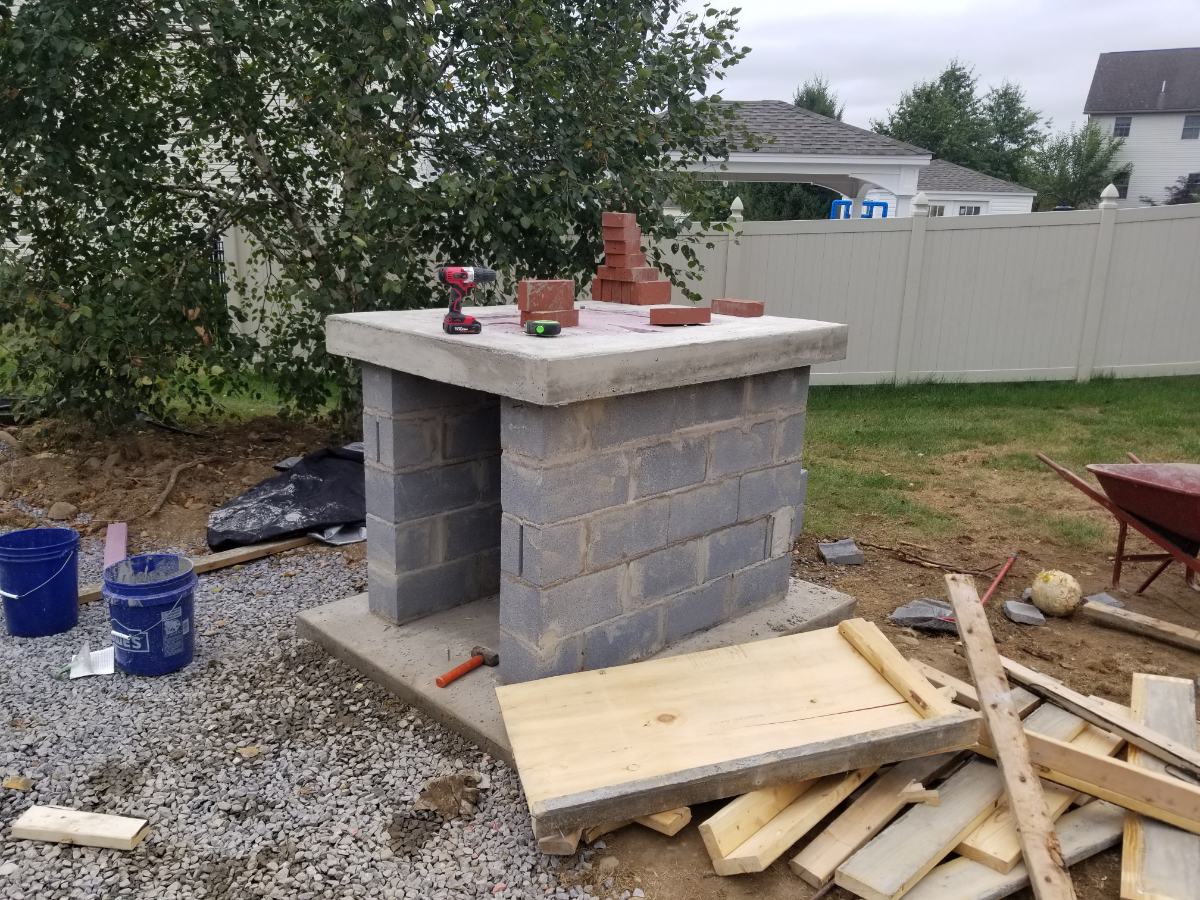
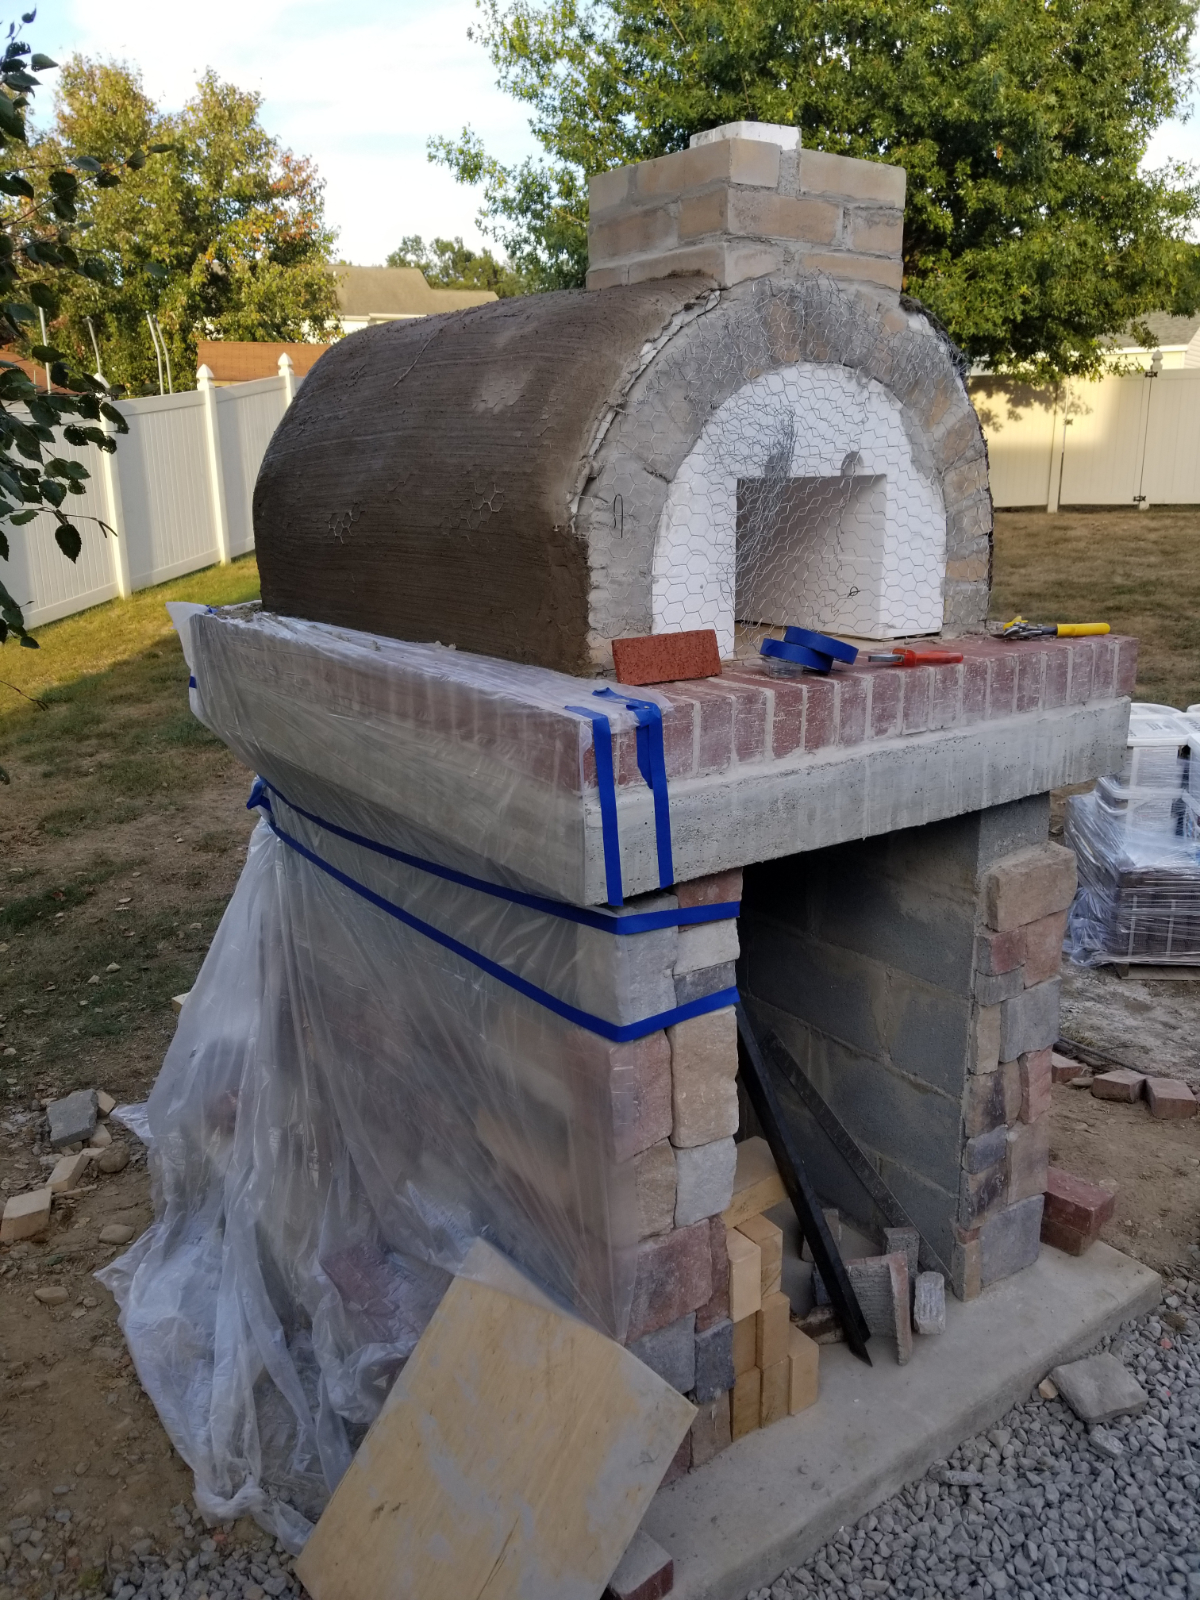
- So i ran 2X4’s on both the inside walls of the block. I used tapcons and secured them. i ran 4 2X4’s across to support the middle piece of plywood (in pic 22). one in the front, back and two spaced between them. My fear was that the middle would collapse when i was adding the cement.
- i used 2x4’s and made an “L” shape and used tapcons to make a base to secure my 2X6;s on for the left, right, and back. I ensured that the form i created was the same size as the design called for.
- i used caulk and sealed all the joints to prevent leaking. All the block cores were filled… So i had to drill holes and put rebar in the cores sticking up. (pic 23) I also put in rebar horizontally… Probably more that i needed. Then to create the zone for the vermiculite space. I put foam… Then used 2x4 to hold them in. The cement was actually pushing them up.
I wanted to pour it in one time, because i don’t think my back would have survived, LOL. I was mostly solo on this project… So with a little research some extra lumber, some tapcons i was able to do it this way. I fired the oven up at least 35 times this summer and she is still standing. There is so much concrete and rebar in that oven, i think it would stop a tank!
Good luck with you build and if you have any question, please ask!
Mike
1 Like