- My wife asked me to build a pizza oven for her birthday. She handed me these very detailed plans from brickwoodovens.com. “Come on you like a good project“. But babe, this is gonna take months. “You got this.“ And thus, my pizza journey began.
I studied and read the plans. I went to the forum and decided I wanted to make a really cool pizza oven. I decided I want a propane burner. Vamparossa makes retrofit style burners starting at $1400 up to $2500. Electric start manual start options are available. The more expensive ovens have temperature sensors and cost five to $10,000. I just wanted a cool oven.
Internet search revealed oven burners that looked like Vamparosa burners that were only $350 or $400. Available on alibaba.com. Should I risk $400 for something that might not work or even be unsafe?
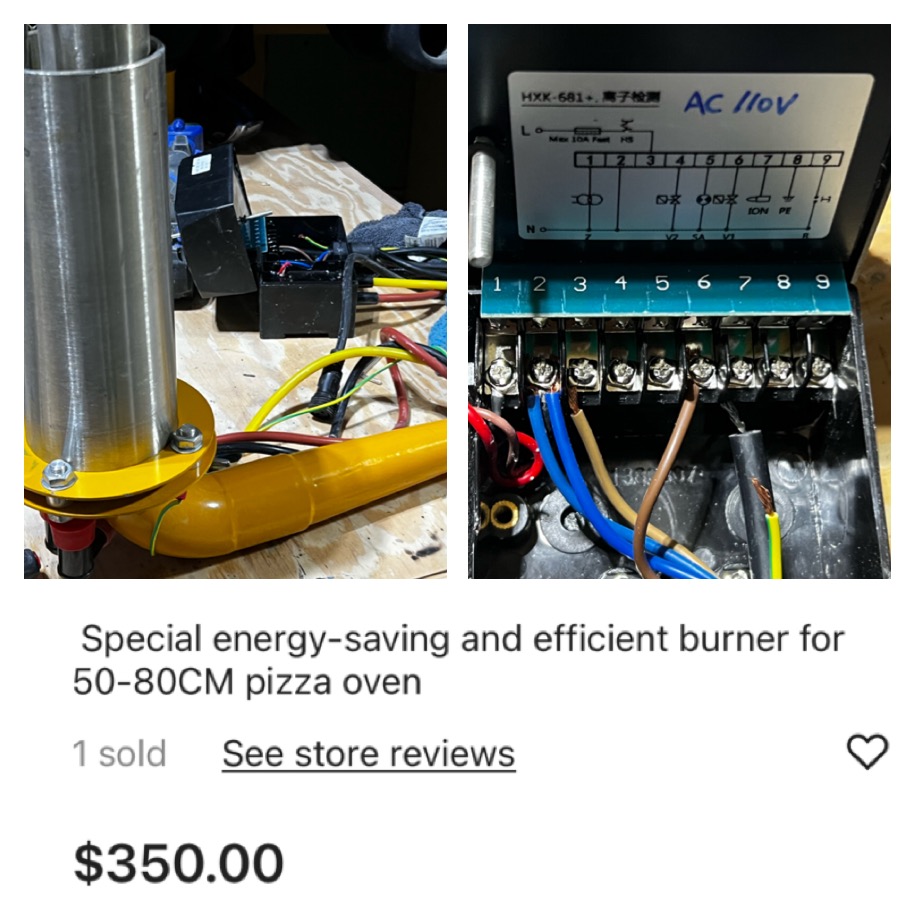
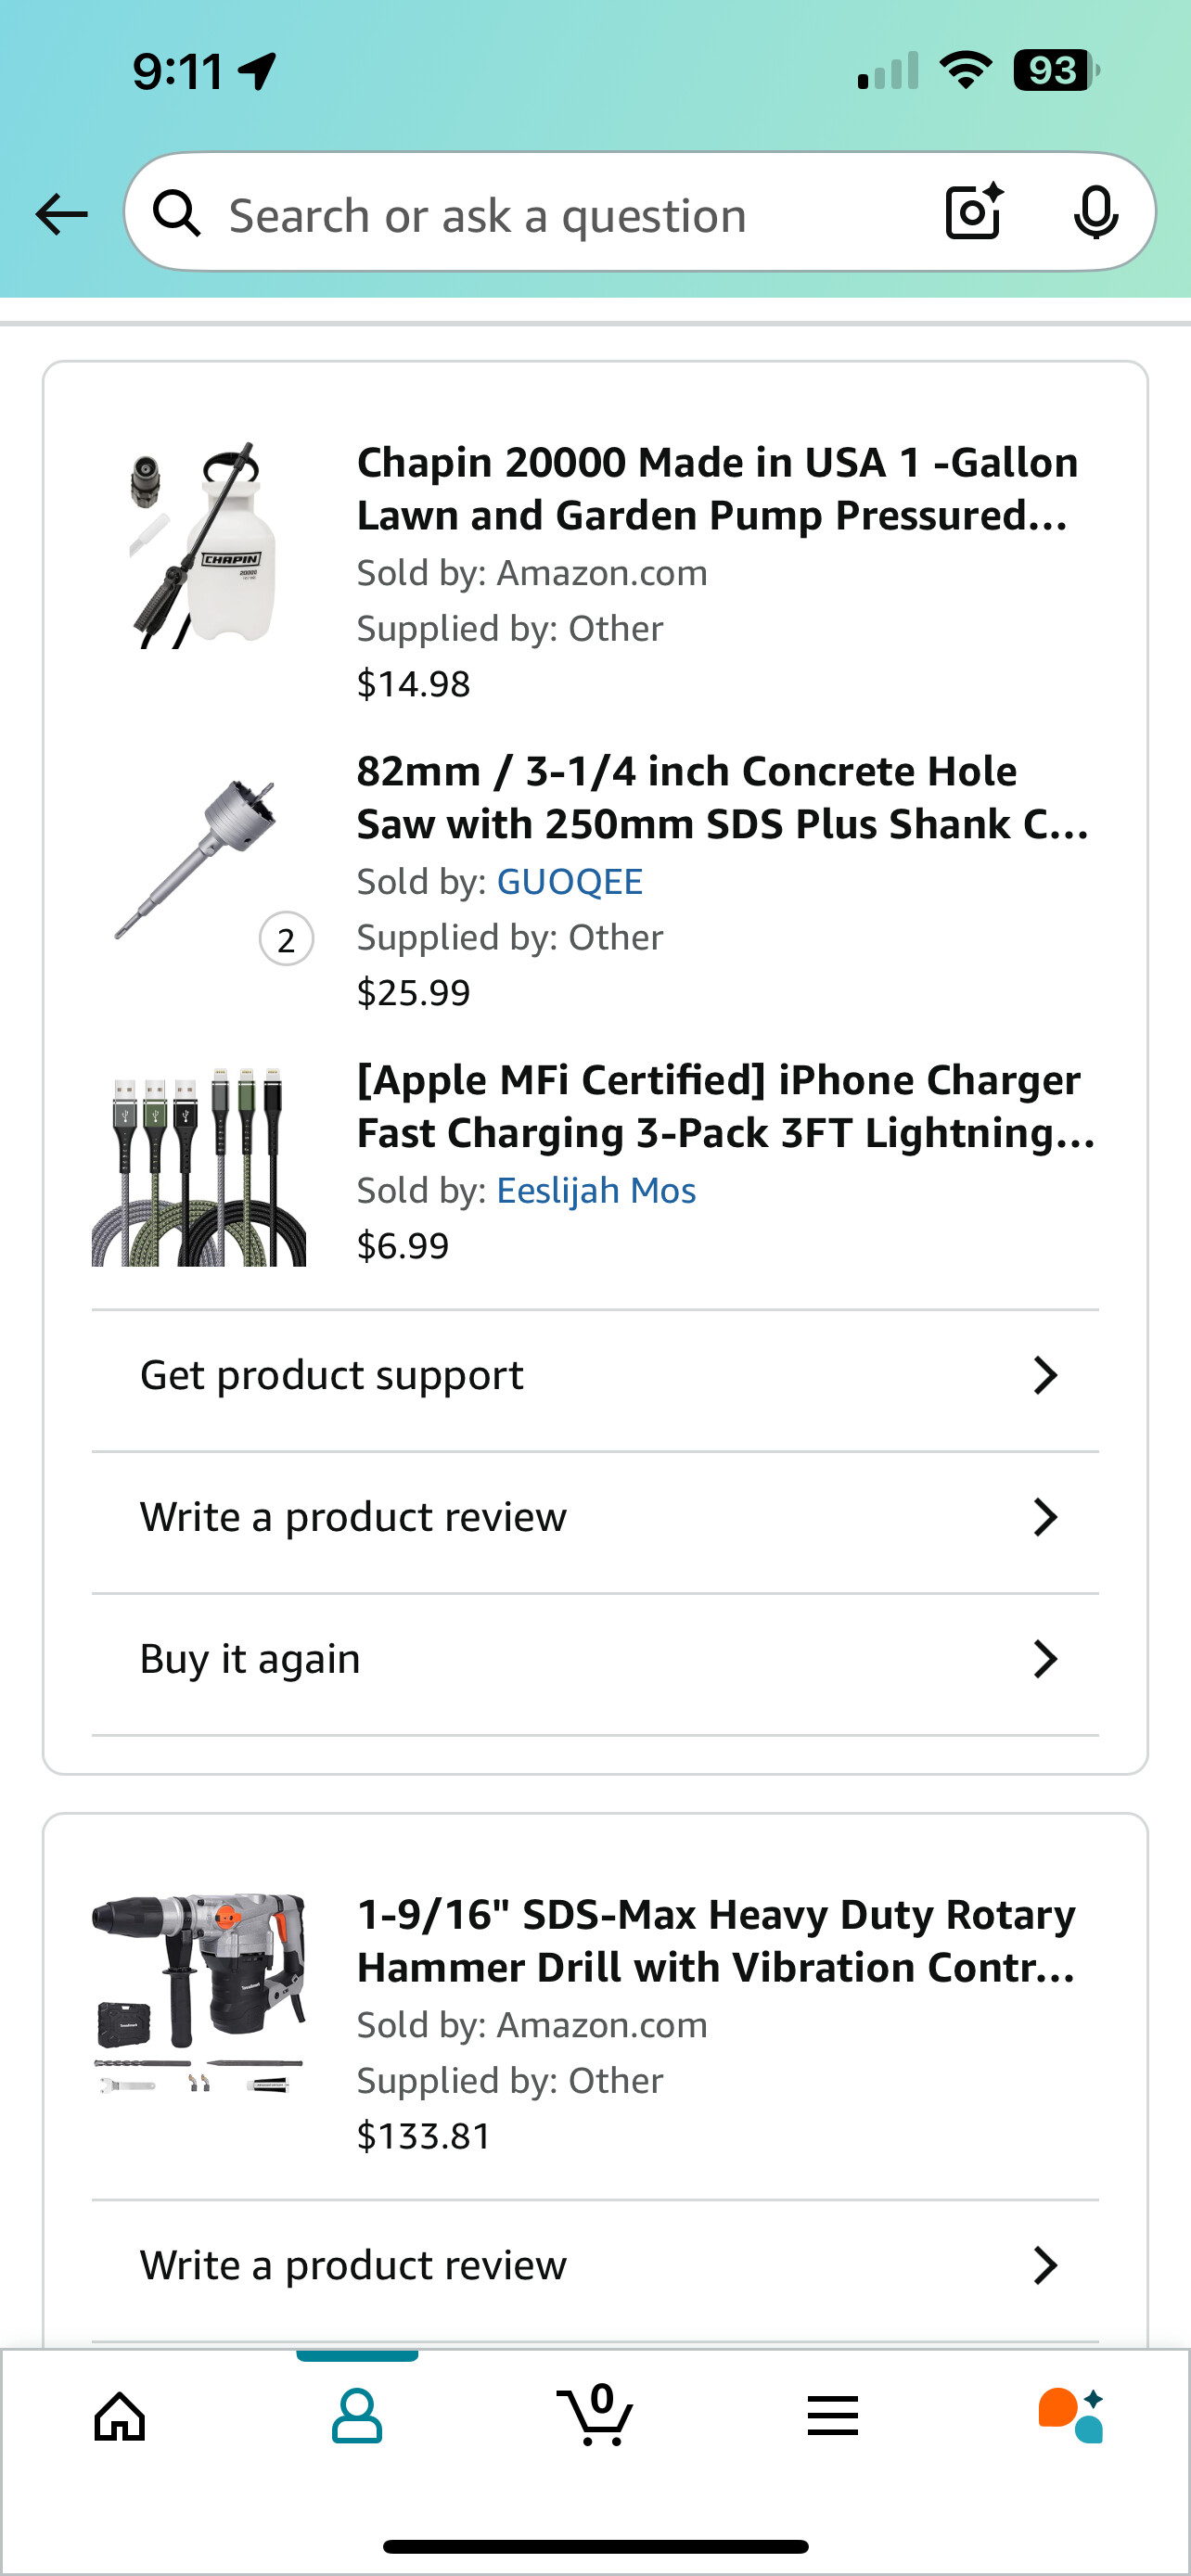
I purchased the burner online. I read about Propane grills in building your own propane grills went to Home Depot, bought pipe fittings and appropriate connectors. Assembled the burner in my garage and it worked perfectly. I chose a through the floor model burner as it did not disturb the exterior of my beautiful oven. I started drilling holes with my concrete drill, but quickly realized this would take forever. I needed a more powerful jackhammer. I bought the jackhammer on Amazon along with hole drilling accessories, and various bits. once I got the courage to drill a hole in my oven, it went rather smoothly with the new jackhammer/drill.
Drilling was a very difficult process as you are lying on your back between the cinderblocks of your pizza, oven base and all the concrete is falling on your head. Once through, I realized I had underestimated the distance necessary and was 1.5 inches short!  The top of the burner would not Rise above the level of the fire brick of the oven. I used my new jackhammer to cut into the bottom of the slabs underneath the fire brick by 1 inch. I cut into the fire brick by half an inch which allowed my burner to rise above the fire brick.
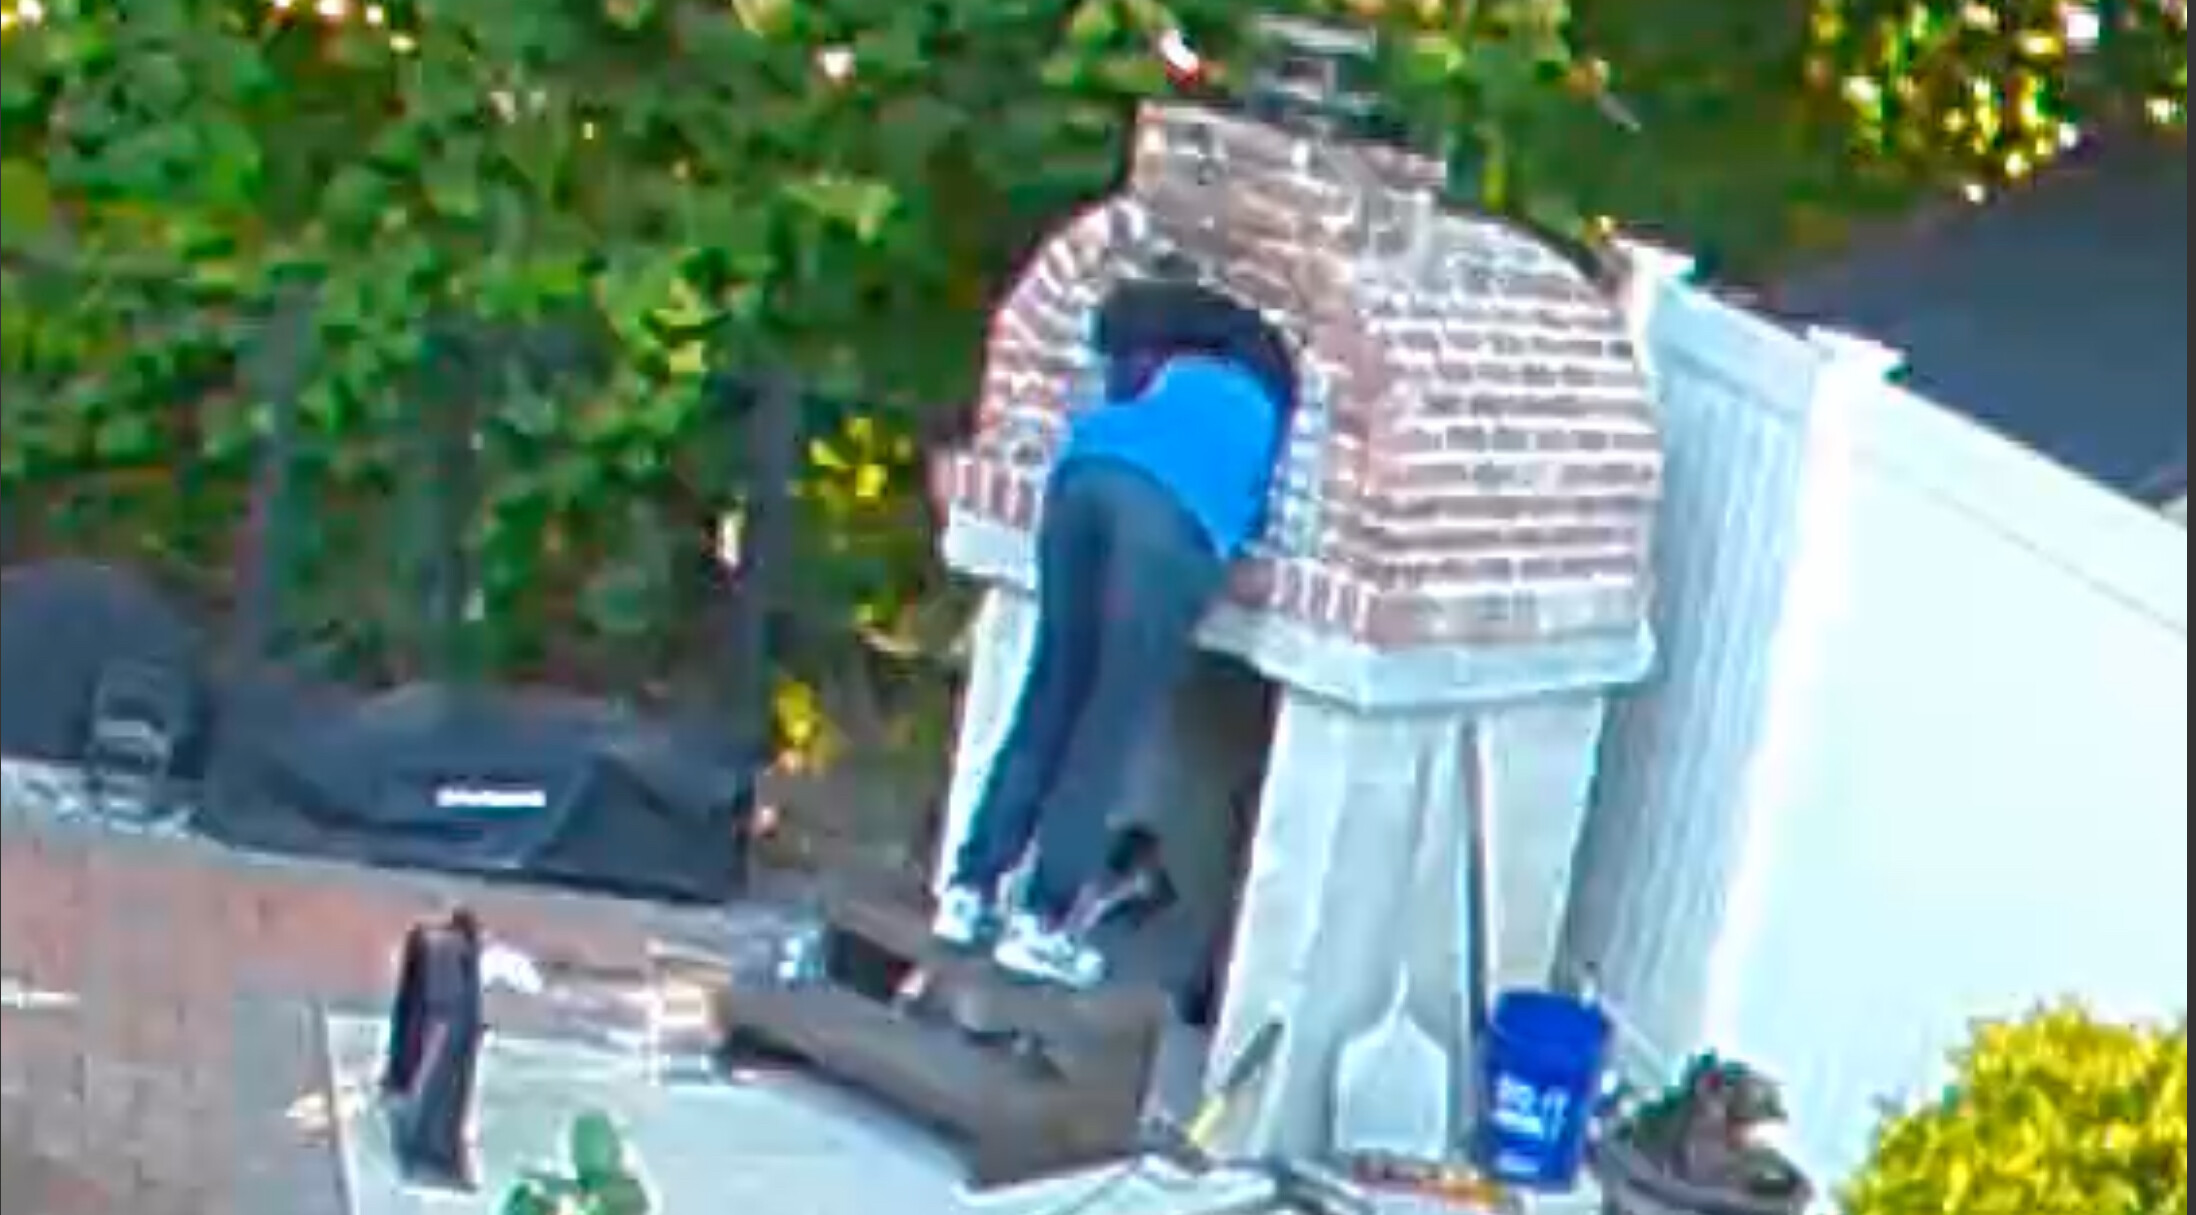
Next to the cement / perlite mix, and leveling sand now created a hole under the fire brick. I used high temp motor to fill these gaps and create a smooth surface to allow removal of the burner in the future, should I need to. It also allowed me to ensure the insulation was surrounding the burner. To do this I had to stick my entire body inside the oven to see opening for the burner from above. Once the high temp motor dried and I was able to prove the burner fit snuggly, but was removable, I secured it to the base with concrete screws.
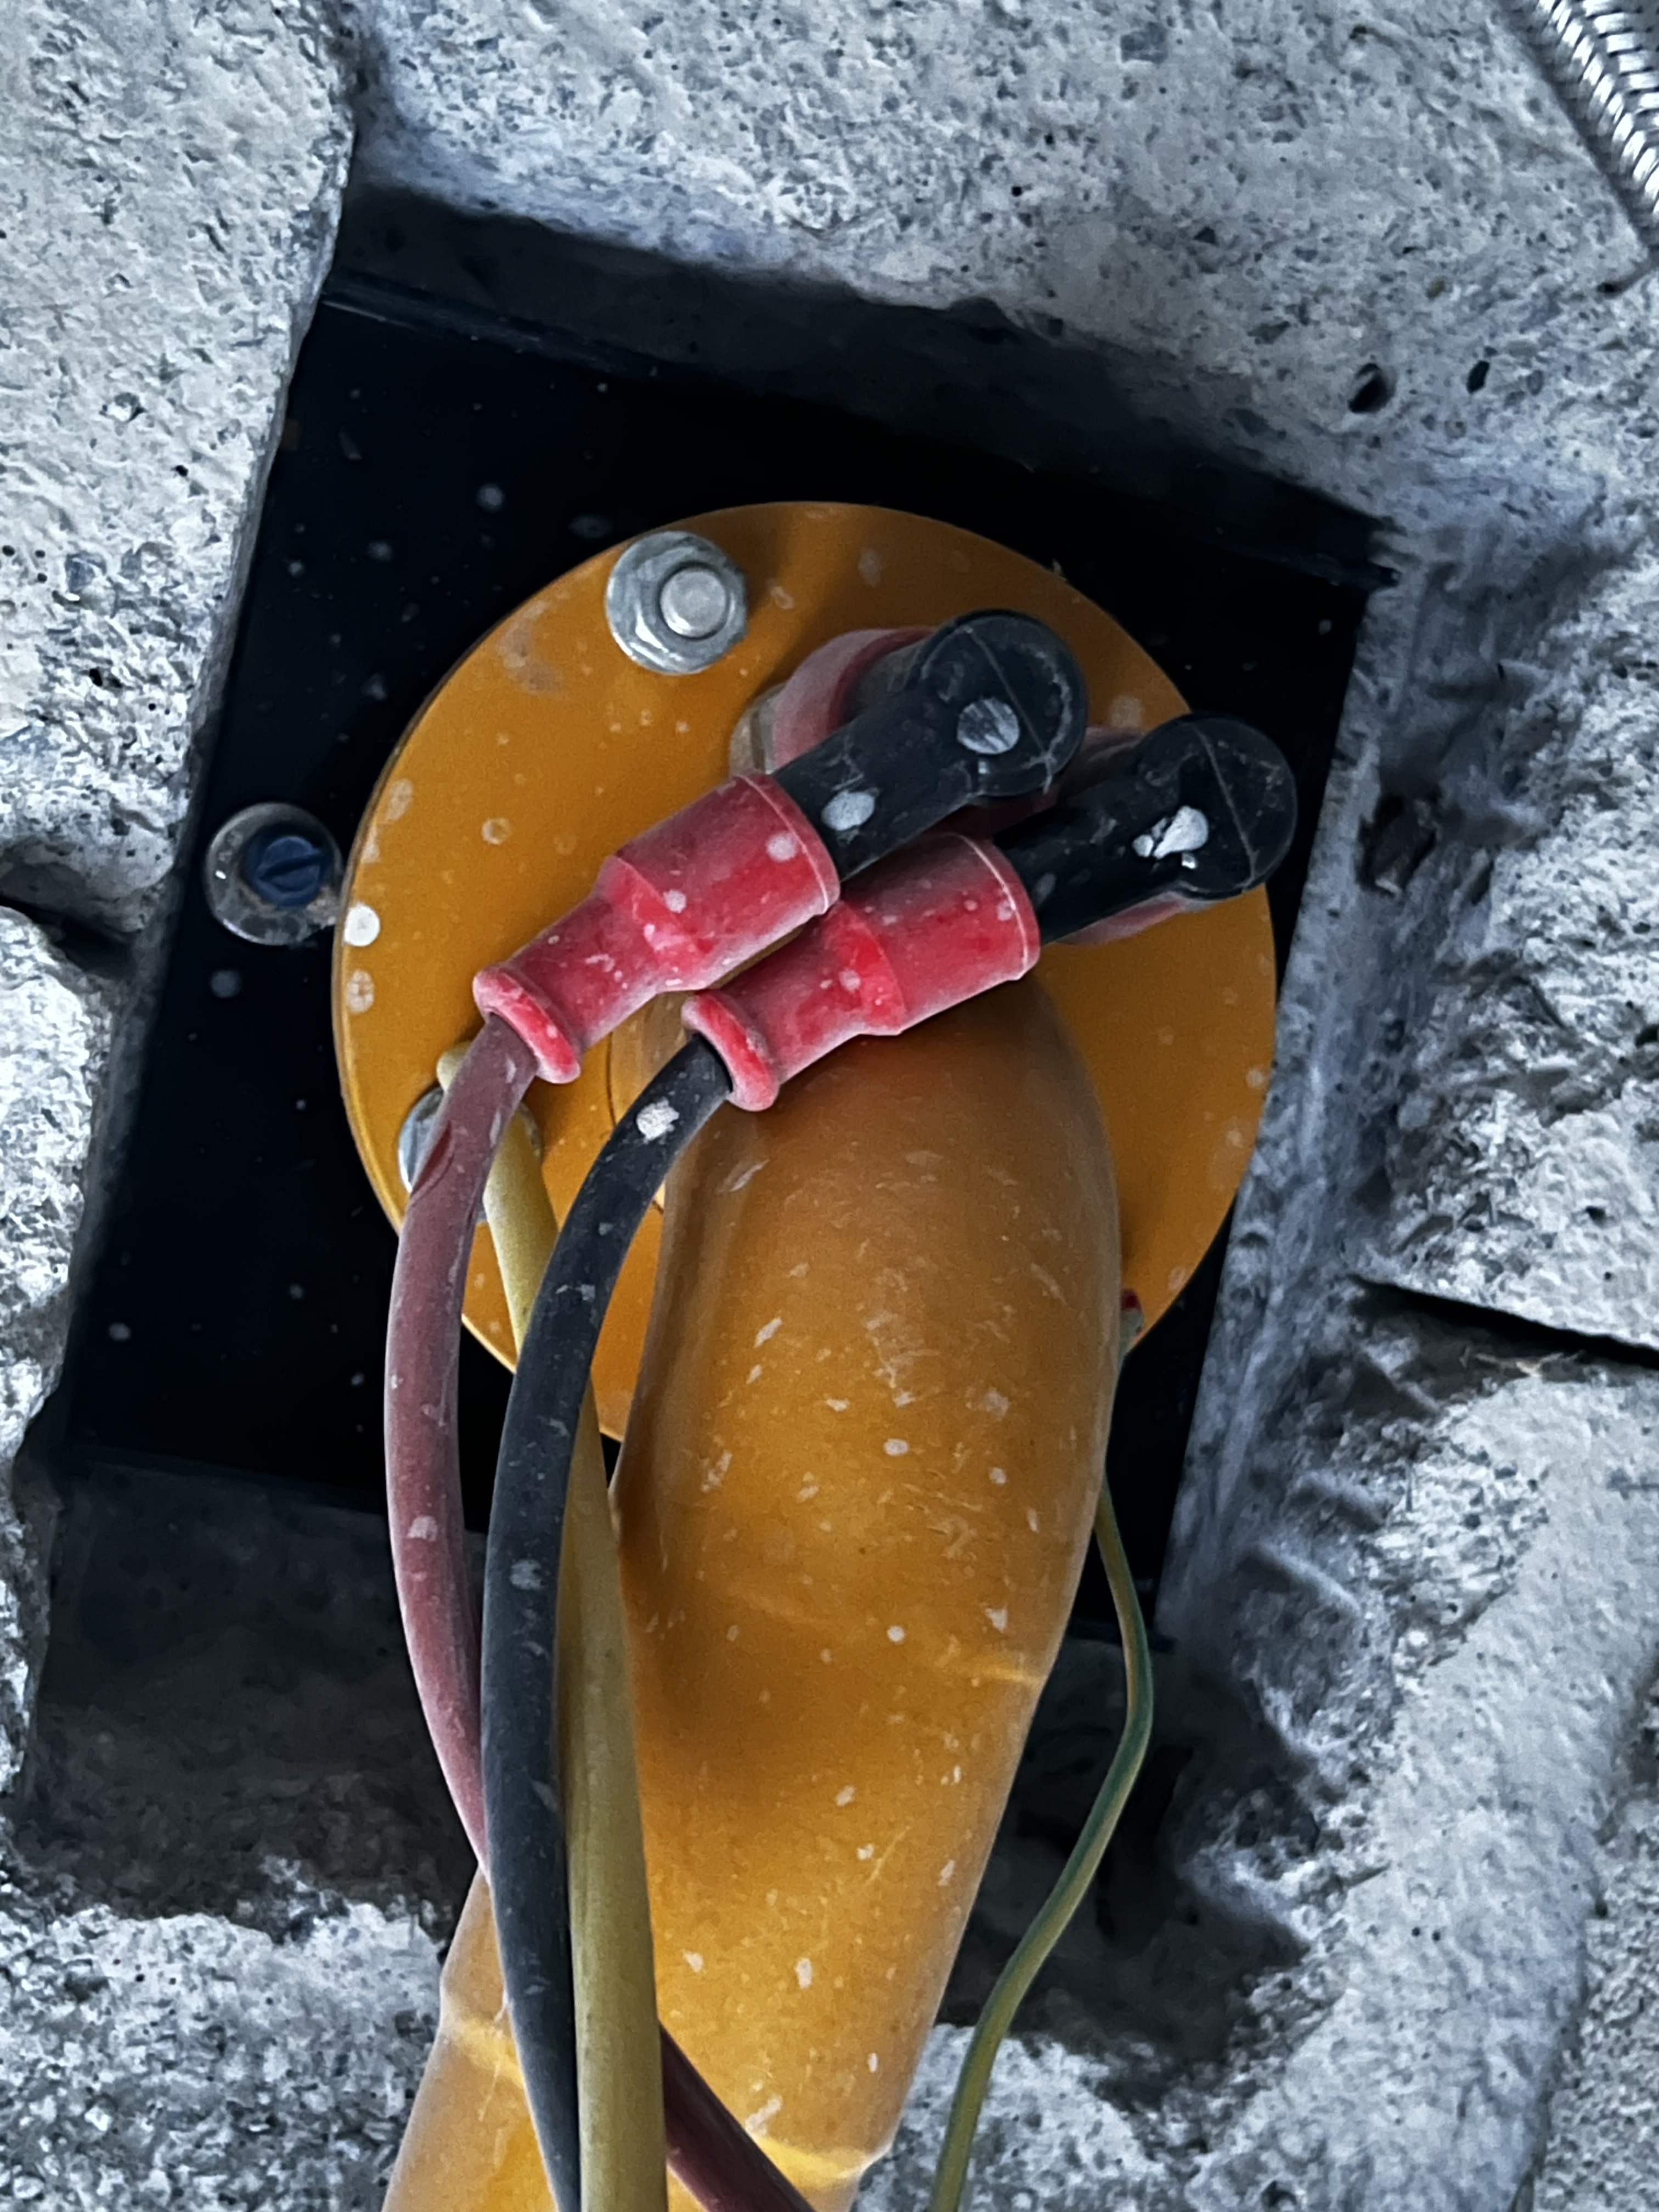
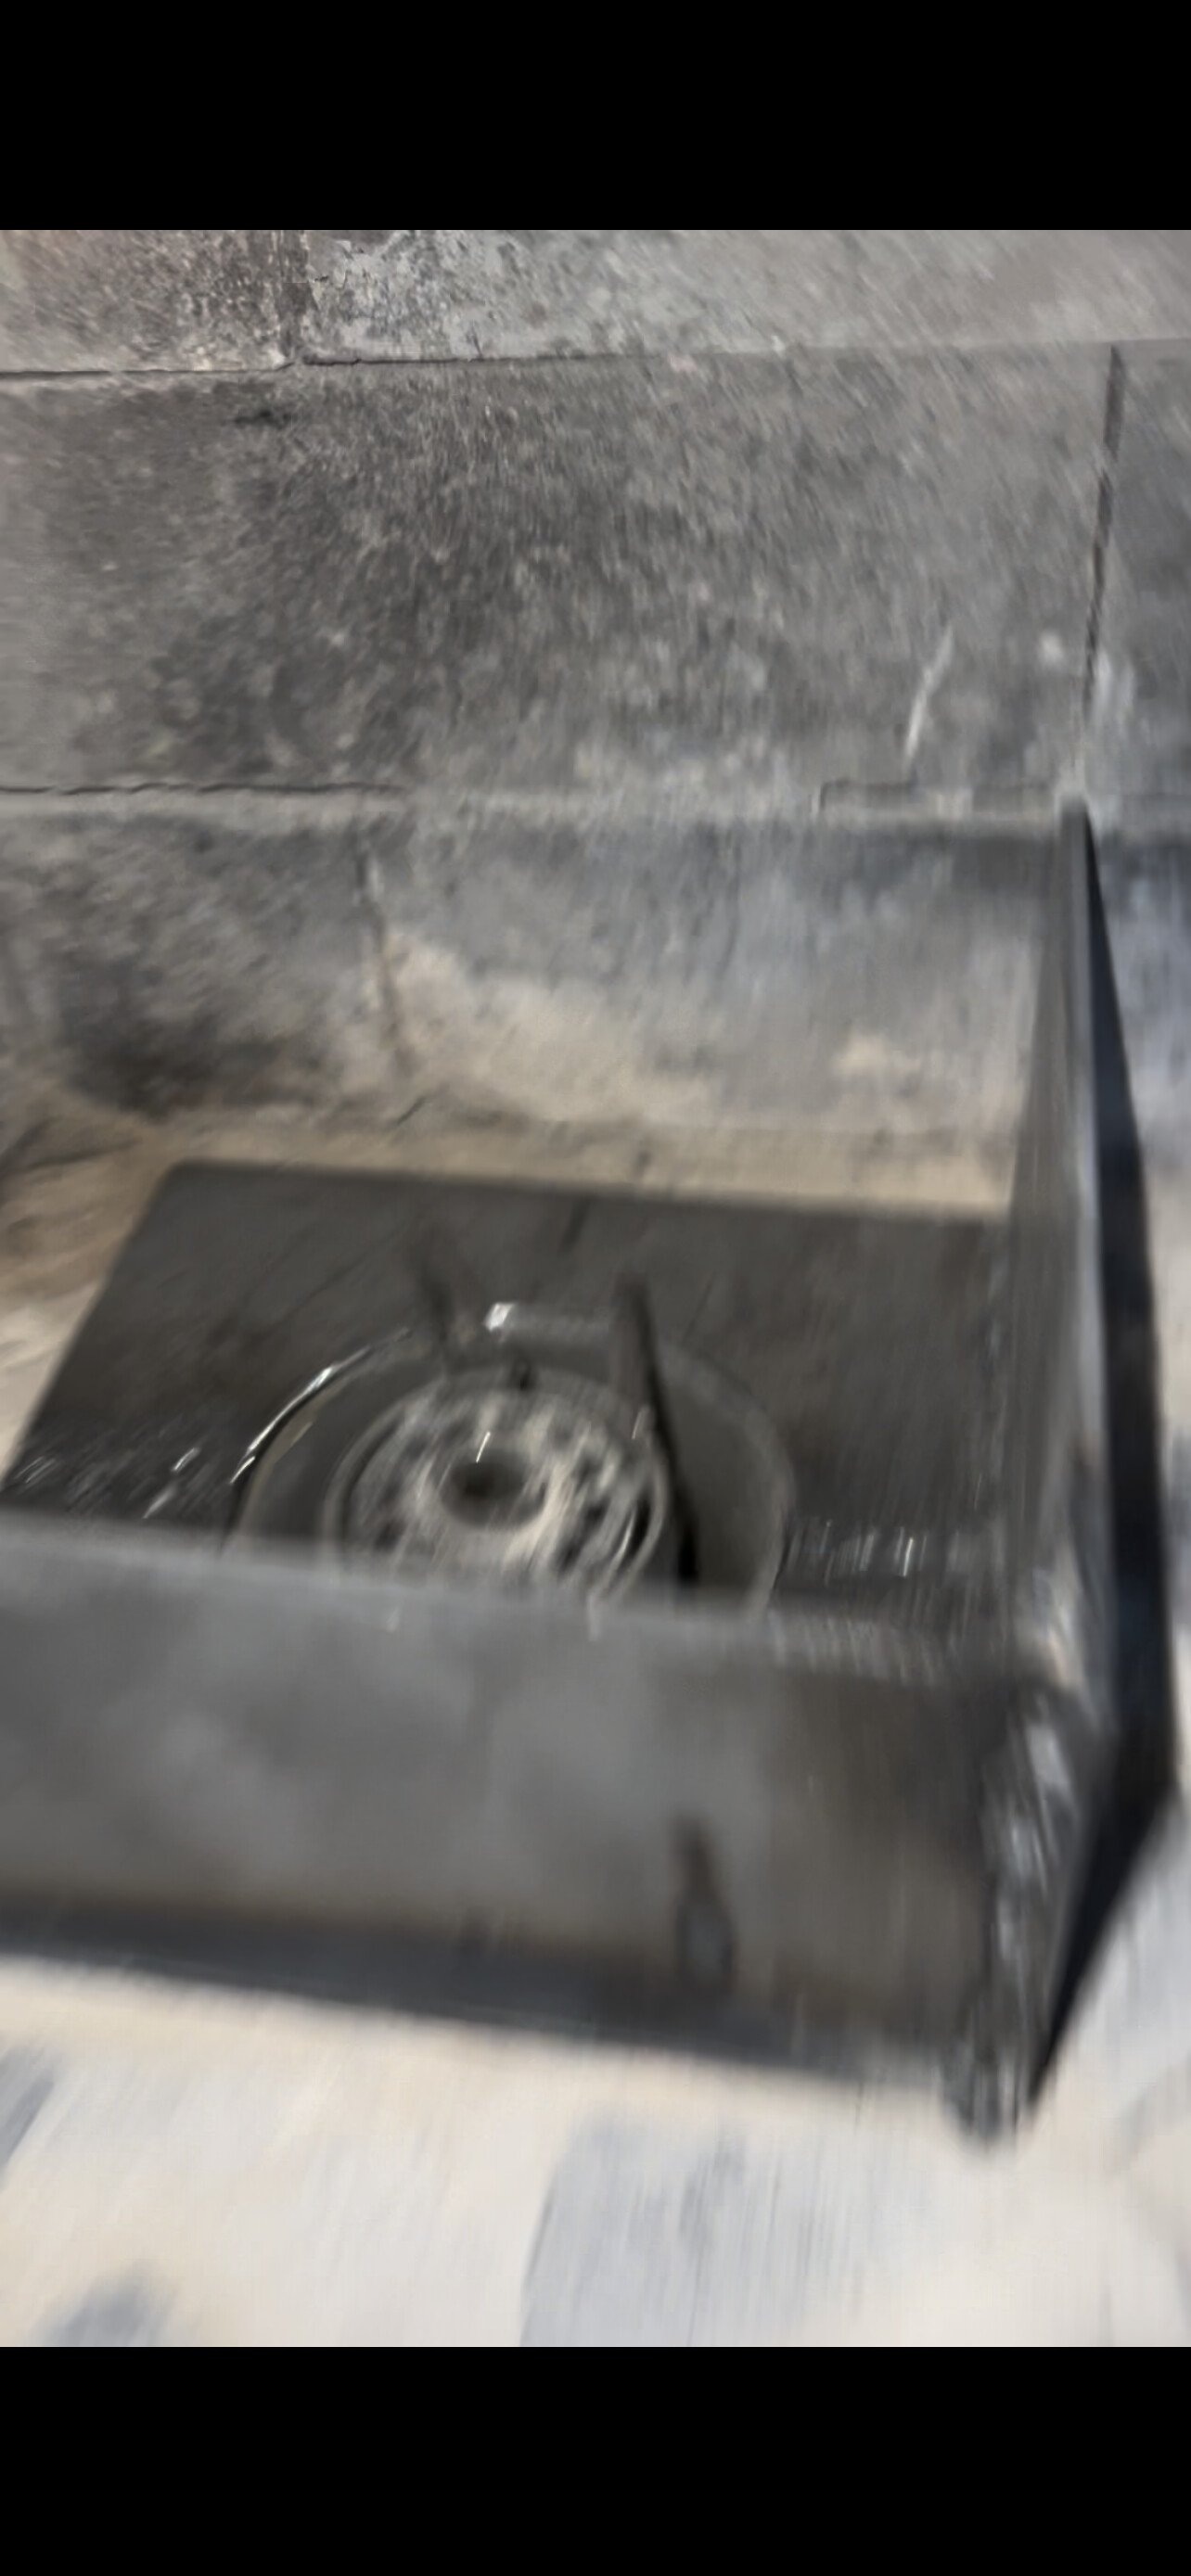
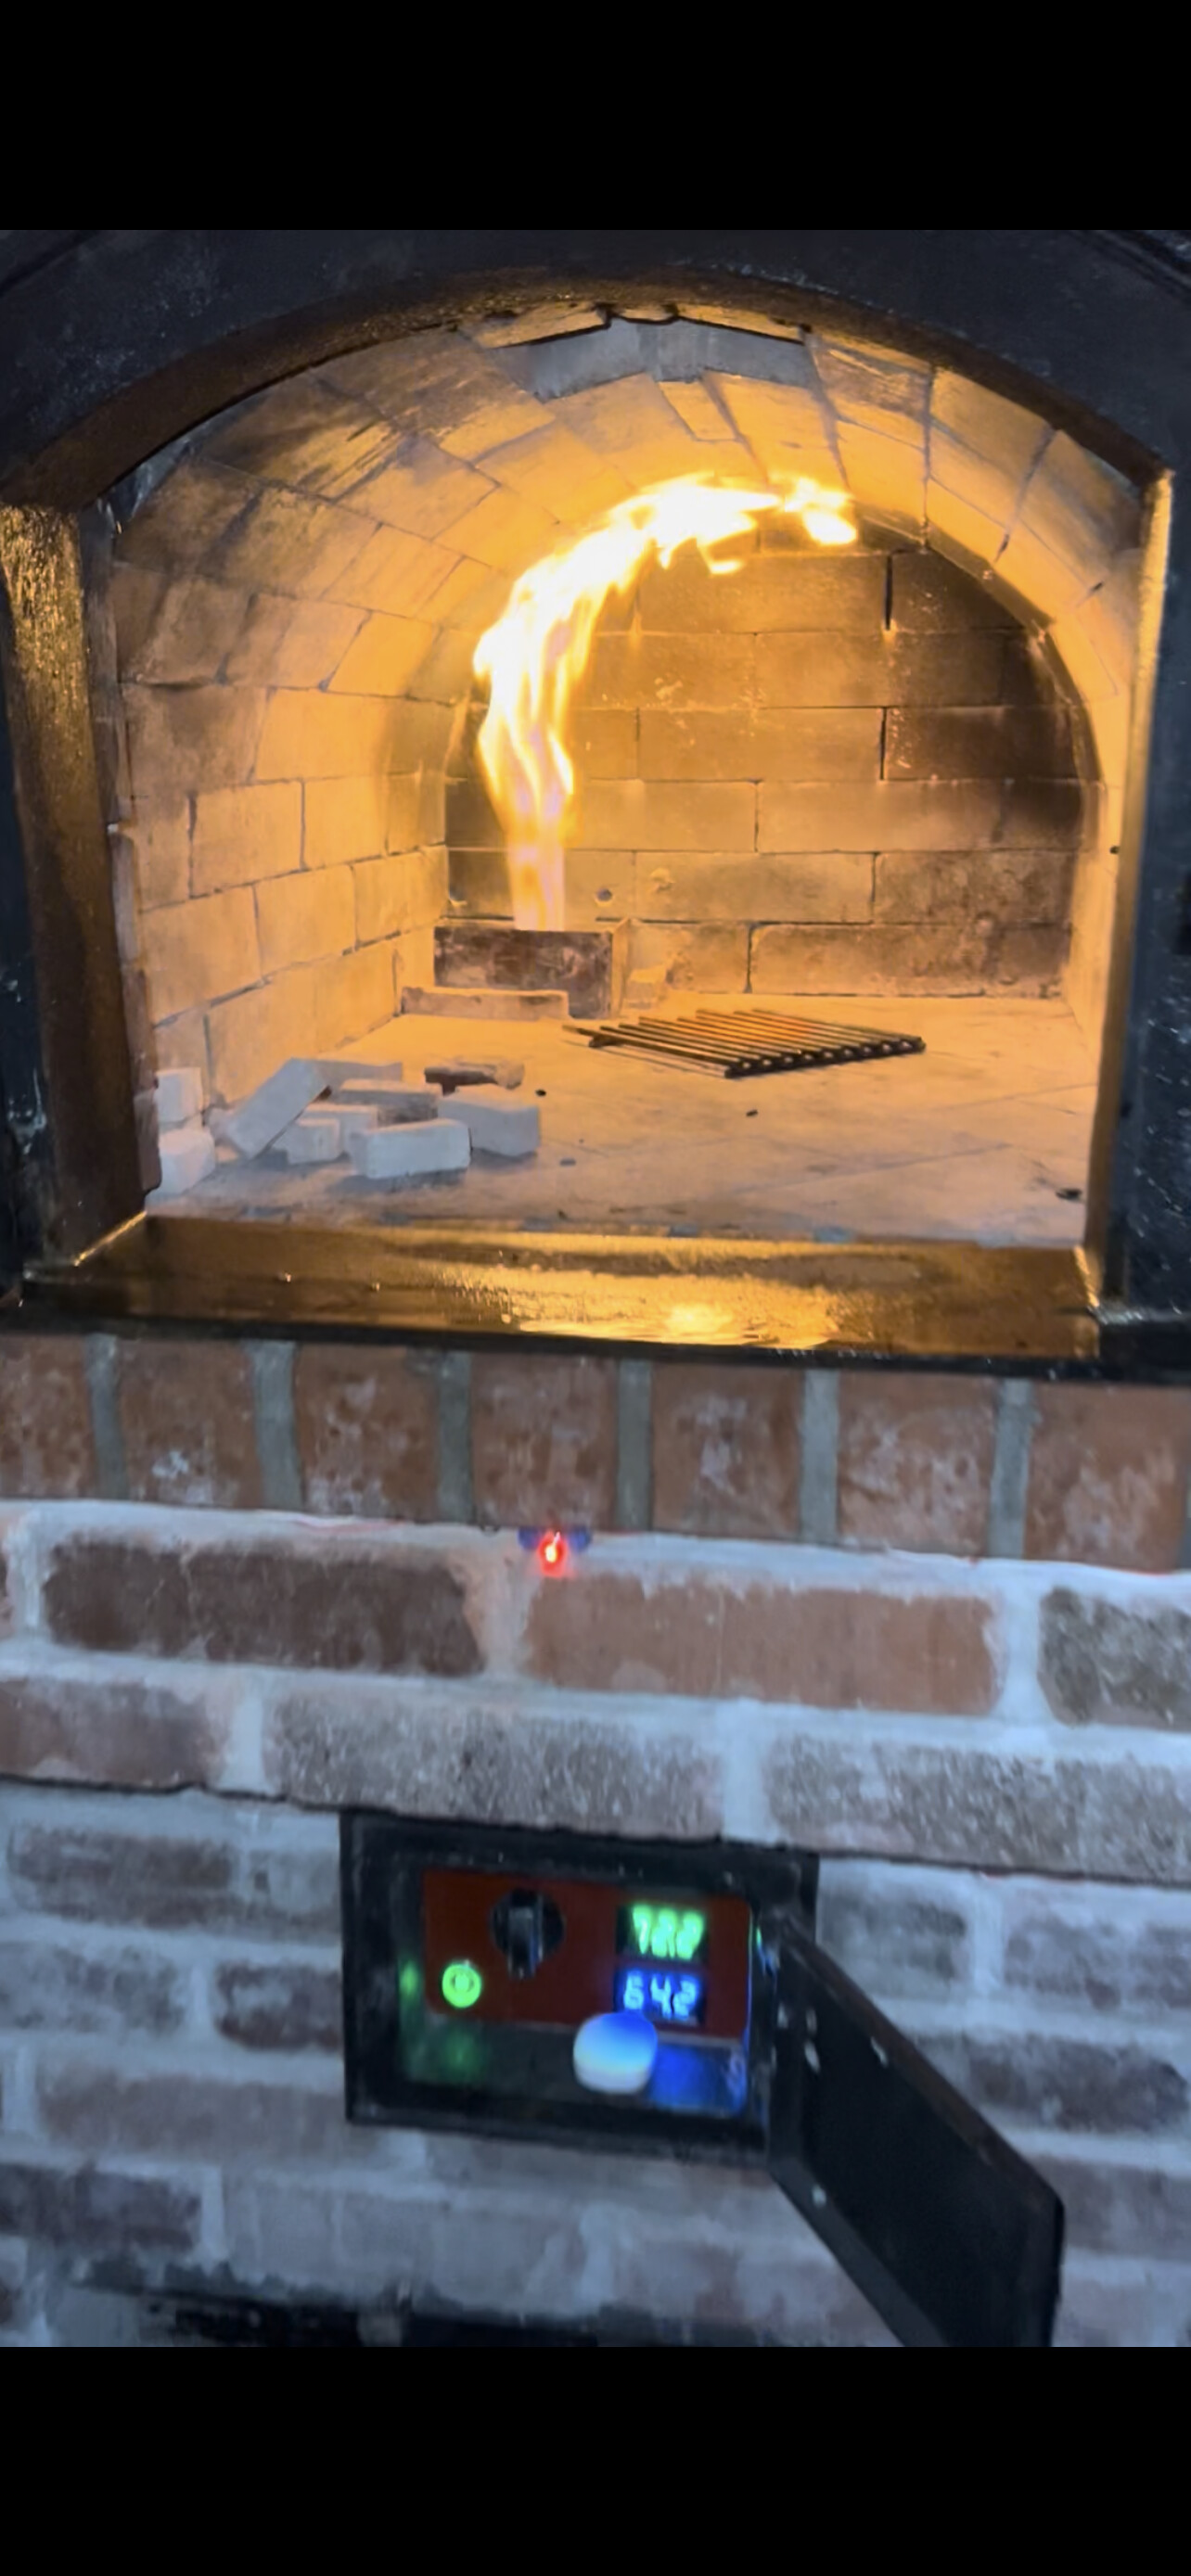
The next concern had to do with wood and ashes falling into the burner . I made a 3 inch high steel box to fit around the protruding part of the burner inside the oven and support a small cosmetic fire brick wall. I bought a grill grate online and cut it to size so that there was a grill grate over the burner. This was not required, but given the limited space I was looking at, I was afraid mistakes will be made by myself and anybody else using the oven which could damage my new burner. Lost about 8 inch sized square in the back of my oven.
Once I got past some wiring difficulties, which I the company helped you with the burner was working. (wire came loose) I had to design the controls. I wanted temperature sensors and LED monitors… I bent flattened and grounded down the metal face plate that came with the burner and made it fit my cast-iron door I bought on eBay. Then followed cutting, sanding and painting controls. The three temperature probes I installed in the oven would read out by the dial for the burner.
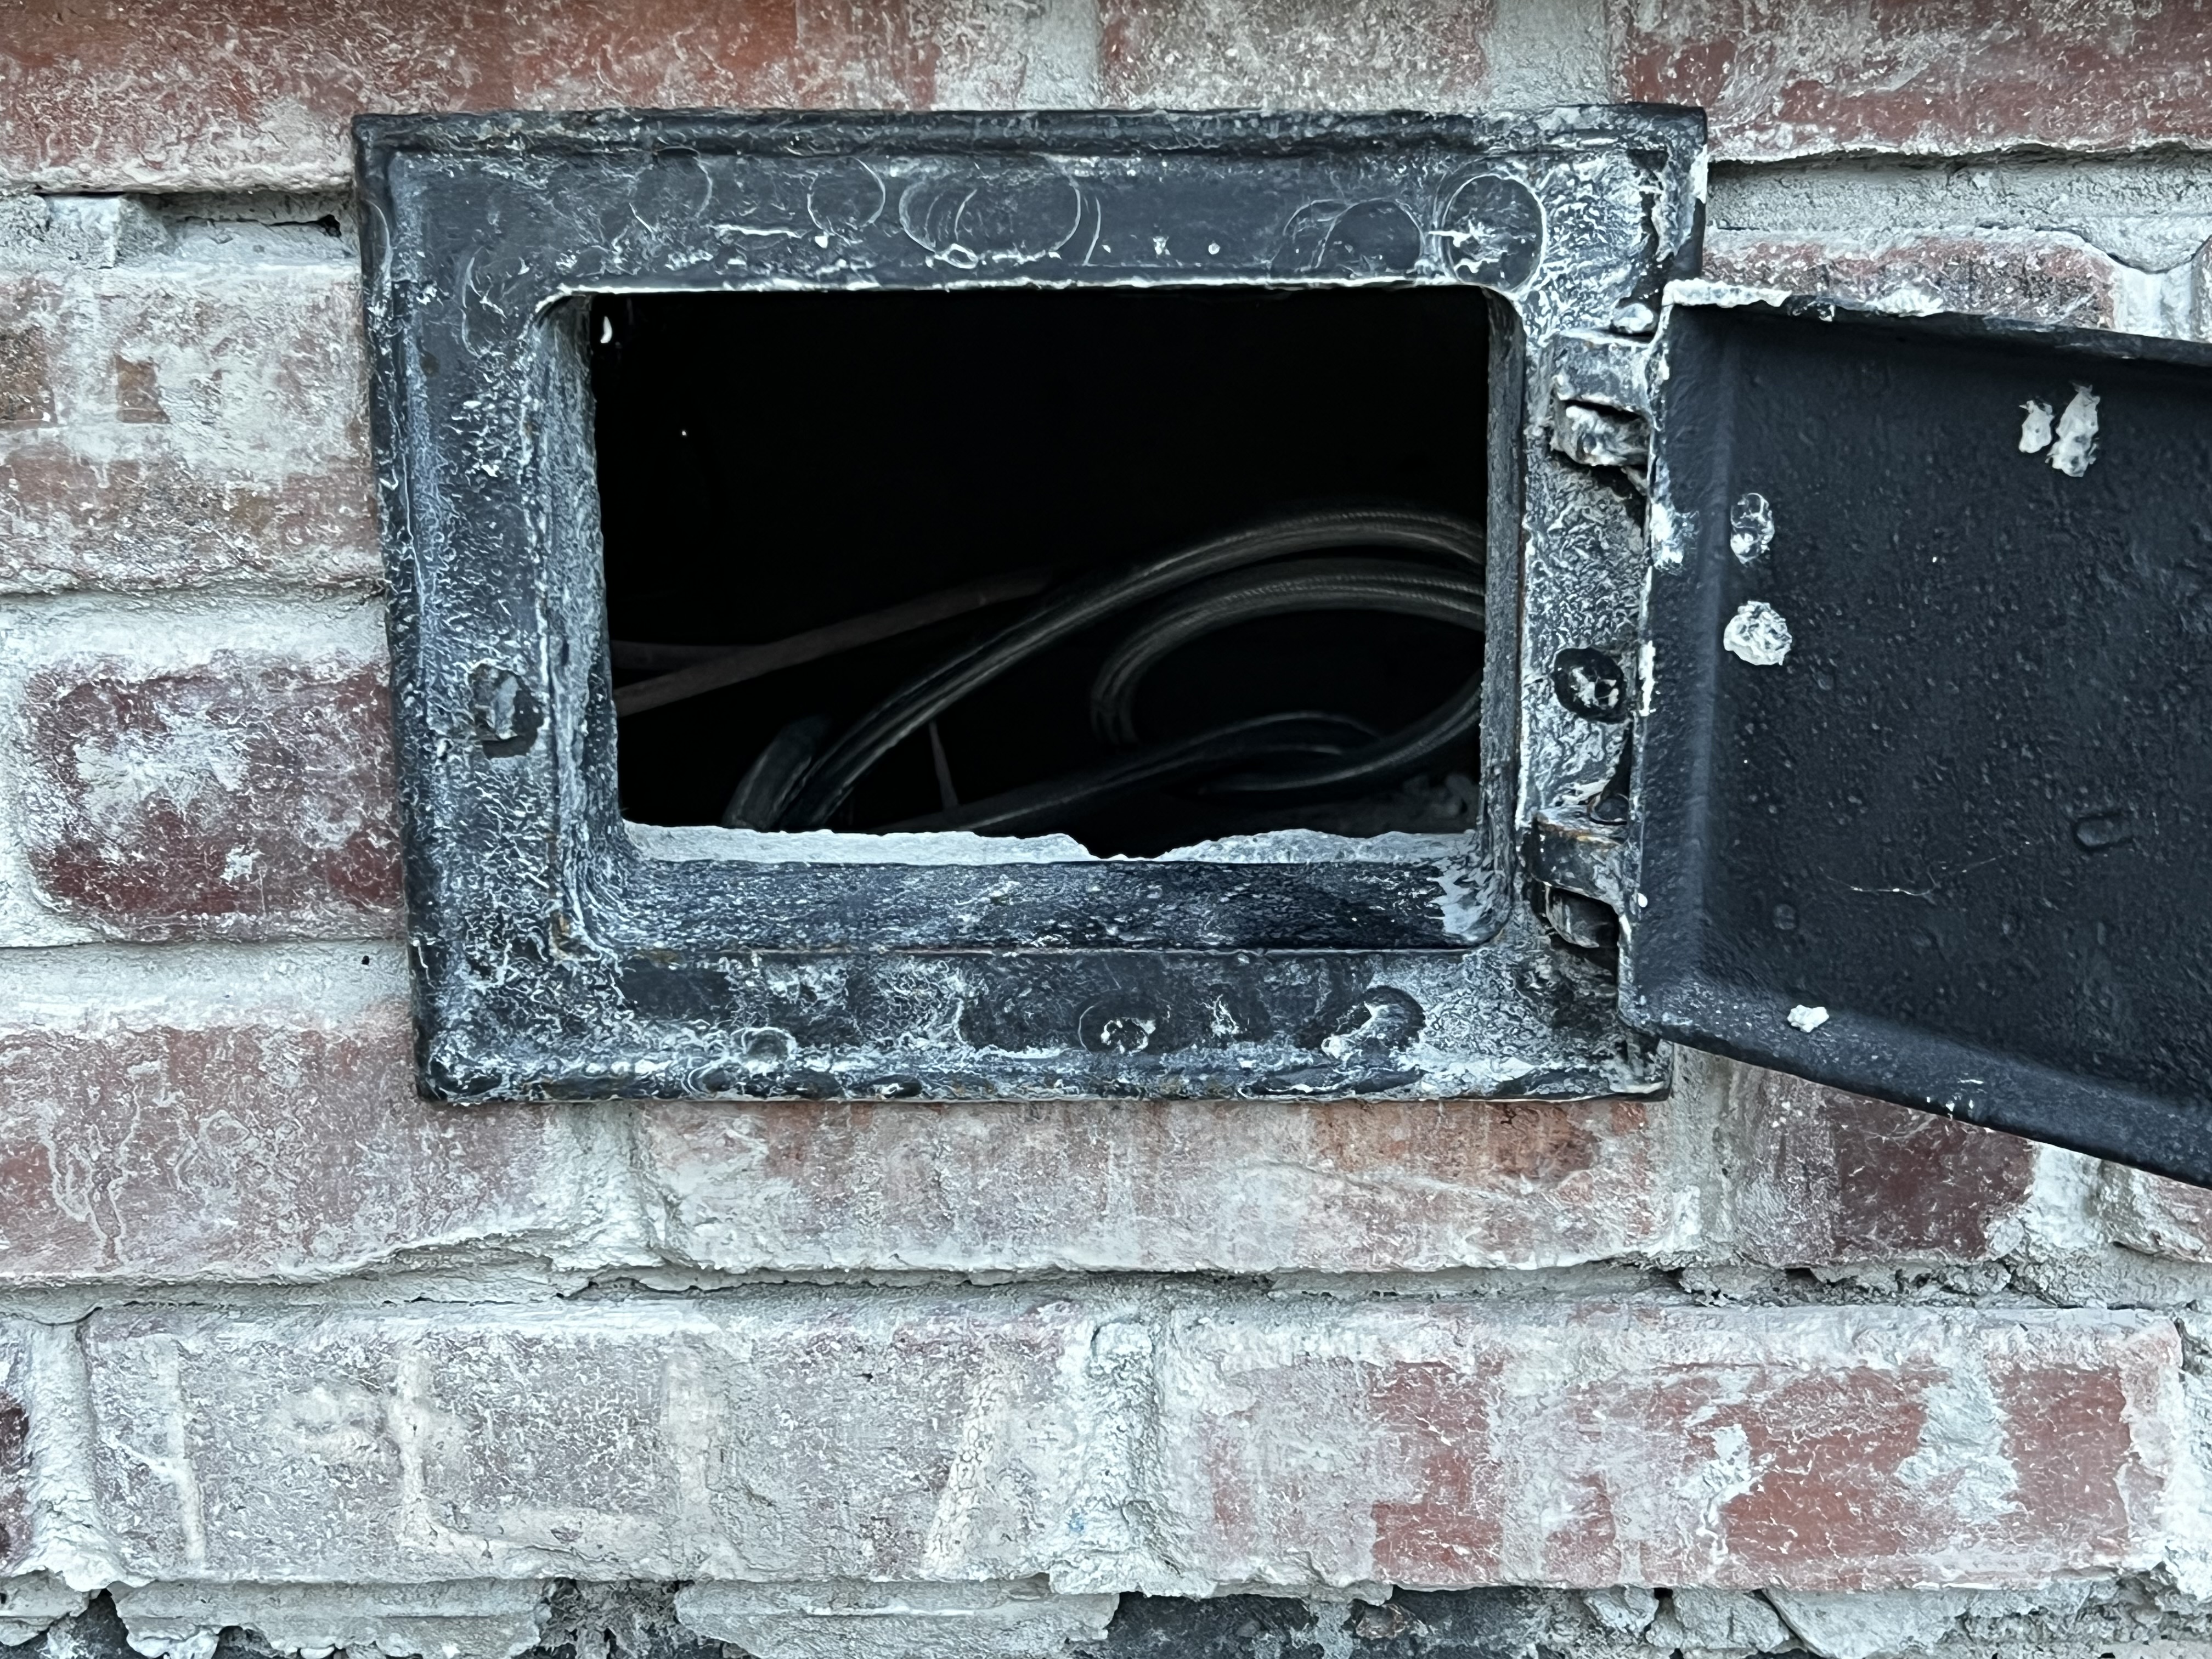
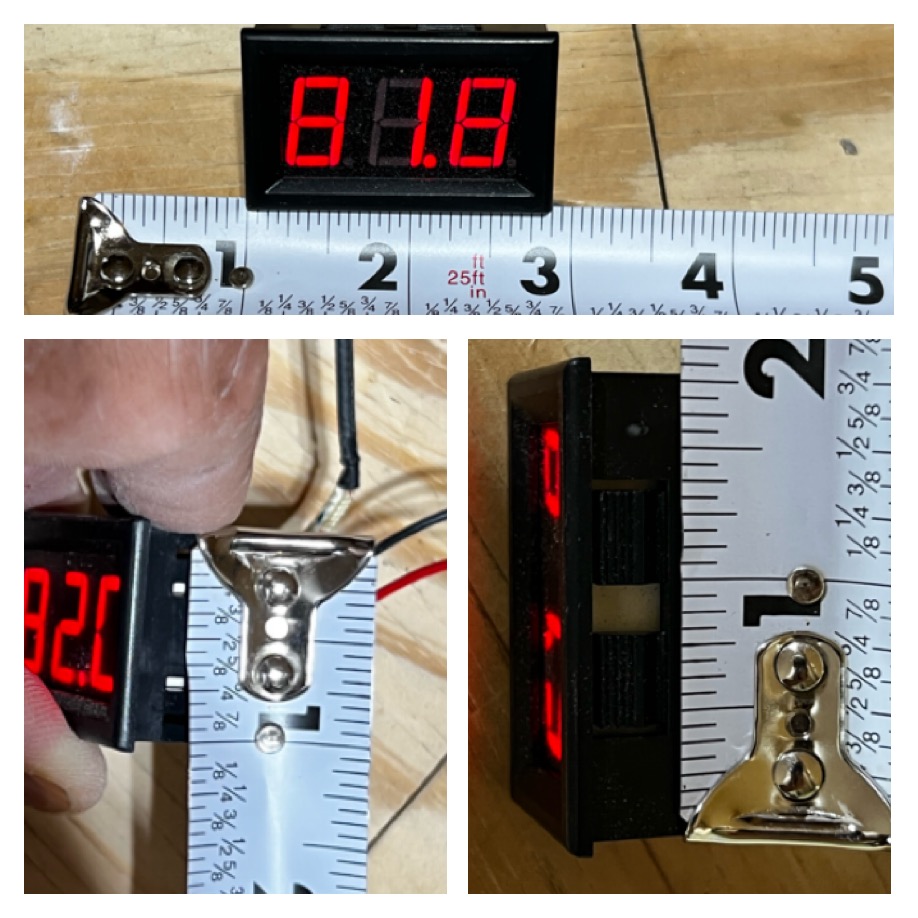
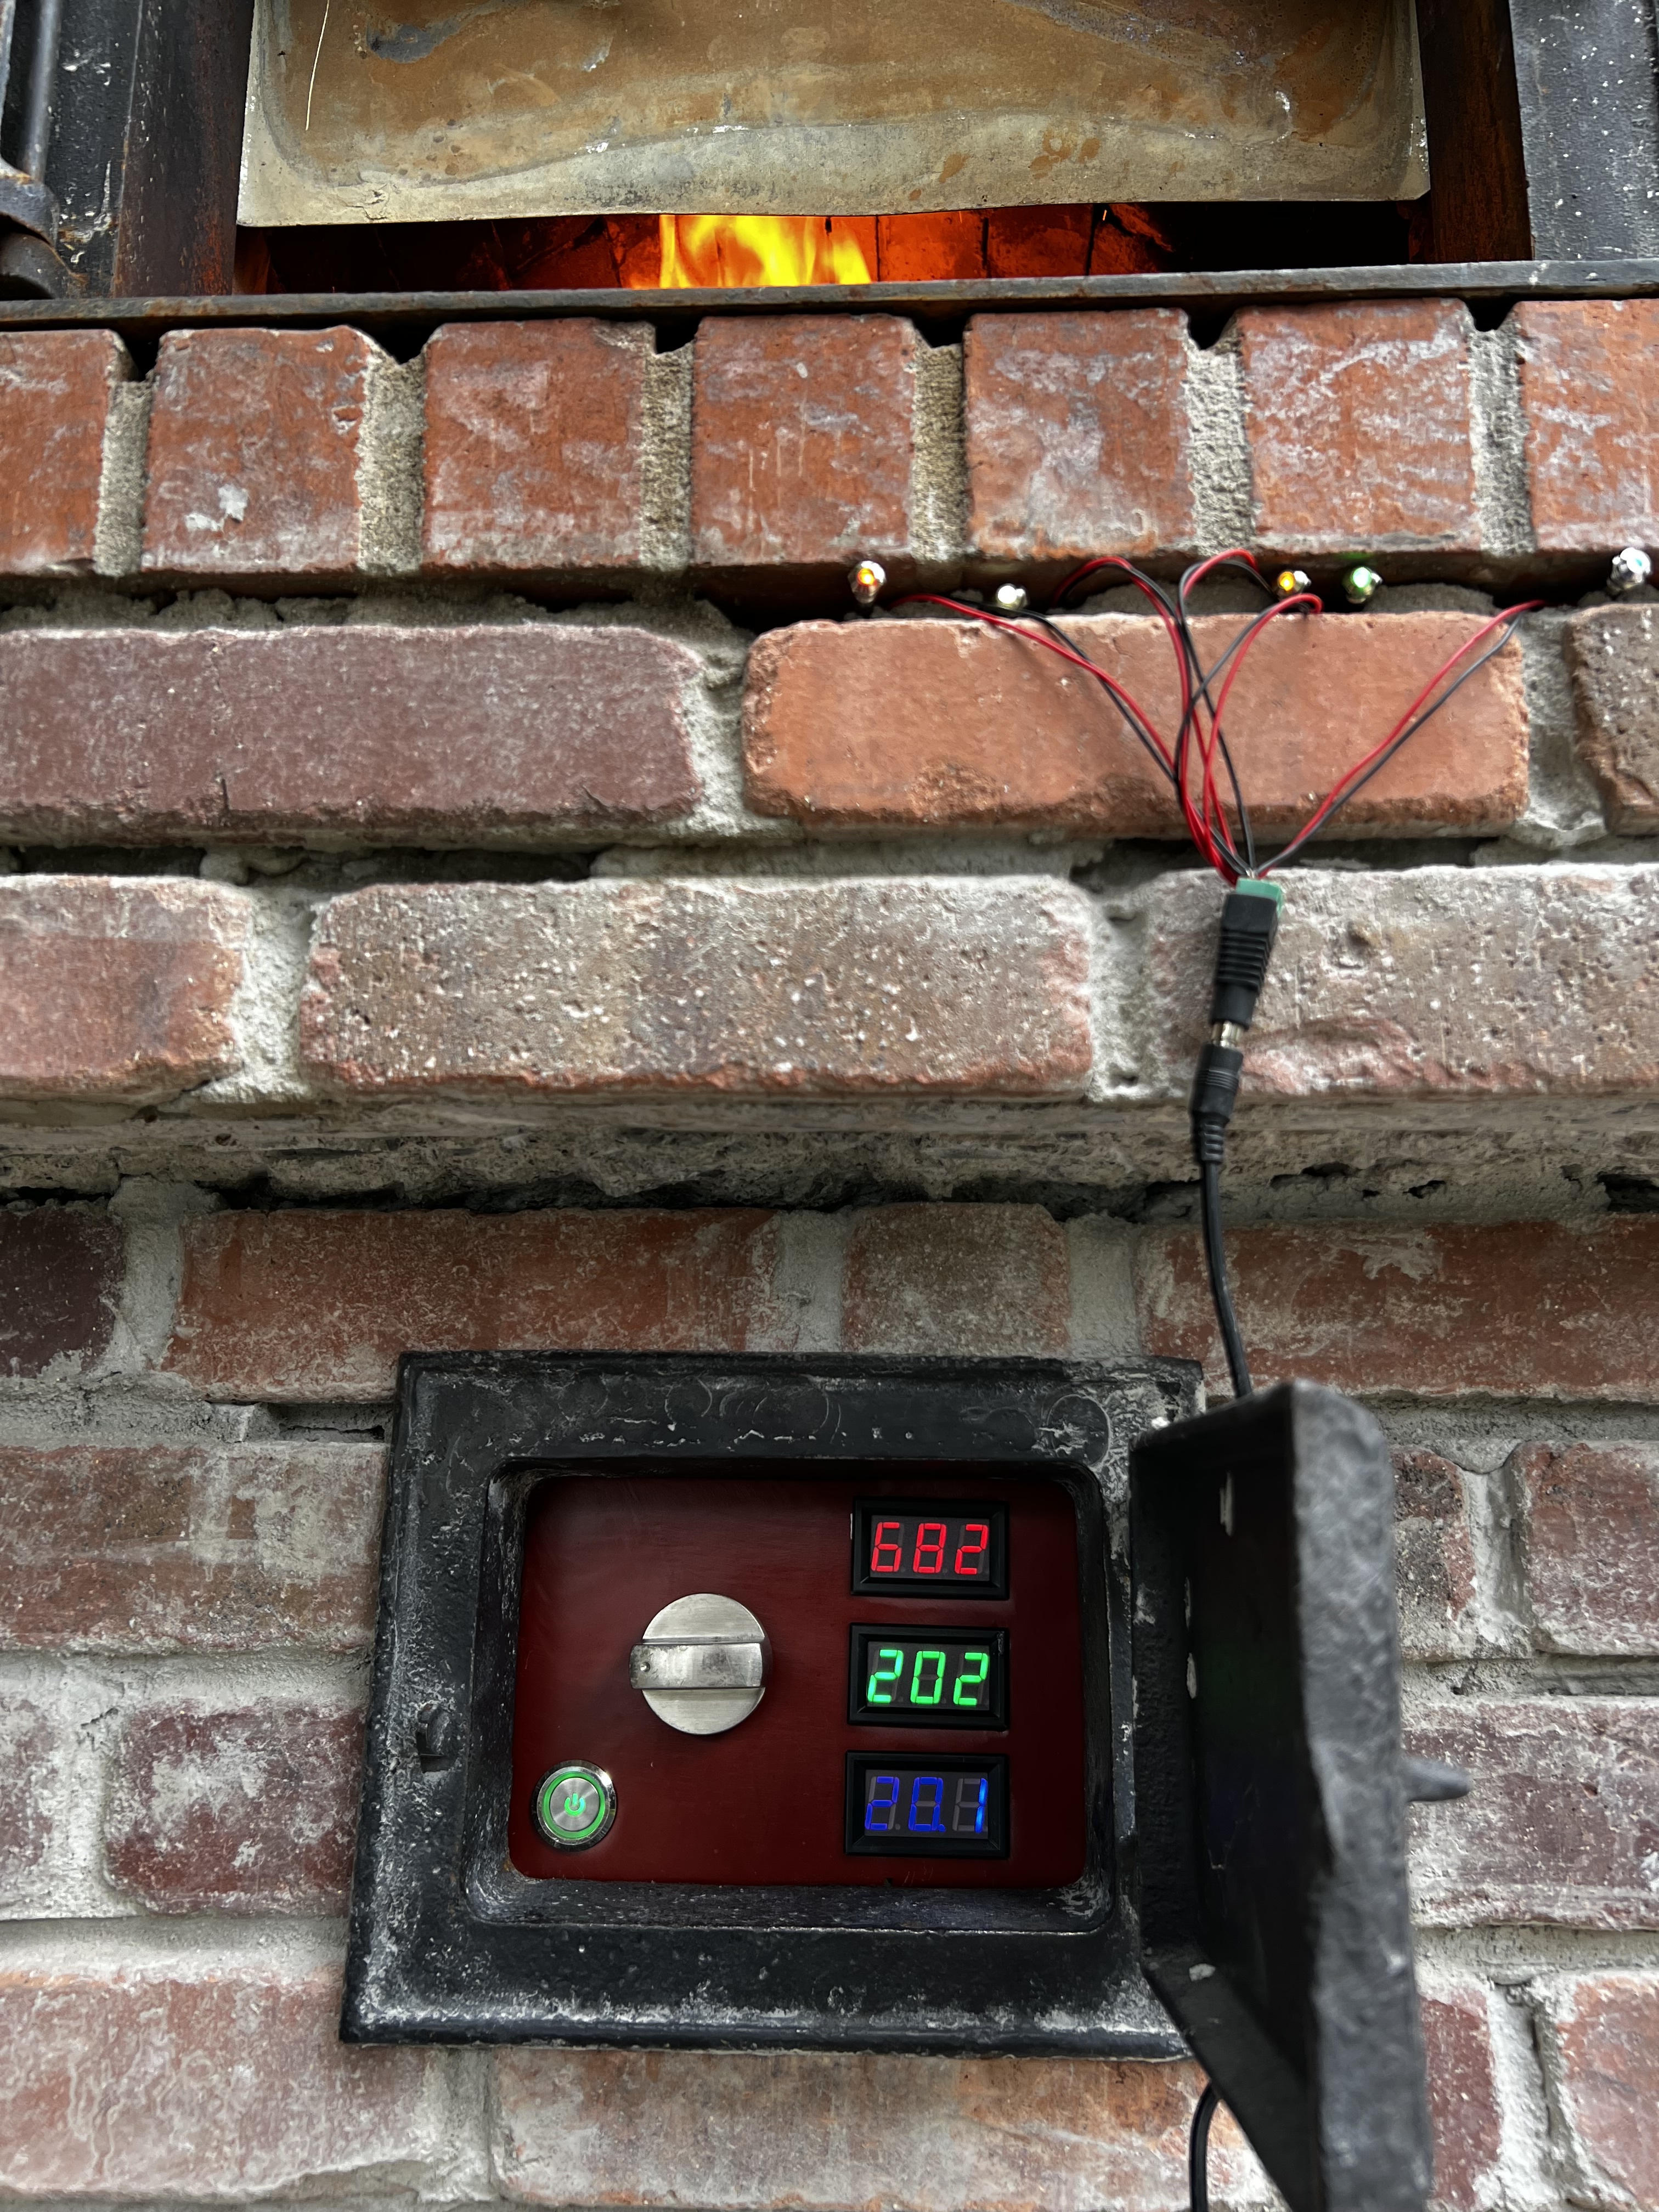
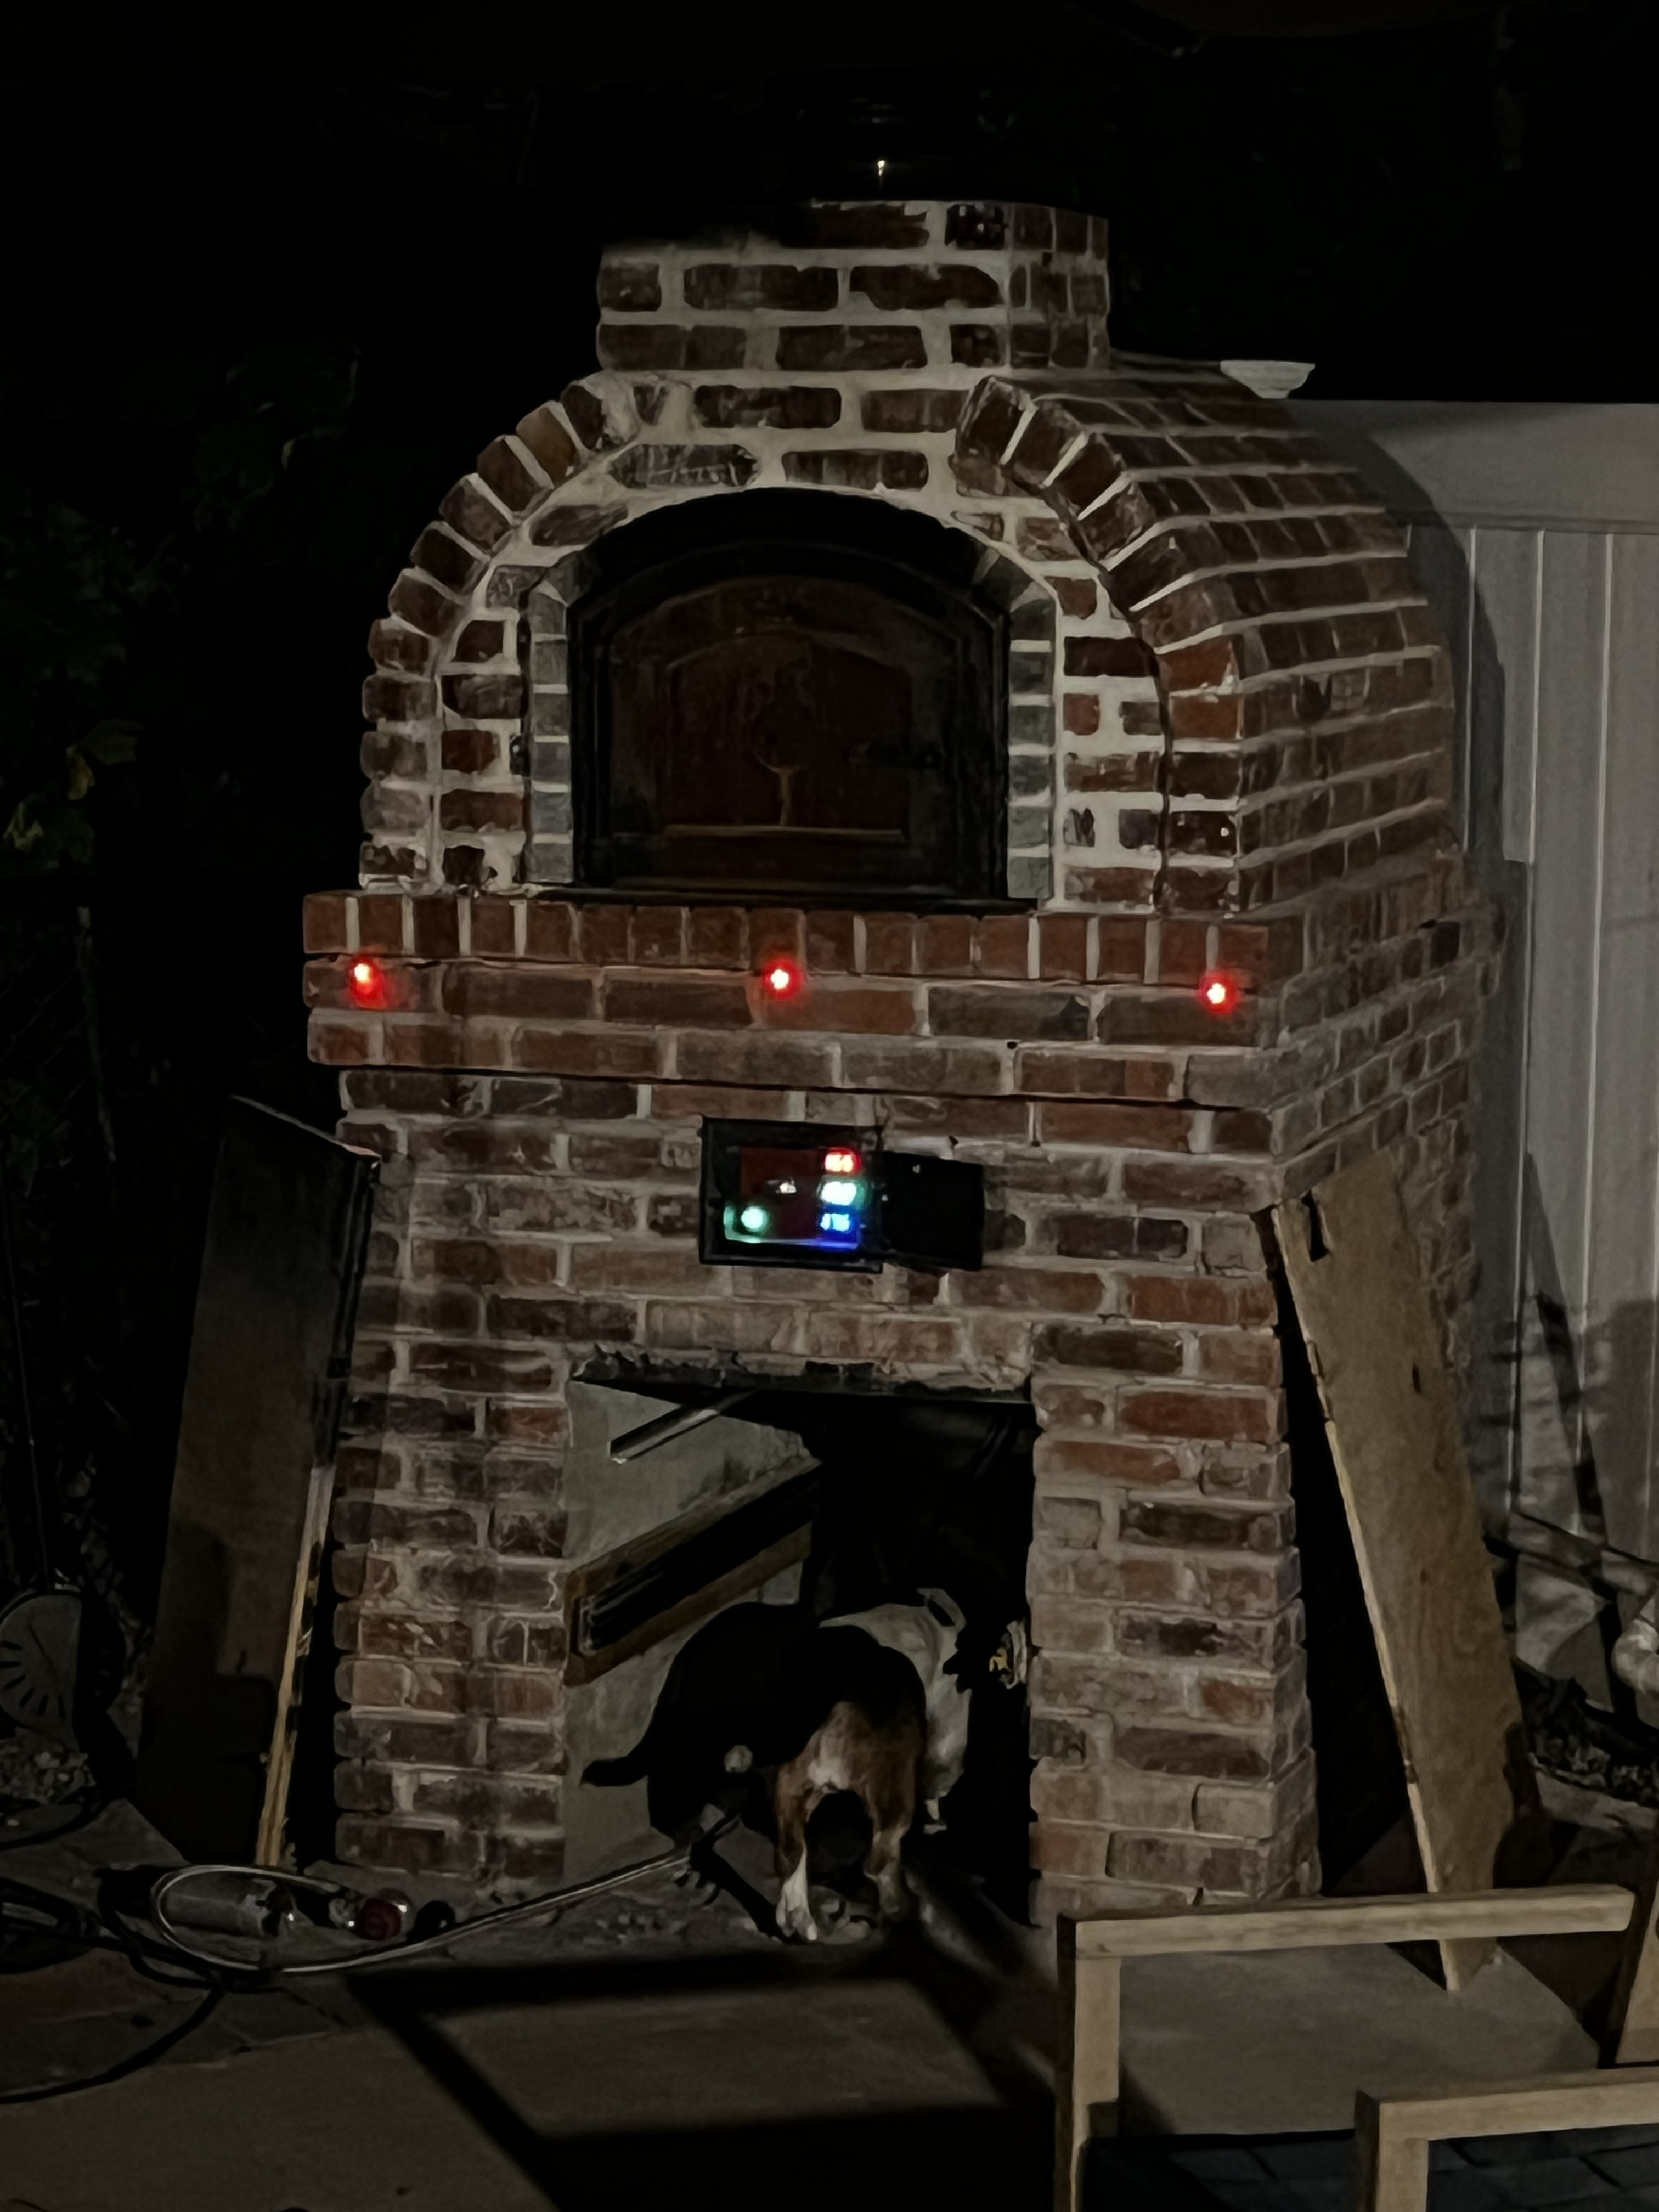
Burner was electric and needed a power source. Fortunately, I had an unused breaker on my outside electrical box. Once I dug a trench, laid conduit, pulled the wire and connected to GFCI breaker/ plug, I plugged in burner and the monitors. I also installed red led indicator lights so that I could know the burner was on when
the oven door was closed.
Has worked perfectly for two summers now And burner serves nicely for warming up the oven without having to babysit as much. No need to add more wood.
For fear of propane tank overheating I installed a permanent sensor next to the tank. (Has never risen above ambient temperature.) checked the surface temp of burner and the stone near the burner. Highest temp noted on surface of propane burner under the oven was 110 degrees. Tank was at ambient temperature at that time. The electronics in this tank will shut off flow of the gas if the electricity turns off. With this idea in mind, I installed the Wi-Fi enabled plug so that should there be concern. I could turn off the burner remotely. Lastly, I installed the Wi-Fi enabled temperature sensor that will automatically turn off the burner. Should the tank near dangerous temperatures. This probe is tied to my smart home monitor which controls the plug.
It appears with the burner I can easily get the oven to 500° without the assistance of wood. The temperature of the oven rises very quickly with the wood used in conjunction with the burner. For this reason, I try to warm up the oven with the burner prior to firing any wood to prevent such a rapid rise and temperature…
Once the burner was finished, I found myself at the local Mason place getting more thinbrick to finish the exterior of my oven. While there I noticed there was a display of outdoor fire pit propane burners. Various shapes and sizes. It was immediately disappointed because some of their ideas would’ve been an easier retrofit than the propane burner I chose. I was very focused on an oven burner rather than a creative way to bring fire into the oven before heading down this road. My advise, explore your options. There are many.
After all this I am very proud of my accomplishment. Coolest thing I have ever built. The soul of a DIY diehard is required. Not for the faint of heart, as this journey can be difficult and frustrating. Because of all my modifications, I expect my oven ended up costing as much as some of the premade ovens out there. Now that I am done I want to catalog all my purchases to actually find out how much my oven cost me.
If ever build another oven would most assuredly plan the build to include this or another through the floor burner. Including in build plan has to be easier. Retrofit was work, but I would do it again.