Hello,
I am building the base layer on top of my reinforced slab. Does the perlite need o be mixed with refectory cement or can i use regular portland cement?
Also when I get to that stage can I make an extra thick perlite portland layer over the brick dome instead of using a ceramic thermal blanket?
Thanks,
Hello, Philippe, and welcome to the BrickWood forum!
You have two different insulation needs going on here. The insulated base keeps heat from conducting into the cold (and thermal energy-hungry) concrete below it. The firebrick that form the hearth are refractory and are sufficient on their own to provide a sizzling hot surface for food. Using refractory mortar below that would be a waste, so stick with the Portland cement and save yourself about a hundred bucks.
Before I get to the second part of the question, there is a related fact: the Perlite/Portland cement mix is not particularly strong and would eventually break down under prolonged direct exposure to high heat and flame. Where we are putting it in the base, that’s not an issue.
The arch presents a different set of conditions. You have direct flame, conductive heat, convective heat, and the tendency of convection for heat to rise as cold air is drawn in. Perlite would provide some insulation but the level of thermal energy is enough to heat it up and make its way on through. The mineral fiber blanket is not prone to that. Both Perlite and mineral fiber work by trapping air, but the fiber is orders more efficient at doing so.
On balance, you are investing resources where they are needed by pouring the simple (and cheap!) Portland/Perlite mix into the void, and blanketing the arch with mineral fiber where its superior (and more expensive) properties are needed.
Do that, and your oven will perform like a champ.
Hope your build goes well, and that you’ll come back to let us know about your progress and show us a few photos.
Listen to Matt he has the right take on this
One thing I am condsidering is adding 13/16" Cordierte floor to the oven
it will add insulation and bring the floor closer to the dome.
Cordierte is the material that they use in the more expensive dome type brick oven
Just and idea
I 'll keep everybody posted
My concern is that the oven is outside here in Bermuda and it is all really damp and rains a fair bit. It is not easy for me to get the thermal blanket imported but I am more worried about a leak happening eventually in the outer plaster shell and then the blanket being a void that soaks up moisture across teh inner surface of the whole outer dome. We make our roofs here traditionally out of Bermuda limestone slabs or tiles with a coat of plaster and then cement paint. If a crack occurs it can saturate the limestone at the crack but it doesn’t spread and is easy to repair. Newer roofs use cem ply and and foam layer with a fiber reinforced plaster and paint, its strong but when that leaks it spreads across a larger area of roof gets under the foam and never dries out !
That is my concern with putting ceramic blanket over the brick dome - can I just go thicker with multiple layers of the perlite portland mix ? or is there something else? Or am I concerned for nothing?
In a wet climate, it’s recommended to do annual maintenance: clean the outer shell of soot and grime, repair any cracks that may have developed using stucco patch, and paint with good quality exterior deck paint. Waterproofing the chimney and exposed brick with a non toxic sealant is also recommended. I think that would address your concern, which is not at all misplaced.
The BWO designer lives near Seattle, Washington, with a wet climate most of the year, and I live in Connecticut, which similarly is no stranger to deluging rain and tropical storms. We also have the added attraction of -20 C winter temperatures and occasional ice and hail storms. My oven has held up nicely over 4 winter seasons with no leaks.
One other thought: if your design would allow for it, is it possible to build a roofed structure over your oven to keep the rain off? There are a number of those in the photo galleries here. The idea is not to build an enclosure, but at its simplest a sloped roof supported by posts that offers clearance and keeps the rain off.
The thought of a pizza oven in Bermuda makes me happy, and I hope you can put your worries to rest on this score.
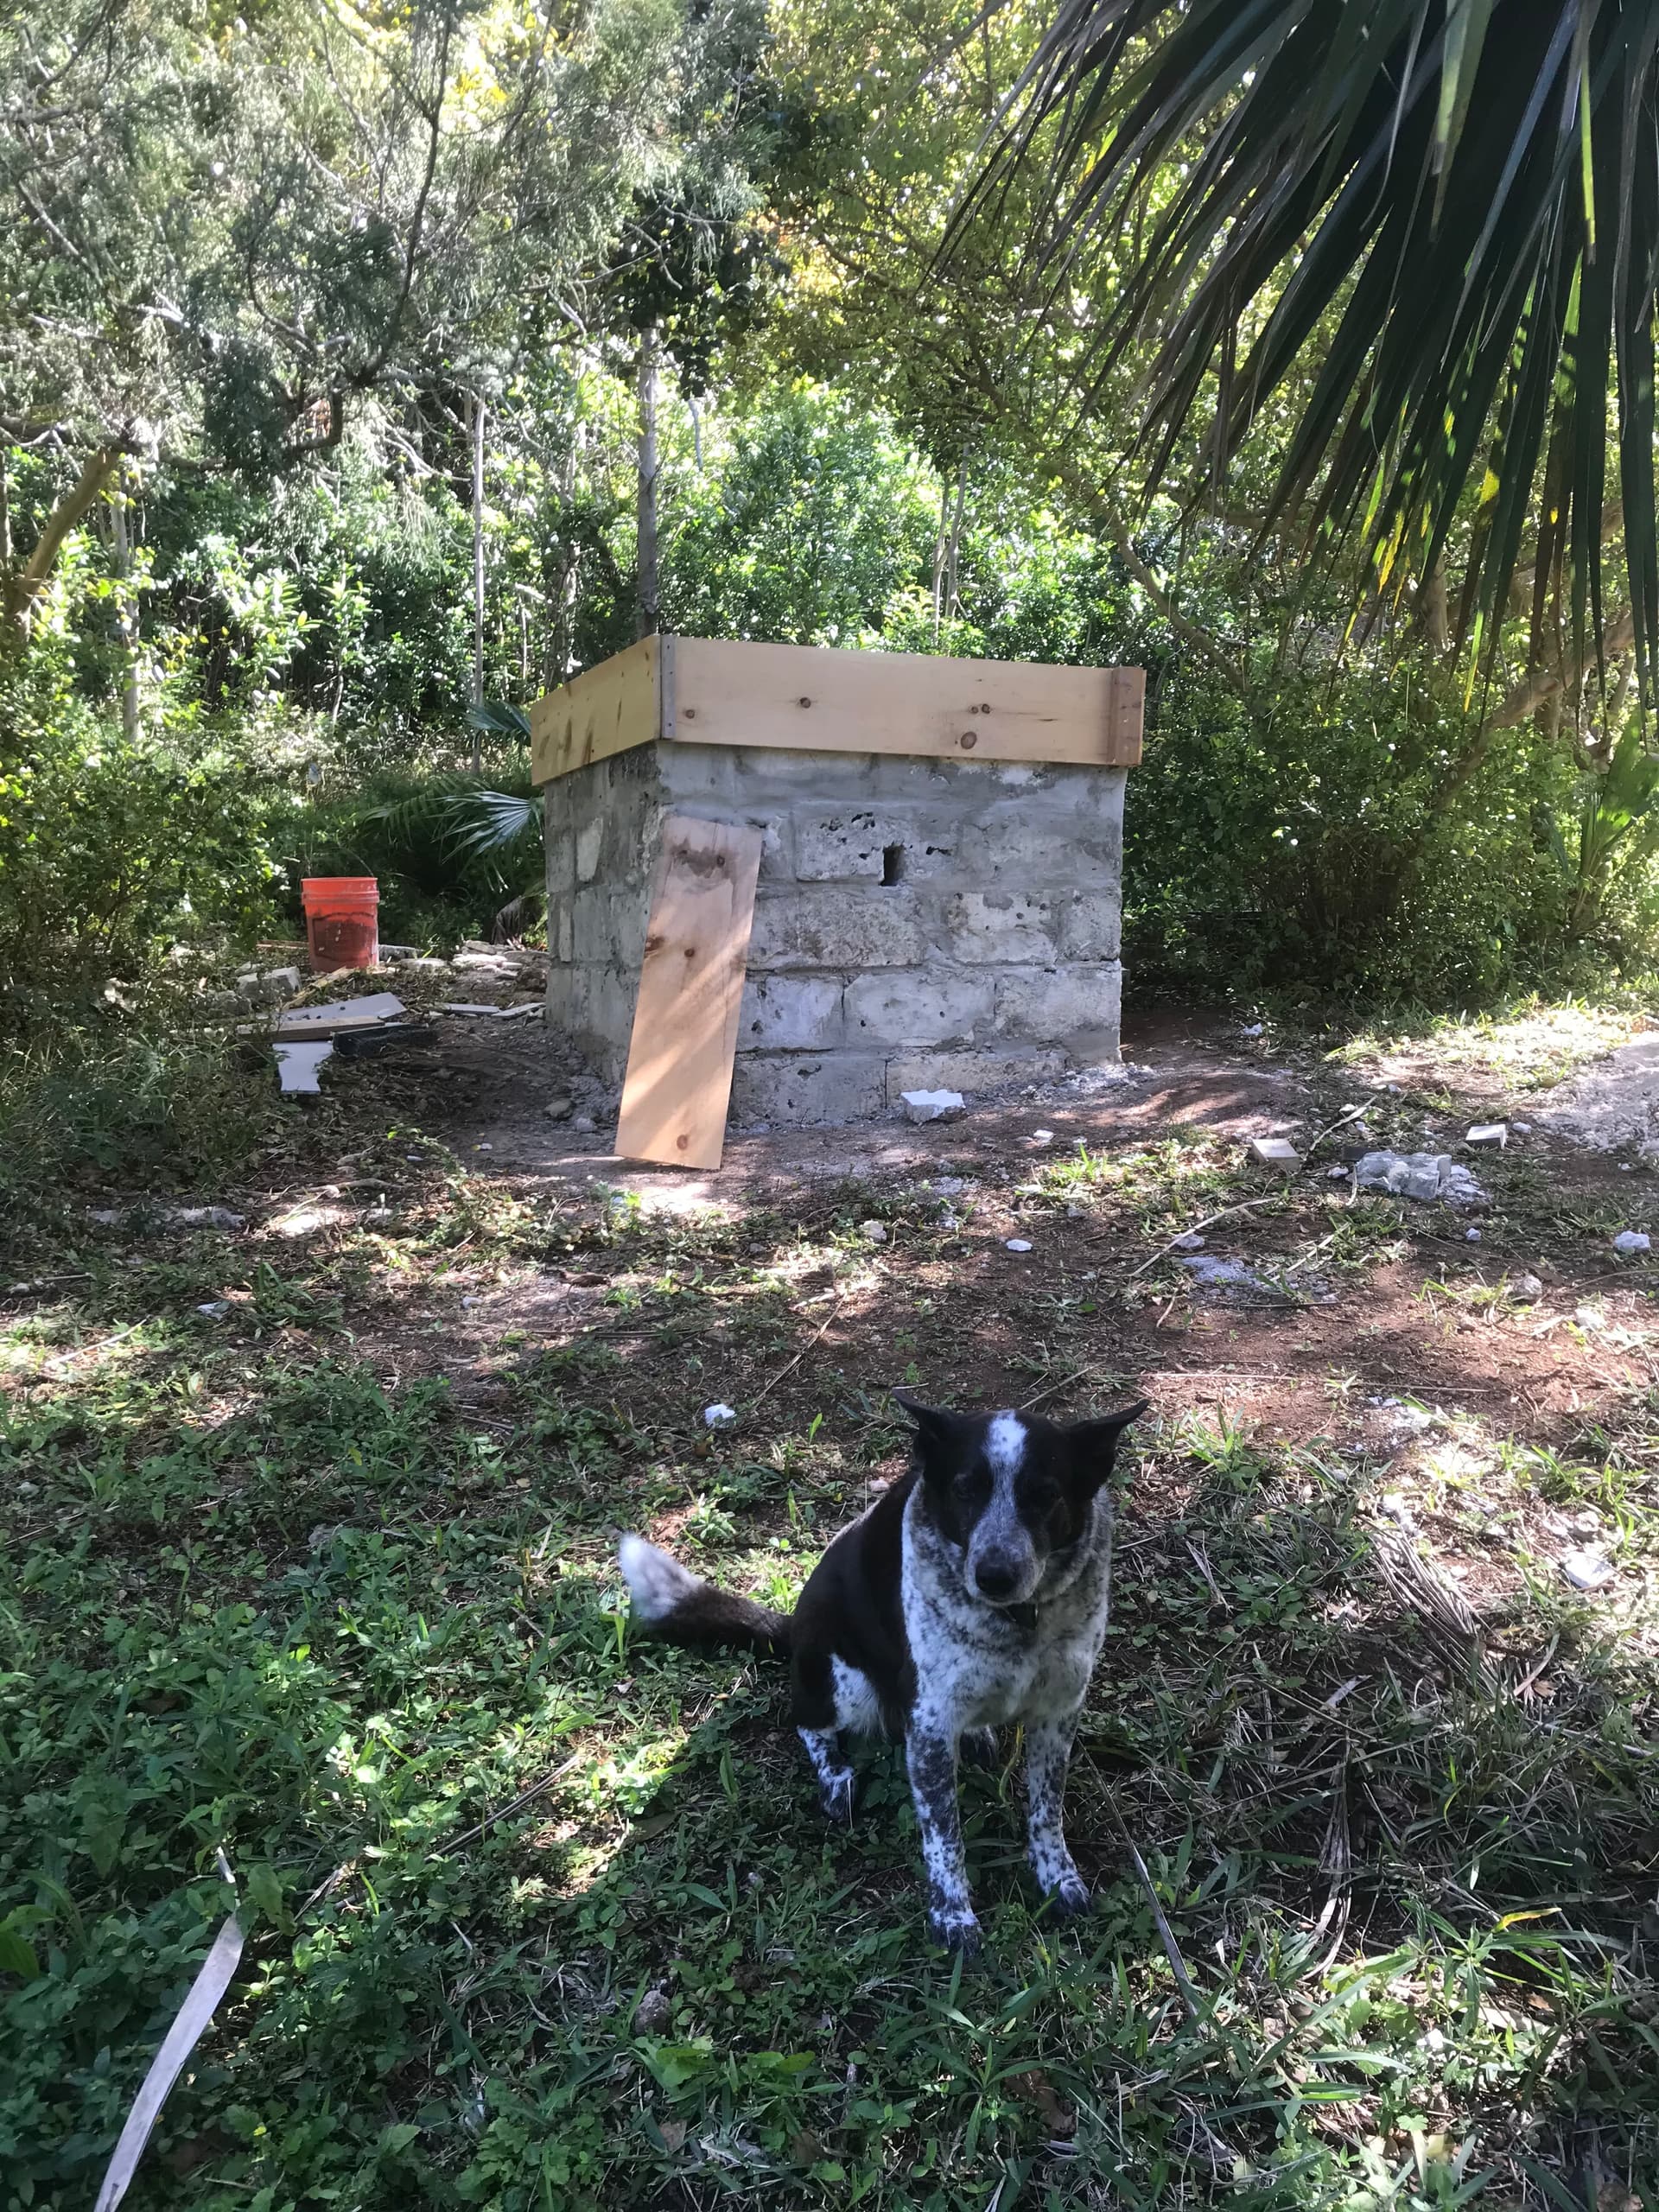
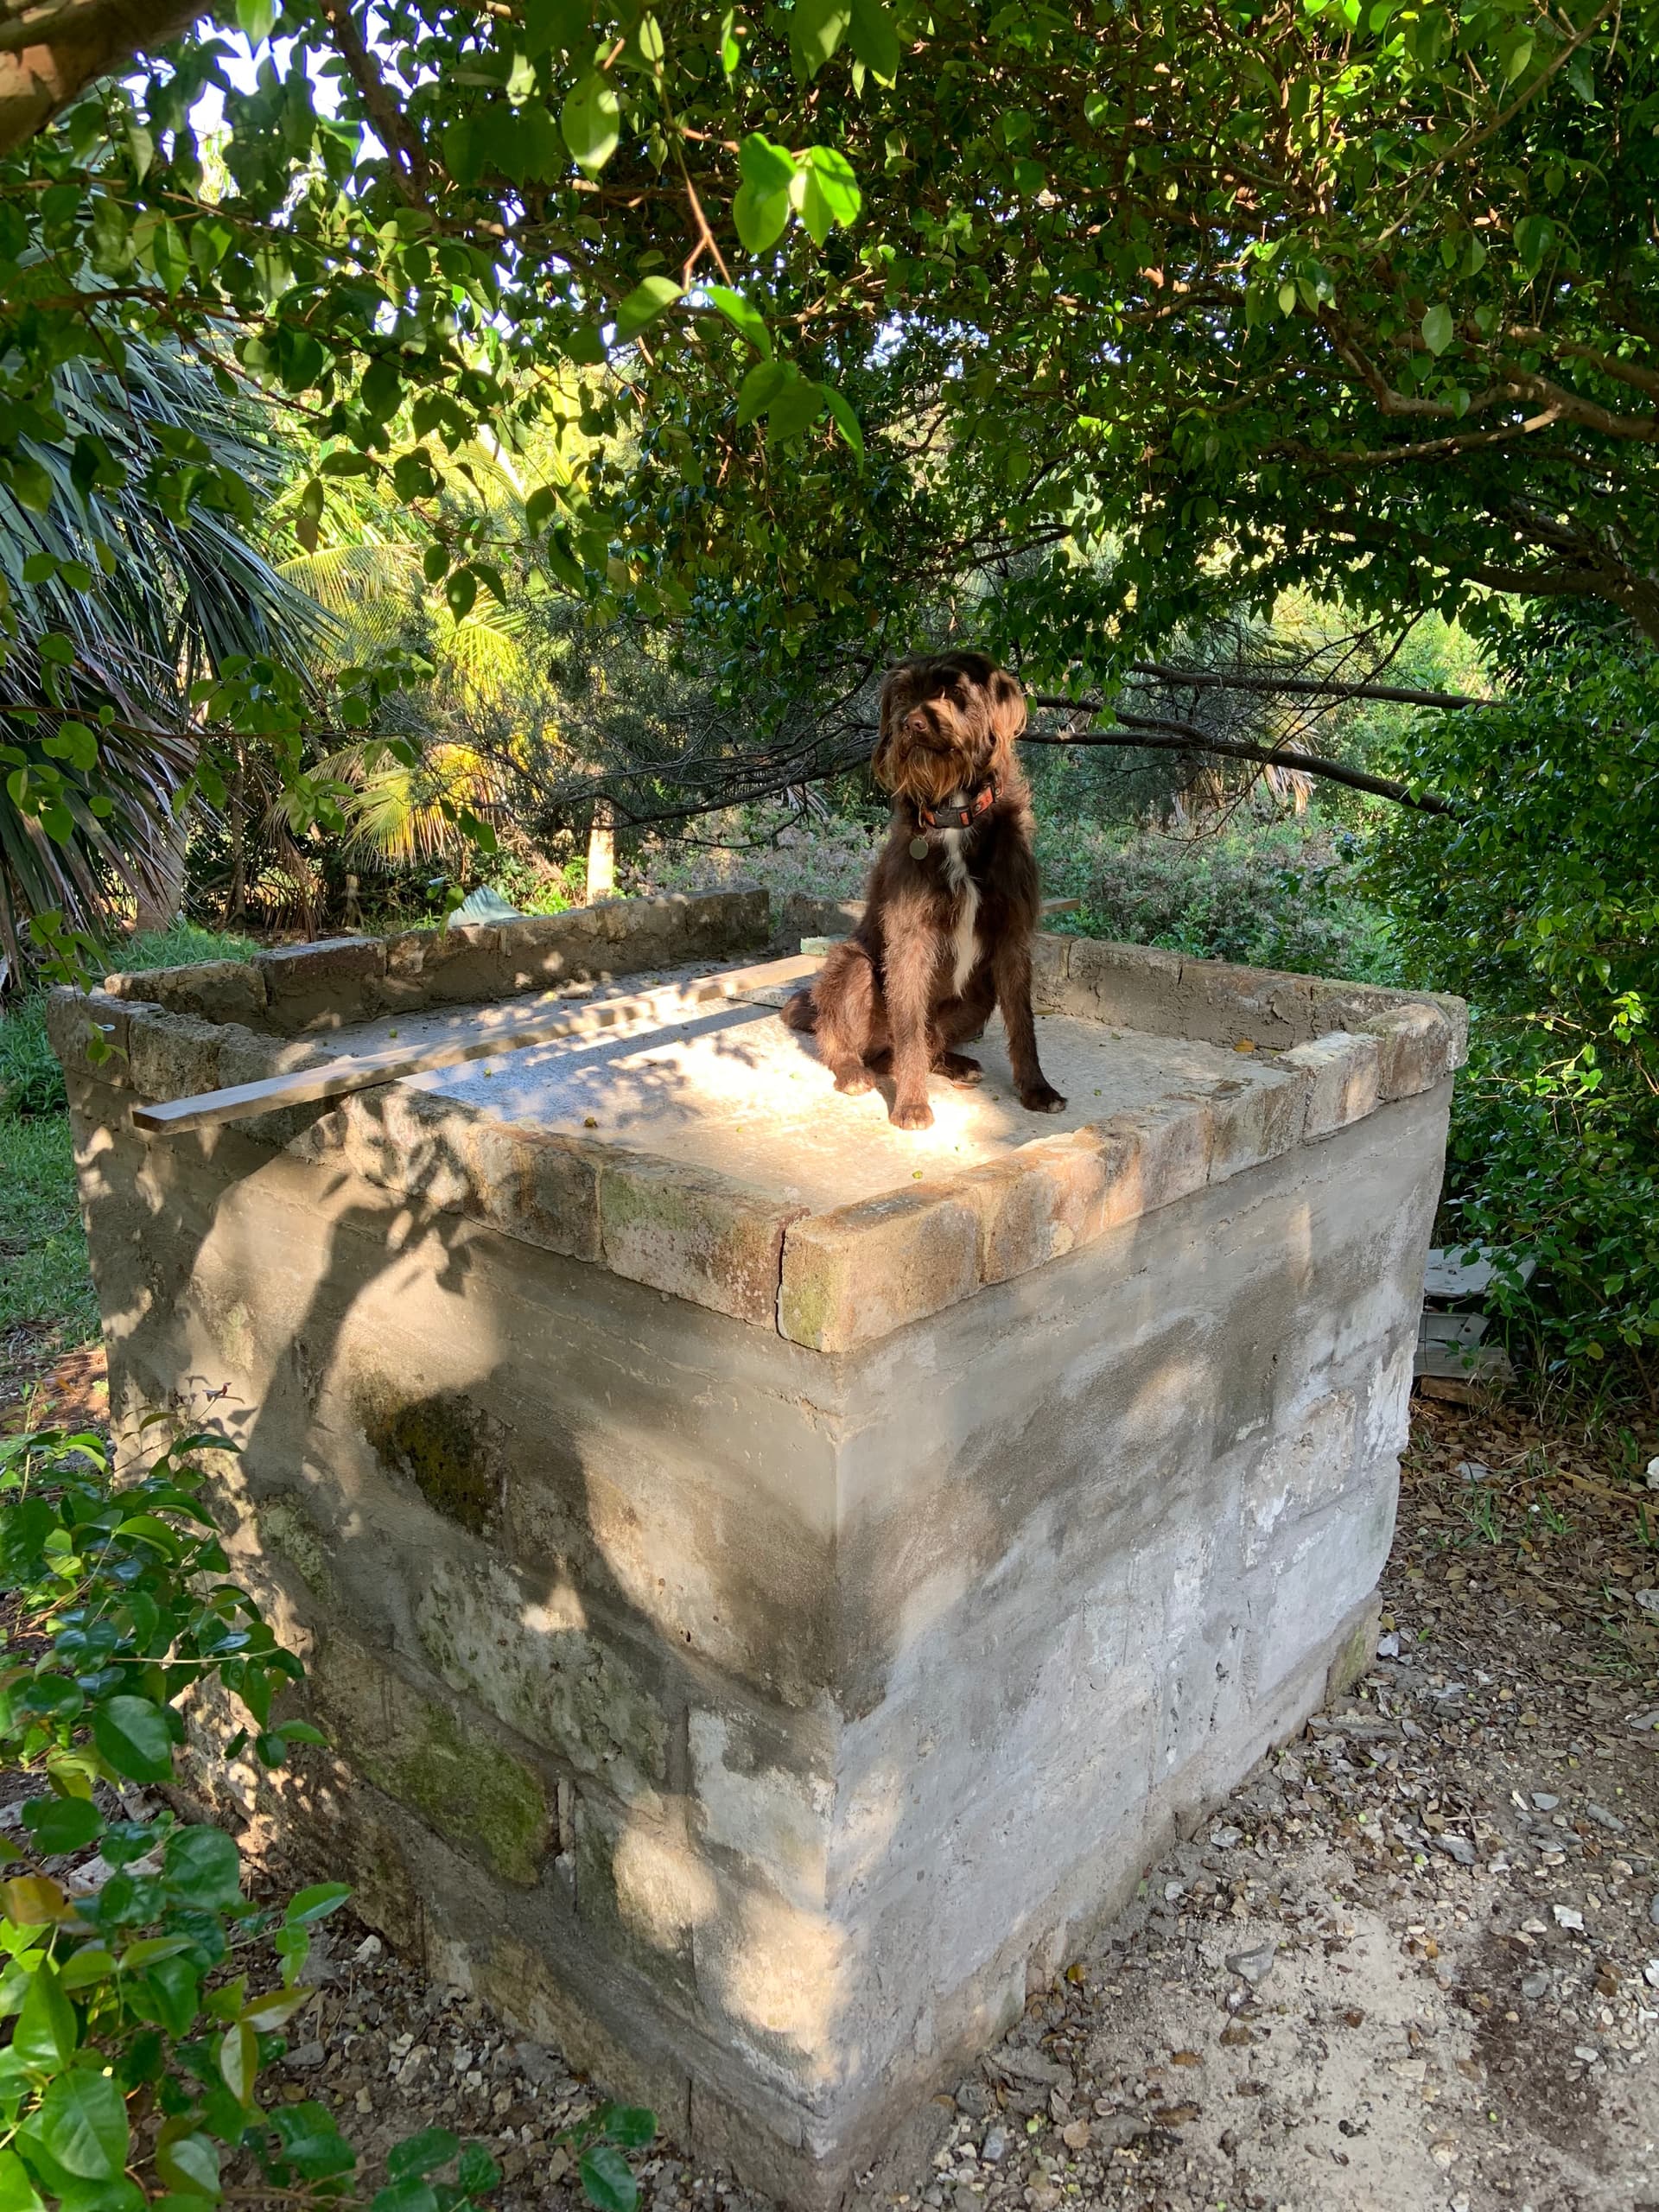
Thanks for the encouragement - actually I found some 50 year old galvanised roofing that could look pretty cool as a lean too over the oven area - like a bauer shed style thing - I want it to look like it was always there - her is a picture of the base from salvaged old Bermuda stone - each big one weighed 60 pounds. kind of cool you can cut it with a hand saw with wide teeth but still solid.
I am building the form work for the slab.
So to be clear - can I use just a perlite portland mix in a much thicker set of layers over the inner dome or should I import a blanket? I would rather not as i am scrounging and salvaging most materials - including the dome parts.
Ooo, I like that! And galvanized would be better over heat. I imagine the rain will beat a bit of a tattoo on it, but that adds to the atmosphere.
And in general I like your commitment to scavenging what materials you can.
I’ll say you could, but it’s going to affect the thermal performance to some degree. I’m at the edge of my expertise as to how much. Ovens in warmer climates do fine with a single layer of mineral fiber blanket, because icy weather is not your ongoing challenge in Bermuda. So I’d be okay with “much thicker,” and caution that you need to make sure the thermal layer has dried and cured thoroughly before you cover it up. Even though Perlite sheds water much more readily than Vermiculite, the Portland cement will still retain some moisture over a period of days. We want that gone before you seal things up, or else the oven will try to bake it out (= steam).
In my view this ends up being the same seven day curing period that you would use for the hearth thermal layer built with Vermiculite.
The photo you shared is tantalizing, and I hope you’ll come here often and share your experiences as you pull together this epic oven, Phillippe!
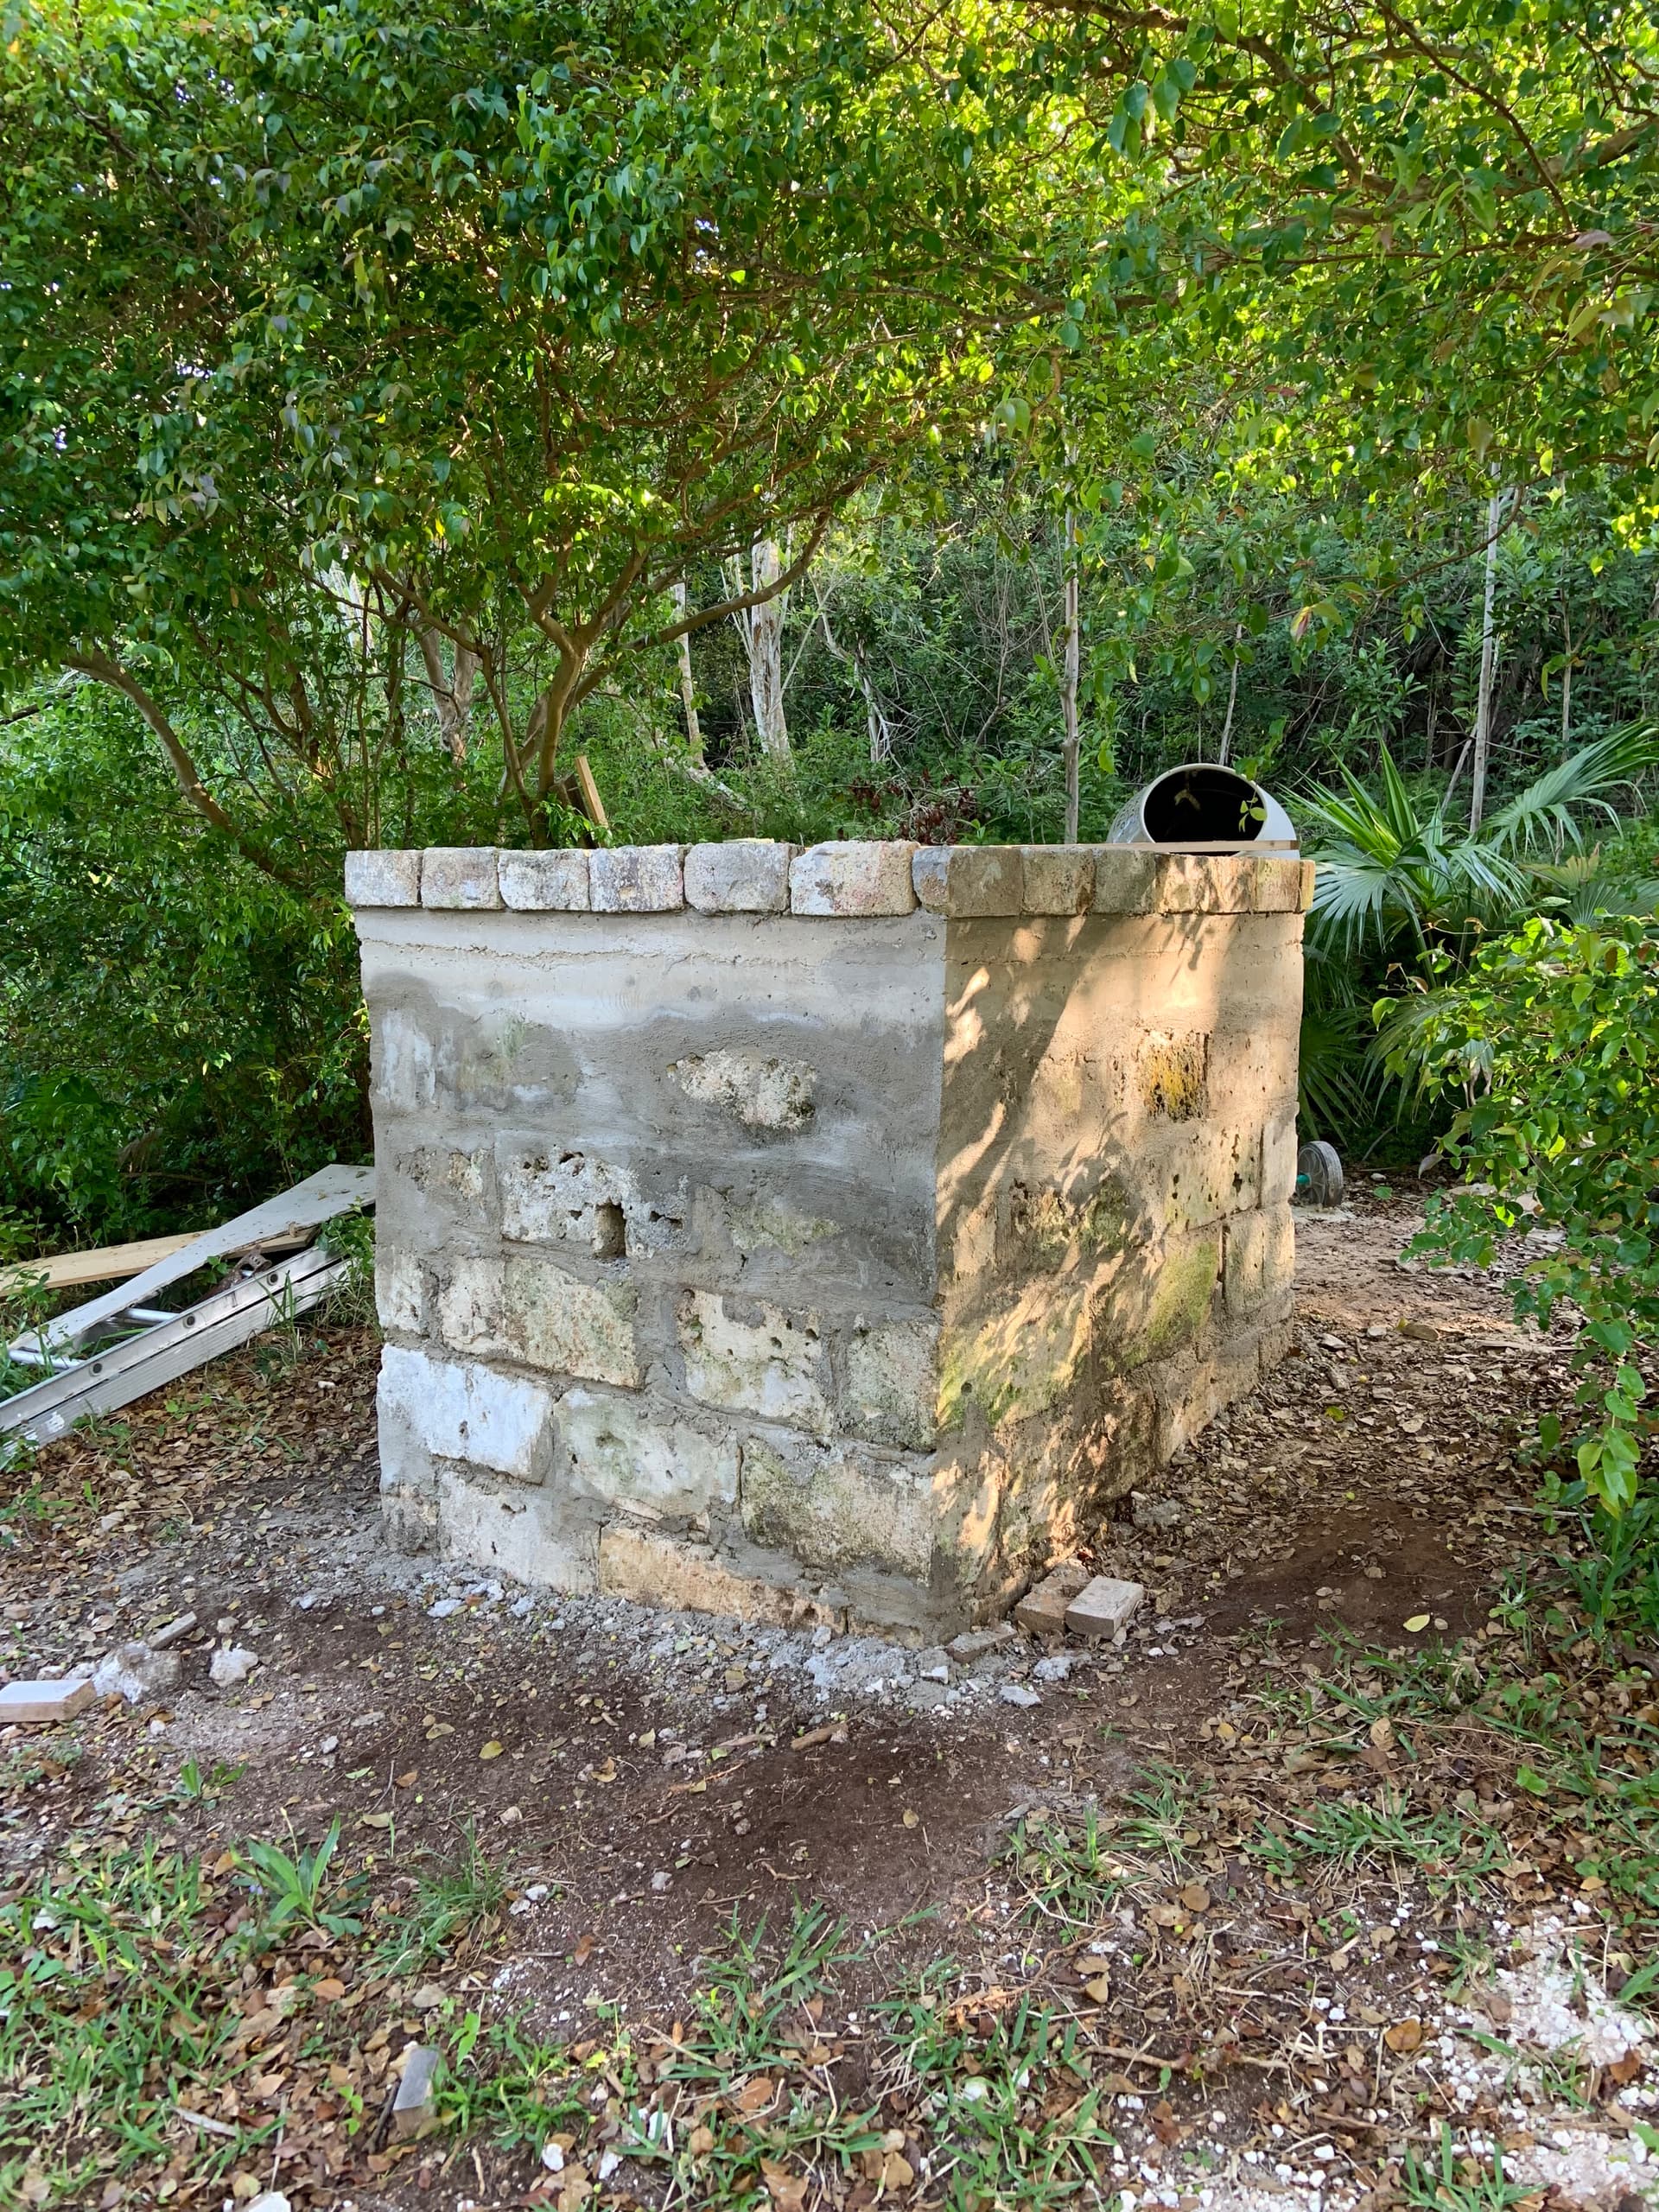
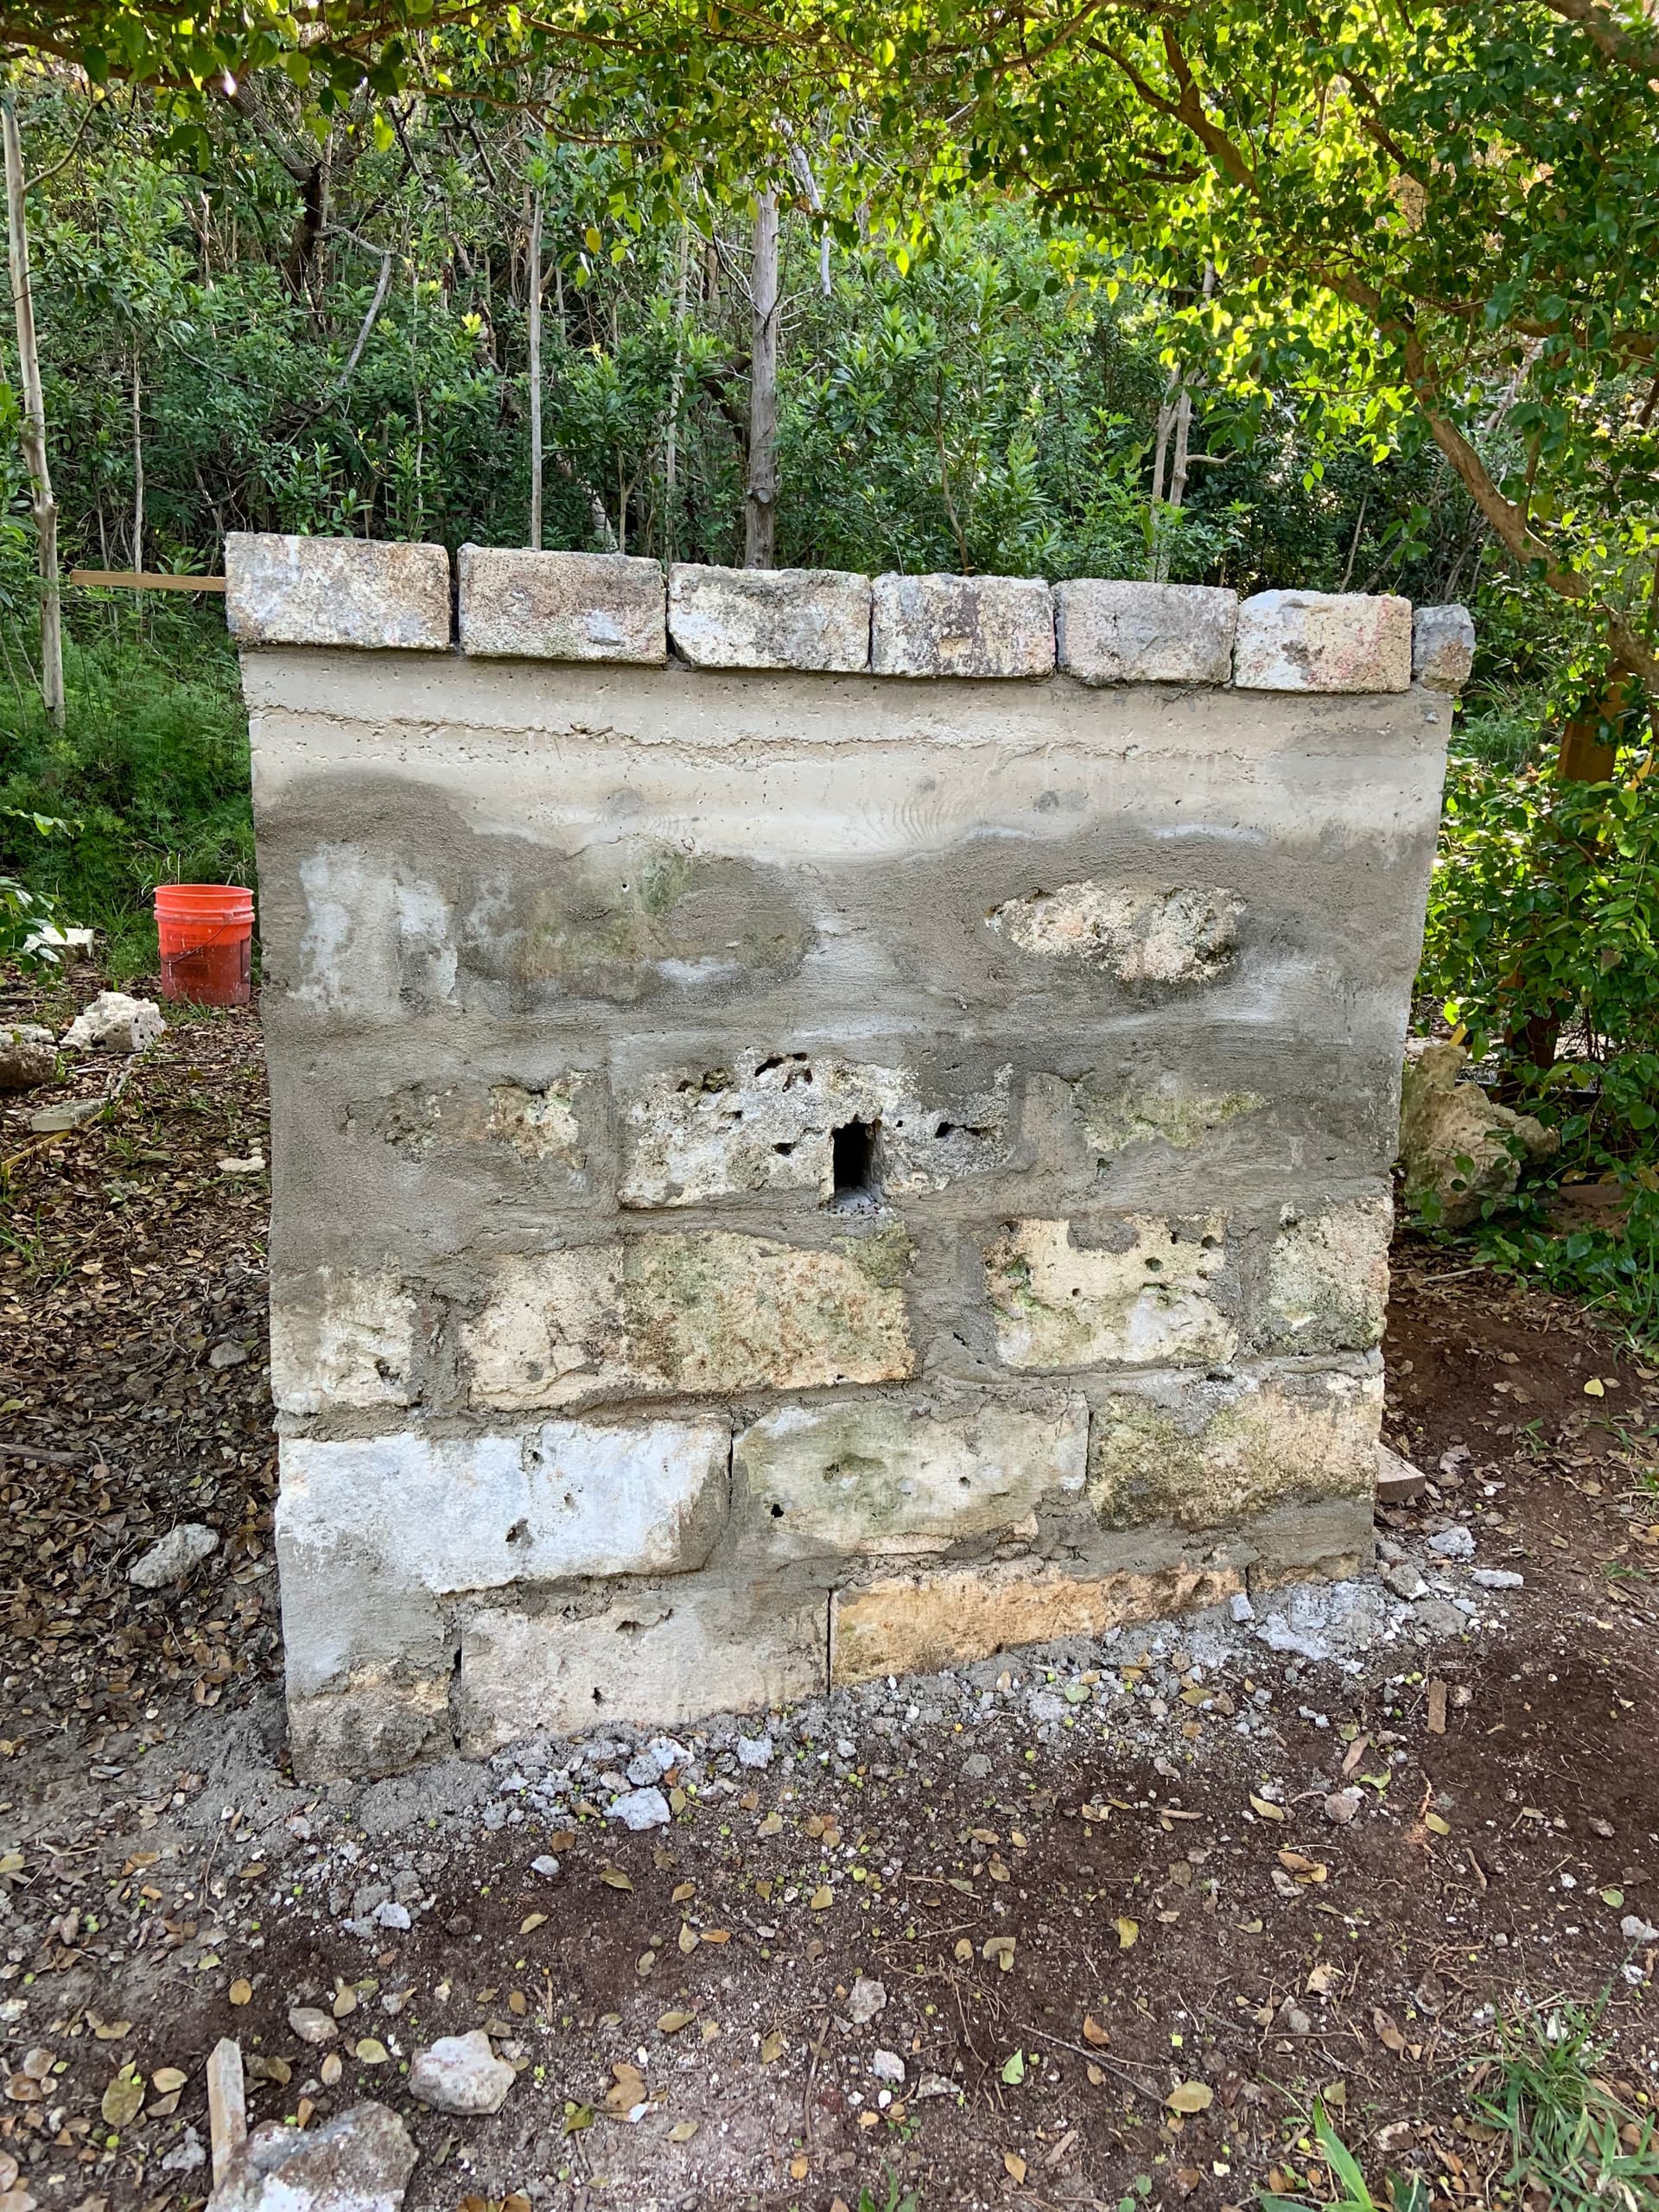
Thanks so much for the important feedback and the encouragement. It is a much bigger structure than I anticipated - building on the slope meant that I have two extra courses at the back - more like a small castle turret. But all local materials so it looks right.
I have just finished pouring the structural slab and it is curing nicely.
The local hydroponics commercial farmer will sell me a bale of perlite at a good price which is great because at the local garden stores it was expensive.
I have never worked with perlite and cement or done anything like this. When I lay a 6 inch slab of the perlite mix on top of the structural slab will it have some compressive strength ? Will teh edges hold up or should I surround it with a girdle of regular cement or brick? Is it strong enough to hold up teh dome? And i read about putting in drain holes - but cant see how that is easy to do? Does it eventually breakdown under the floor bricks and act more as a support than a structure? I am picturing it coming out something like dense surfboard foam which you can easily pick apart with a knife - or is it harder than that? Also I would love to use a mixer - a small electric mixer - as i cant imagine doing 8 -20 wheel barrows of this by hand. Could i just mix it dry and then only turn it a few times vs letting it run? I am unsure how this could differ from mixing it properly with a hoe in a wheel barrow in terms of impact? I am most curious about that and my back will thank you. Also to add to the questions - should it be done progressively in thinner layers on the base the way they suggest for the sides?
Anyway way too many questions but what a resource you have created here - it is of great value. Thank you,
Will add a picture
I think I answer most of your questions about the insulating mix in this post (oldie but I’m fond of it):
Specifically: the BWO design includes a “void” in the slab that is designed to hold in the insulating mix. It is the same length and width as the firebrick hearth that will be placed above it.
You’ll see from the post that it is a relatively wet, sloppy mix and it needs to cure in a form, just as the slabs themselves do. That’s the purpose of the void. When it is cured, it will support the weight of the firebrick hearth without crumbling. The arch rests on the outer edge of your slab, so the insulating layer does not bear much of its weight.
It will come out like ordinary concrete, because you’ve made an aggregate of Portland cement and volcanic rock. It won’t pick apart like low density foam.
It is extremely easy to mix. Both materials are lightweight, and they will mix easily with a hoe. As you’ll see from the linked post, I mixed the two in a wheelbarrow, adding appropriate amounts of water. I used a materials shovel to lift the material on the slab and into the void. It really is easy and relaxing compared to most of the tasks involved with building an oven.
For your build, where I see you have your slab poured from the second post you made, you will want to build a “curb” on top of that pour. Use an outer form as you did for the main slab, and an inner form to the dimensions called for in the BWO design. You’ll need to extrapolate a bit from the three-slab design, but all the information you need is there. Remove the curb forms when your concrete is cured, then pour the insulation layer inside it.
Drain holes are not necessary in the slab, especially if you’re going to build the galvanized lean-to structure over it.
I don’t recommend the dry-mix method you suggested. You will find the insulating mix is not nearly as heavy as concrete mix, because the Perlite weighs practically nothing and the Portland cement is not mixed with stones and pebbles (aggregate)—aggregate is over half the weight of a batch of concrete. If you want to use your electric mixer that will work too.
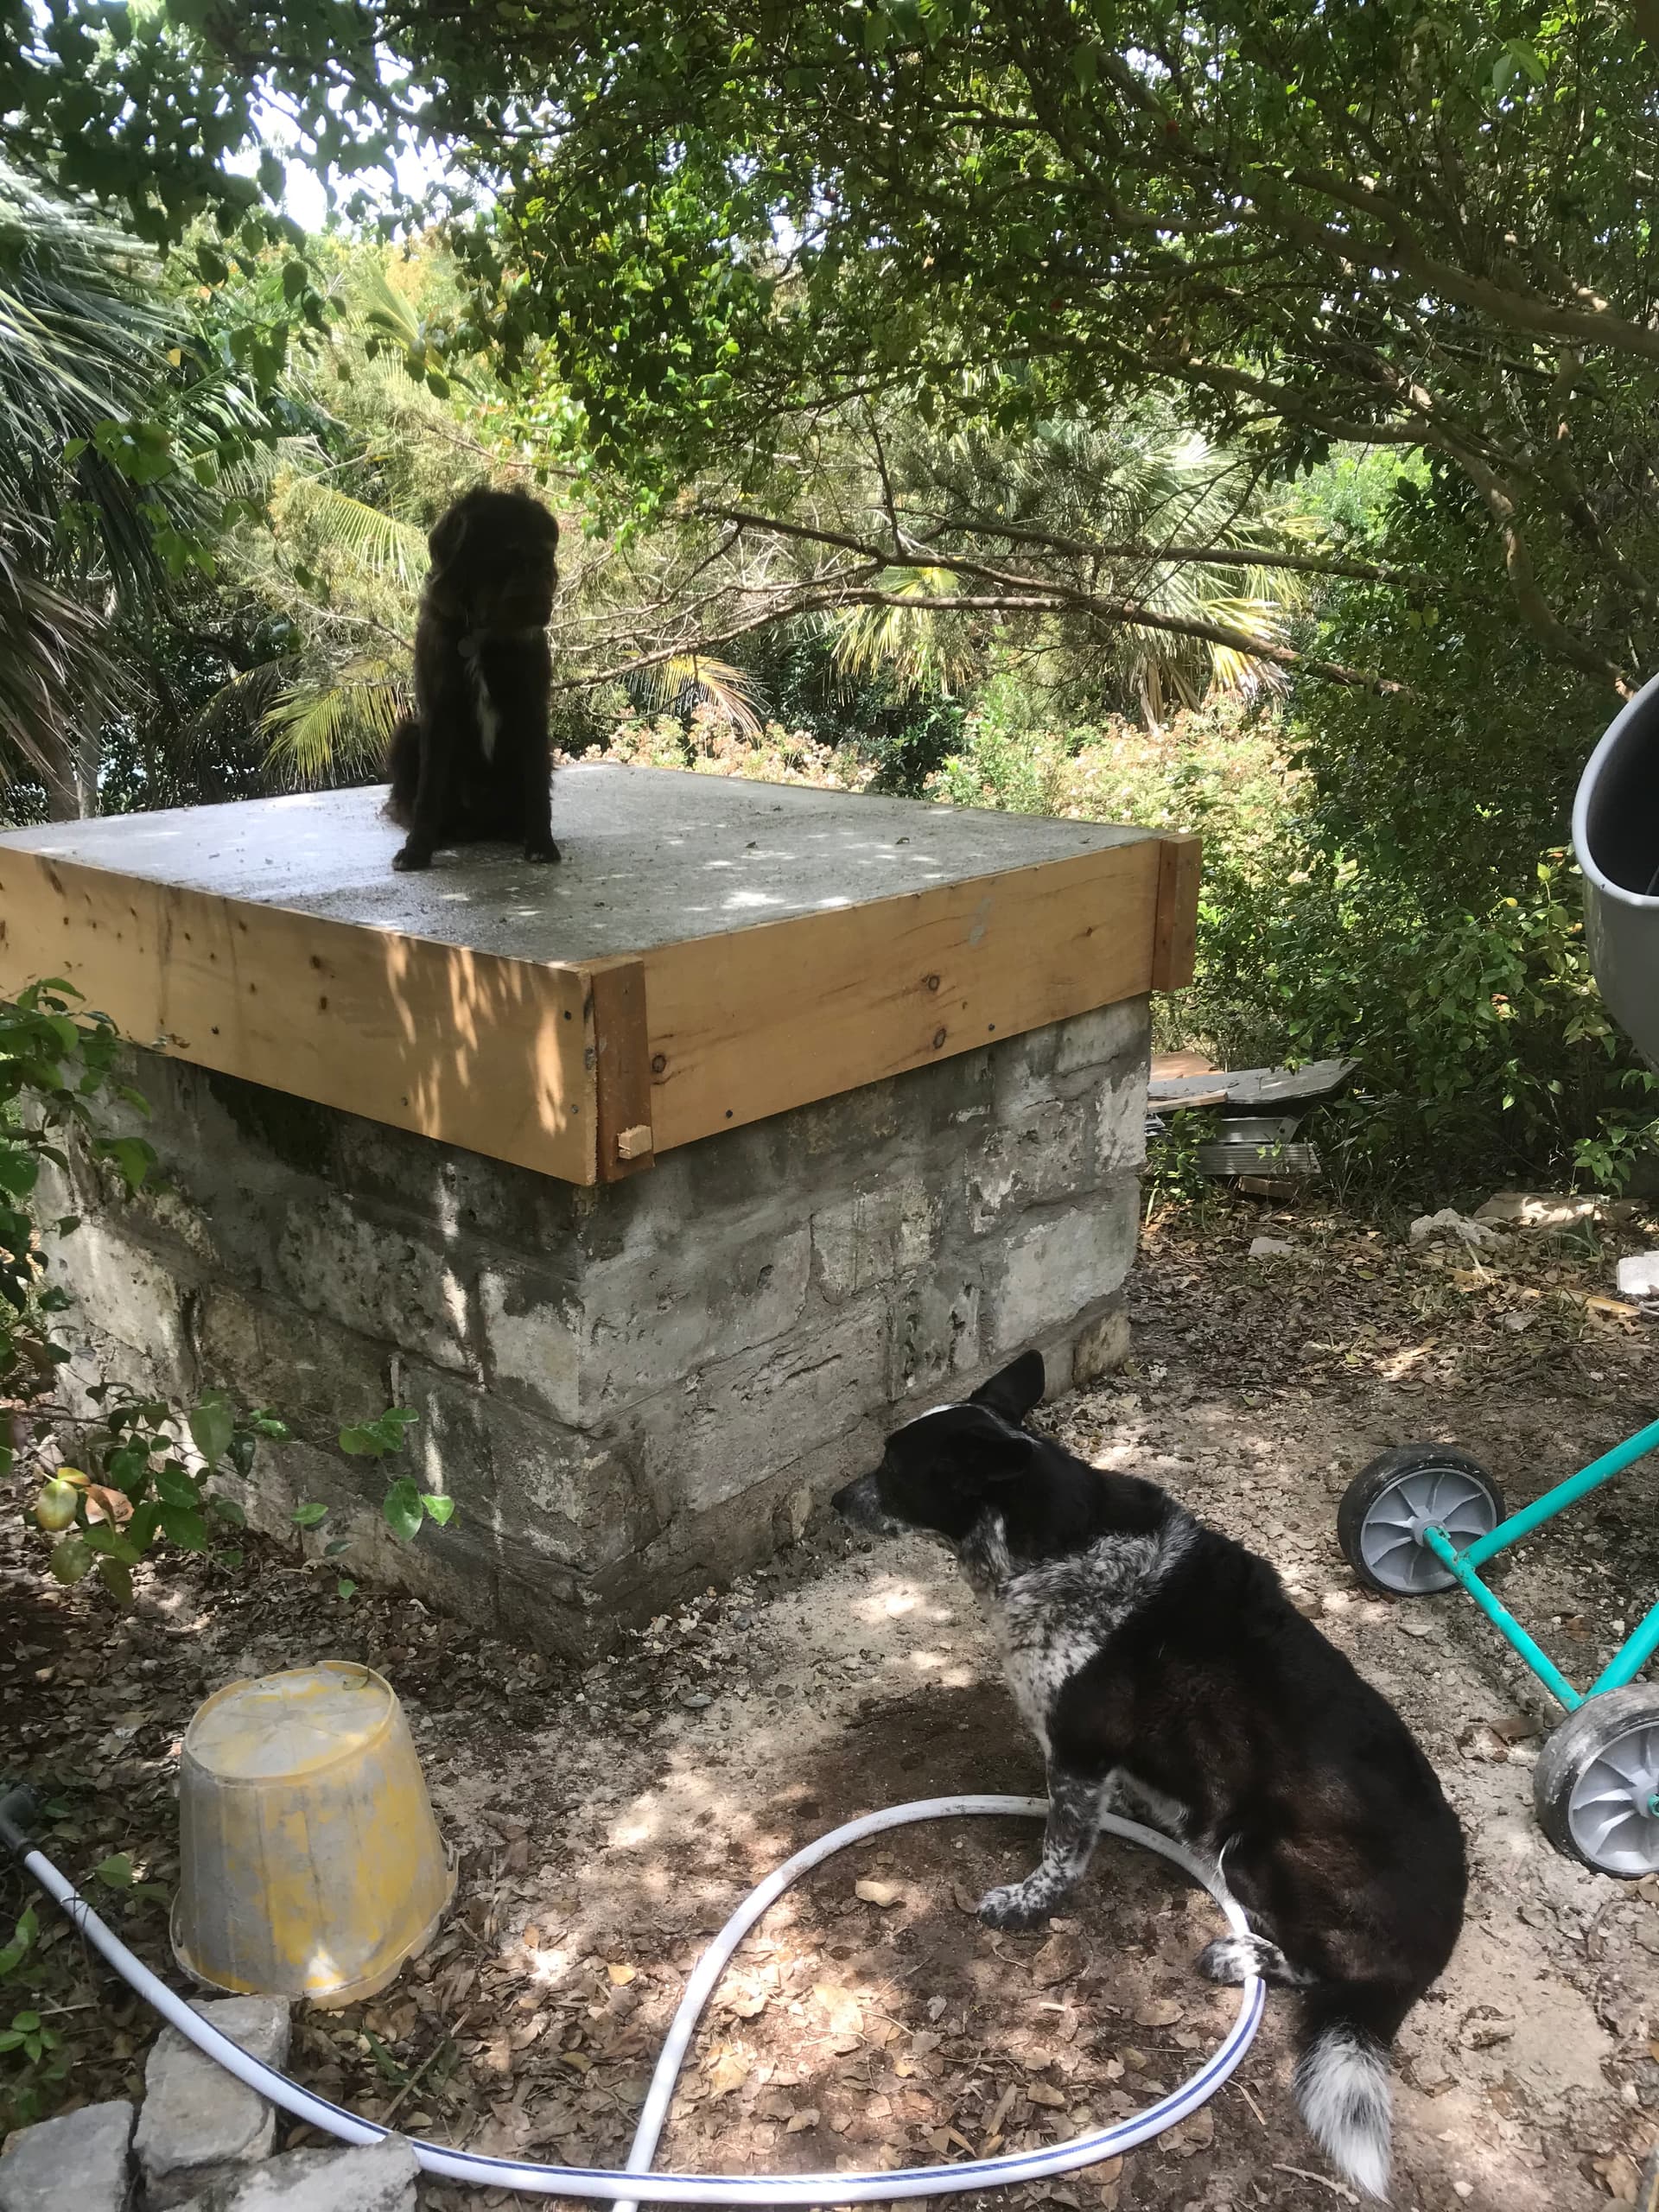
Hoping all this helps you put this part of the job into perspective Phillippe. (And I’m glad you have good dogs guarding your build!)
So I have added a ring of salvaged boiler bricks around the edge of the 6 inch slab to contain the perlite mix. I have recently seen where some people add lime to the Portland perlite mix to take over where Portland might fail? I like adding lime generally for wall plastering as it slows down curing a bit and is nice for stickiness but don’t really know in this application? I will read your full page on the perlite mixing process. In looking for bricks from a few friends who have basements or sheds full of collected materials I found an inner pizza dome in four sections someone rescued from a garden barbecue area project that never took off. I am considering it - it is quite large so was semi commercial I am guessing. Will update if anyone is interested - though I know the forum is strictly brick ovens.